We played this battle probably five or six months ago but I never got a chance to post the photos. Since the weather has been cold and wet all week and I cannot prime any modes, I figure I will work on battle report. Due to the long time since the battle, I won't try to rehash the blow by blow, but looking at the pictures and the score each turn should tell the tale.
Background:
Campaign background provided in:
Battle for Provisa 1: Take and Hold
Battle for Provisa 2: Blood Feud
With the results now even, the stage was set for escalation as both sides brought bigger war machines and more units into the fray. The next battle would see both commanders attempting to assert their will on the enemy and claim control over the field.
Scenario: Dominion
Each side must maintain control of critical objectives in the face of enemy resistance.
Primary Objective
Dominion: Each objective controlled at the start of your turn is worth 1 VP.
The objectives were:
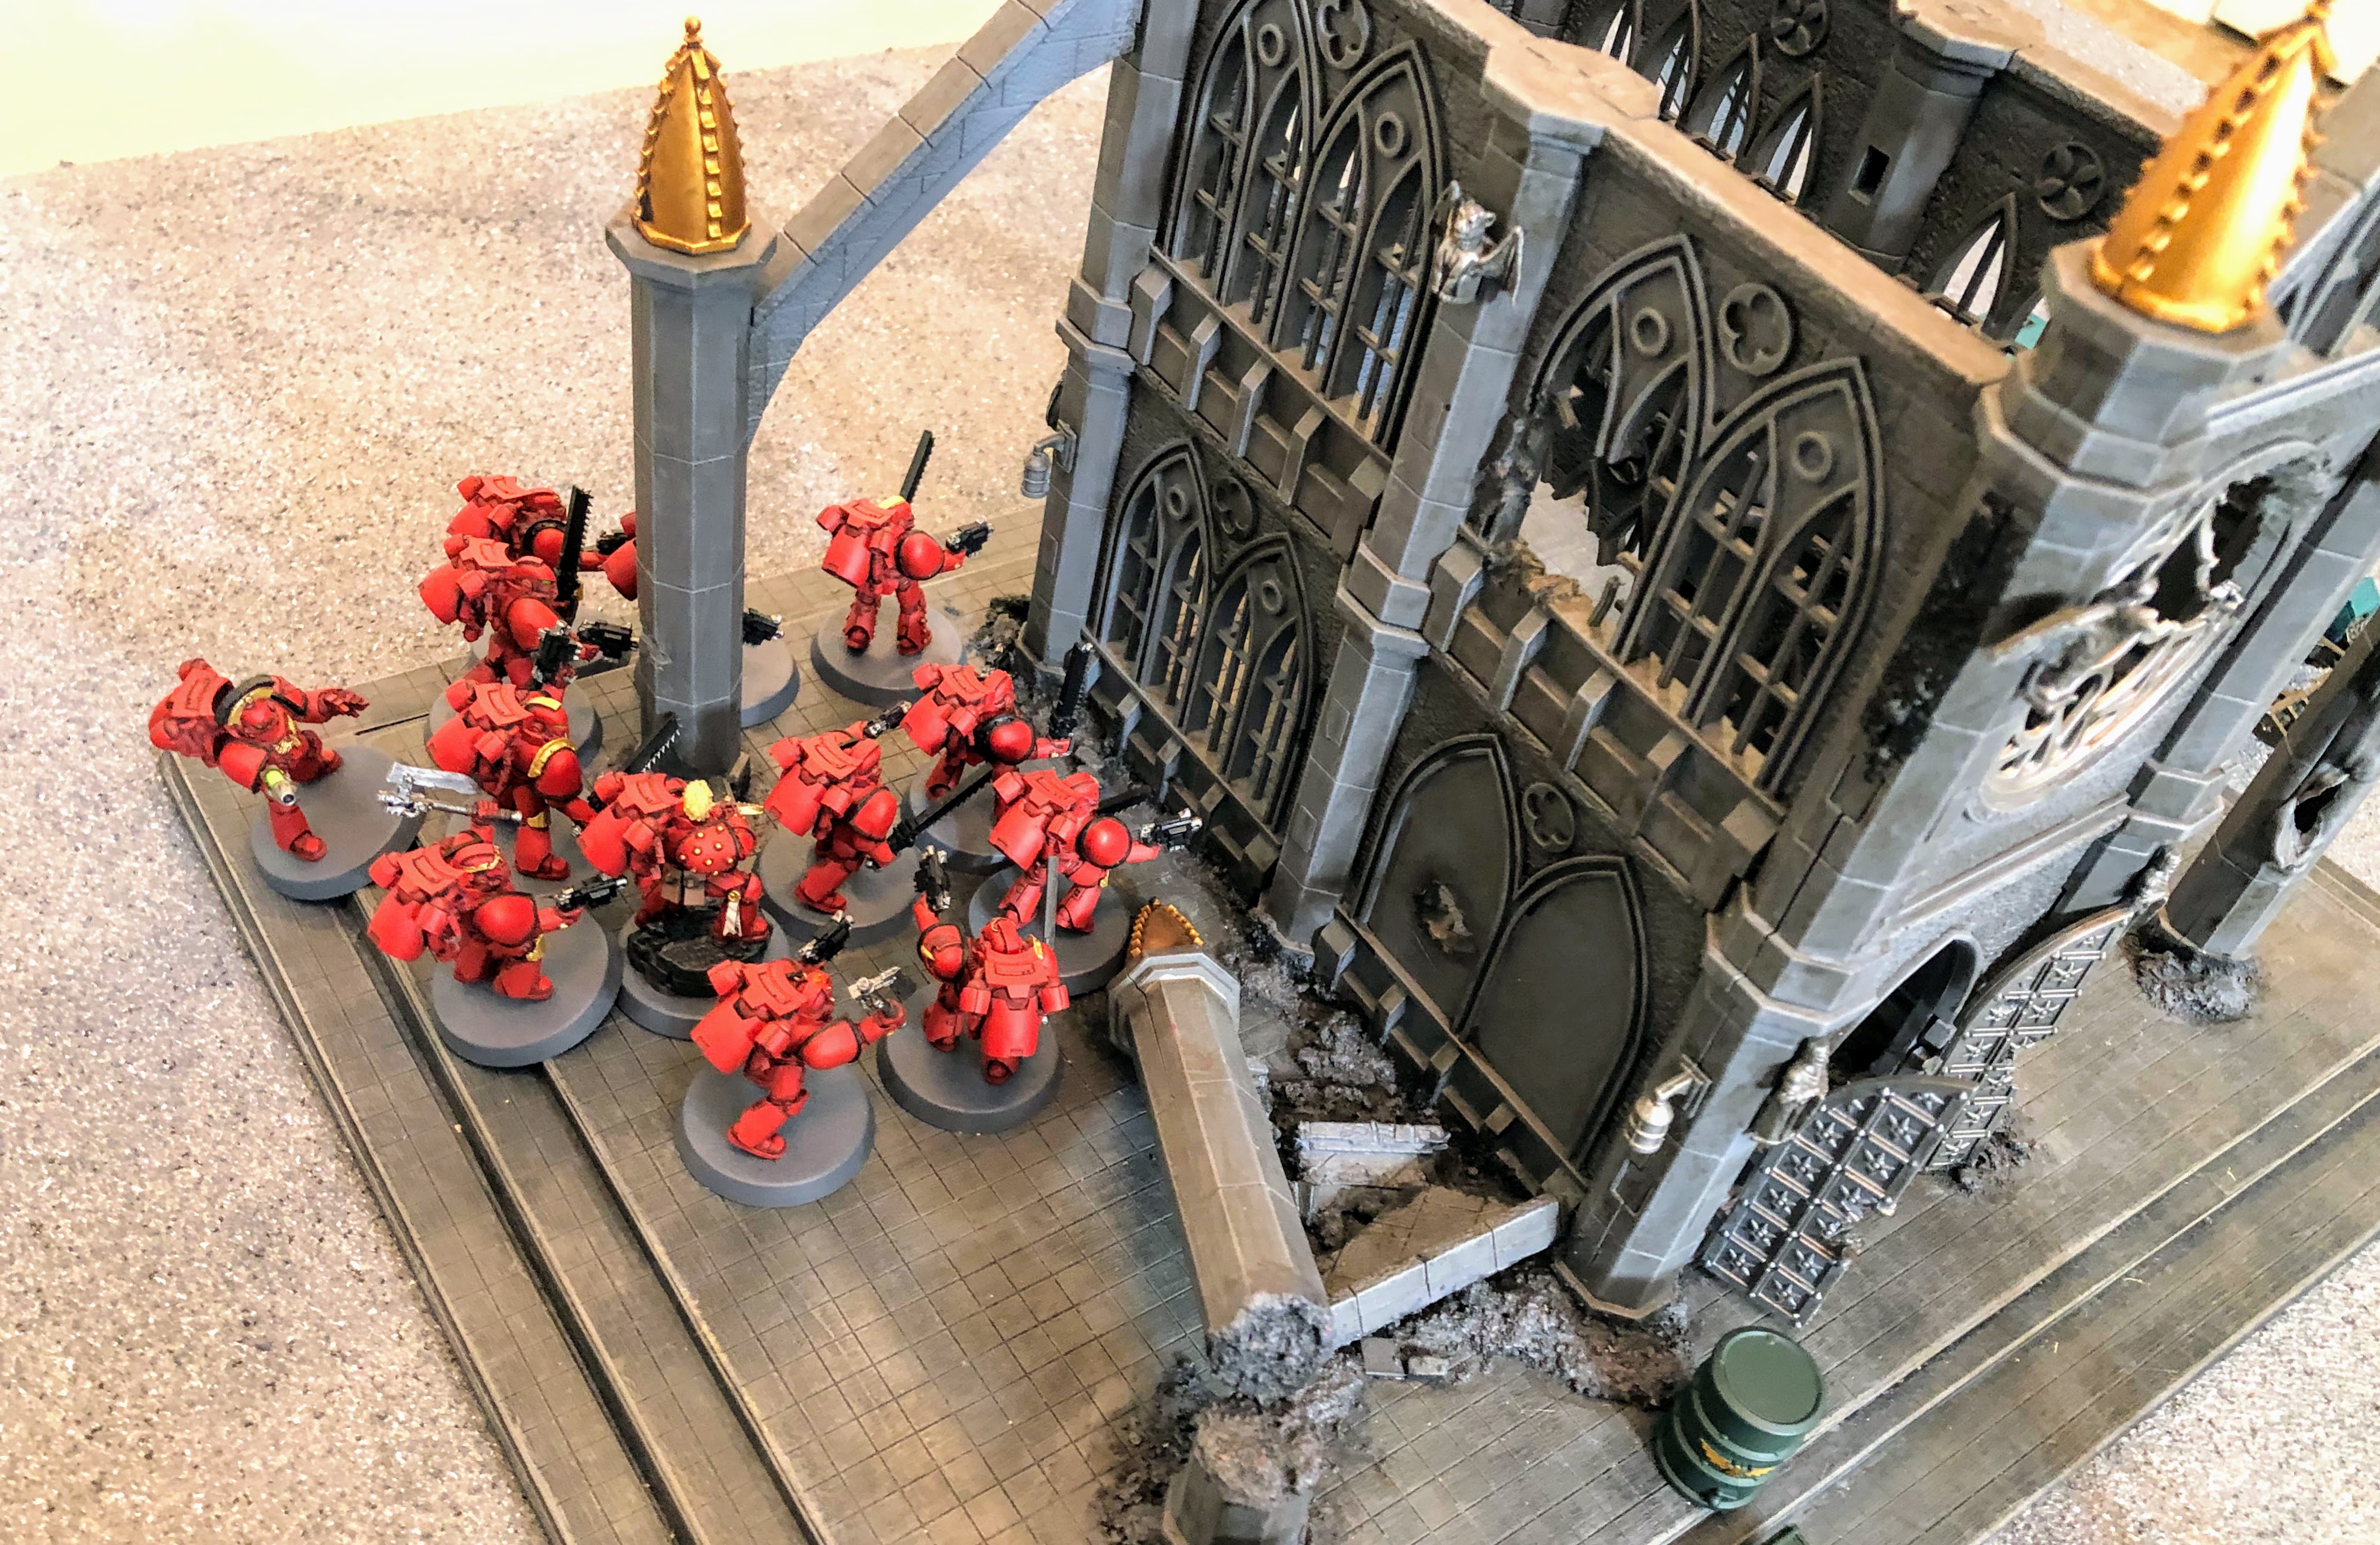
#1 The cathedral ruin (designated by the comms relay model in front)
#2 The central ruin (designated by the red barrel in the center)
#3 The red ruin (designated by the green barrels in the center)
Secondary Objectives
Slay the Warlord: Earn d3VP to slay the Warlord and +3 VP if it was a Primarch
Attrition: The side that destroyed the most enemy units earns d3 VP
Price of Failure: Destroying Lords of War is worth 1 VP
Game length: Five turns with a 4+ chance for a sixth turn
Opposing Forces:
Loyalists: Pete
Primary Detachment: Blood Angels
- Garo Arteo, Bloody Executioner of the Crimson Gate: Praetor w/ artificer armor, iron halo, digital lasers, jump pack, blade of perdition, bolt pistol, Paragon of Unity
- Cataphractii Centurion Chaplain: Power weapon, combi-volkite
- Cataphractii Terminator Squad: 3 with dual lightning claws, 1 plasma blaster and chain fist, sergeant with combi-melta, chainfist and grenade harness
- Transport: Spartan Assault Tank with flare shield
- Crimson Paladins: 3 sunset blades, 3 power shields, power fist, Iliastus assault cannon, grenade harness, Blade of Perdition
- [Line] The Sanguine Berzerkers:14 assault marines w/ jump packs, bolt pistols, 2 power axes, sergeant with power fist, plasma pistol, artificer armor
- [Line] The Golden Shields of Baal: 10 breacher marines, void-hardened armor, 8 bolters, 2 melta guns, breacher shields, sergeant with thunder hammer and artificer armor
- The Angel’s Judgement: Vindicator Tank w/ demolisher cannon, armored ceramite and twin-linked bolter
1759 points
Traitors: Phil
Primary Detachment: Sons of Horus Pride of the Legion
- Praetor Ezman Vyke with Cataphractii terminator armor, chain fist, combi-melta, digilasers, Armor of Pride
- Centurion Master of Signals: Cognis Signum, Vox Disrupter, Augary Scanner, Nuncio Vox
- [Line] Tactical Squad (6th Squad, 12th Company): 20 marines with bayonets, vexilla, artificer armor, power fist
- [Line] Cataphractii Terminator Squad Hammerfall: 5 marines with Cataphractii armor, 3 power fists, 2 chain fists, 5 combi-meltas
- Transport: Land Raider Proteus The Bladed Hand
- [Line] Veteran Tactical Squad Exomis ("The Remnants"): 10 marines with 2 power swords, 1 power axe, 1 power fist, vox, 2 meltaguns, 1 combi-melta, and artificer armor
- Contemptor Dreadnought Konax Silat with Gravis-melta and chainfist with inbuilt grav gun
- Heavy Support Squad: 5 marines with lascannons
- Aegis defense line
1752 points
Phil:I cannot remember who won the roll to decide to go/deploy first. But Sons of Horus took the first turn.
My deployment strategy was to use the Praetor to support my big tactical squad to take and hold the central objective. My Contemptor would anchor my line in a central position, giving me the flexibility to move him to wherever he would be needed. My elite units had transports for mobility to enable them to counterattack the expected Blood Angel advance. The newest addition to my forces was the Heavy Support Squad. Due to changes in the rules, I had to repurpose my tooled-up artificer sergeant as a Master of Signals to provide the same role of fire direction for the unit. I knew I would be relying on their firepower to keep the Spartan from running rampant over my lines. The veteran squad in the rhino would be nearby to shield this vulnerable unit from a lightning assault by the Blood Angels with jump packs.
Battle:
 |
| Deployment |
 |
| End of Sons of Horus Turn 1 |
 |
| End of Turn Blood Angels Turn 1 |
Start of Sons of Horus Turn 2: Sons of Horus earn 1 VP for holding Objective #2 (central ruin)
1-0
 |
End of Sons of Horus Turn 2
|
Start of Blood Angels Turn 2: Blood Angels earn 1 VP for holding objective #3 (red ruins)
1-1
 |
| End of Blood Angels Turn 2 |
Start of Sons of Horus Turn 3: Sons of Horus earn 1 VP for holding Objective #2 (central ruin)
2-1
 |
| End of Sons of Horus Turn 3 |
Start of Blood Angels Turn 3: Blood Angels earn 1 VP for holding objective #3 (red ruin) and 1 VP for holding objective #1 (cathedral)
2-3
 |
| End of Blood Angels Turn 3 |
Start of Sons of Horus Turn 4: Sons of Horus earn 1 VP for holding Objective #2 (central ruin)
3-3
 |
| End of Sons of Horus Turn 4 |
Start of Blood Angels Turn 4: Blood Angels earn 1 VP for holding objective #3 (red ruin)
3-4
 |
| End of Blood Angels Turn 4 |
Start of Sons of Horus Turn 5: Sons of Horus earn 1 VP for holding Objective #2 (central ruin) and 3 VP for Slay the Warlord
7-4
 |
| End of Sons of Horus Turn 5 |
Start of Blood Angels Turn 5: Blood Angels earn 1 VP for holding objective #3 (red ruin)
7-5
 |
| End of Blood Angels Turn 5 |
Die was rolled and no final turn was played.
Final score: 8-5
Sons of Horus: Objectives (4), Slay the Warlord (3), and Attrition (1) = 8
Blood Angels: Objective (5) = 5
Post Game:
Phil - Sons of Horus:
I am writing this about five months after the game so I do not remember every detail, but here are my general impressions.
This Sons of Horus army performed really well, with a good balance of shooting and melee units. We totally forgot about reactions for the first turn and a half, but I do not think it affected the outcome since we both forgot about it.
One key to the game was that one of Pete's big scoring units spent the entire game sitting on an objective far from the action. They scored him 4 VPs but they could not support the rest of his force in the main combats around the central ruin and the cathedral.
Another key was the presence of the dreadnought in the center of my line. I had it in the perfect position, where it could support either my tactical squad or my elites. Pete got to experience what it feels like to be facing a dreadnought without very many units that are a real threat to it in melee. Just the presence of the dreadnought kept his Crimson Paladins away from my scoring tactical squad, running from cover to cover and afraid to assault until it was too late. The dreadnought only destroyed the Vindicator all game, but the threat it posed was enough to disrupt Pete's entire line.
I remember I rolled really well with my lascannons to bring down the Spartan in Turn 2. That was huge as it denied Pete the mobility to strike with his terminators on his own terms, and took out a big portion of his anti-tank guns (the Spartans lascannons) that could have killed my dreadnought. Plus, destroying such a tough unit (it even had flare shields!) was such a huge swing to the momentum that it just felt like from that point on that I had the initiative to control the battle and Pete was on the backfoot.
Finally, I got lucky with a roll of 3 VP for slaying Pete's warlord. From that point on, it felt inevitable that the Sons would be victorious.
Looking back at this battle at least makes me realize I am not as horrible of a general as I feel when I play my White Scars. Unfortunately, Horus Heresy is more about who has the best army selection rather than who has the best tactics. My poor White Scars just seem to be saddled with a number of weak, ineffective and/or over-costed units compared to our other factions. I will be working to remedy that in the coming months. This game was a bit more balanced with both sides having some armor and firepower (Sparatan and Vindicator vs Land Raider and Contemptor) and then a mix of infantry and elites. It came down to me being able to concentrate more of my force on targets of my choice and then dictate the flow of the game from there.
Thanks for reading!


A good, quick batrep with lots of lovely pics of your crisply highlighted sons. The outcome wasn't at all one sided and I had to actually read all the way to the end to see who won. Your victory was greatly augmented by a good d3 roll for slay the warlord. It was actually super close
ReplyDelete