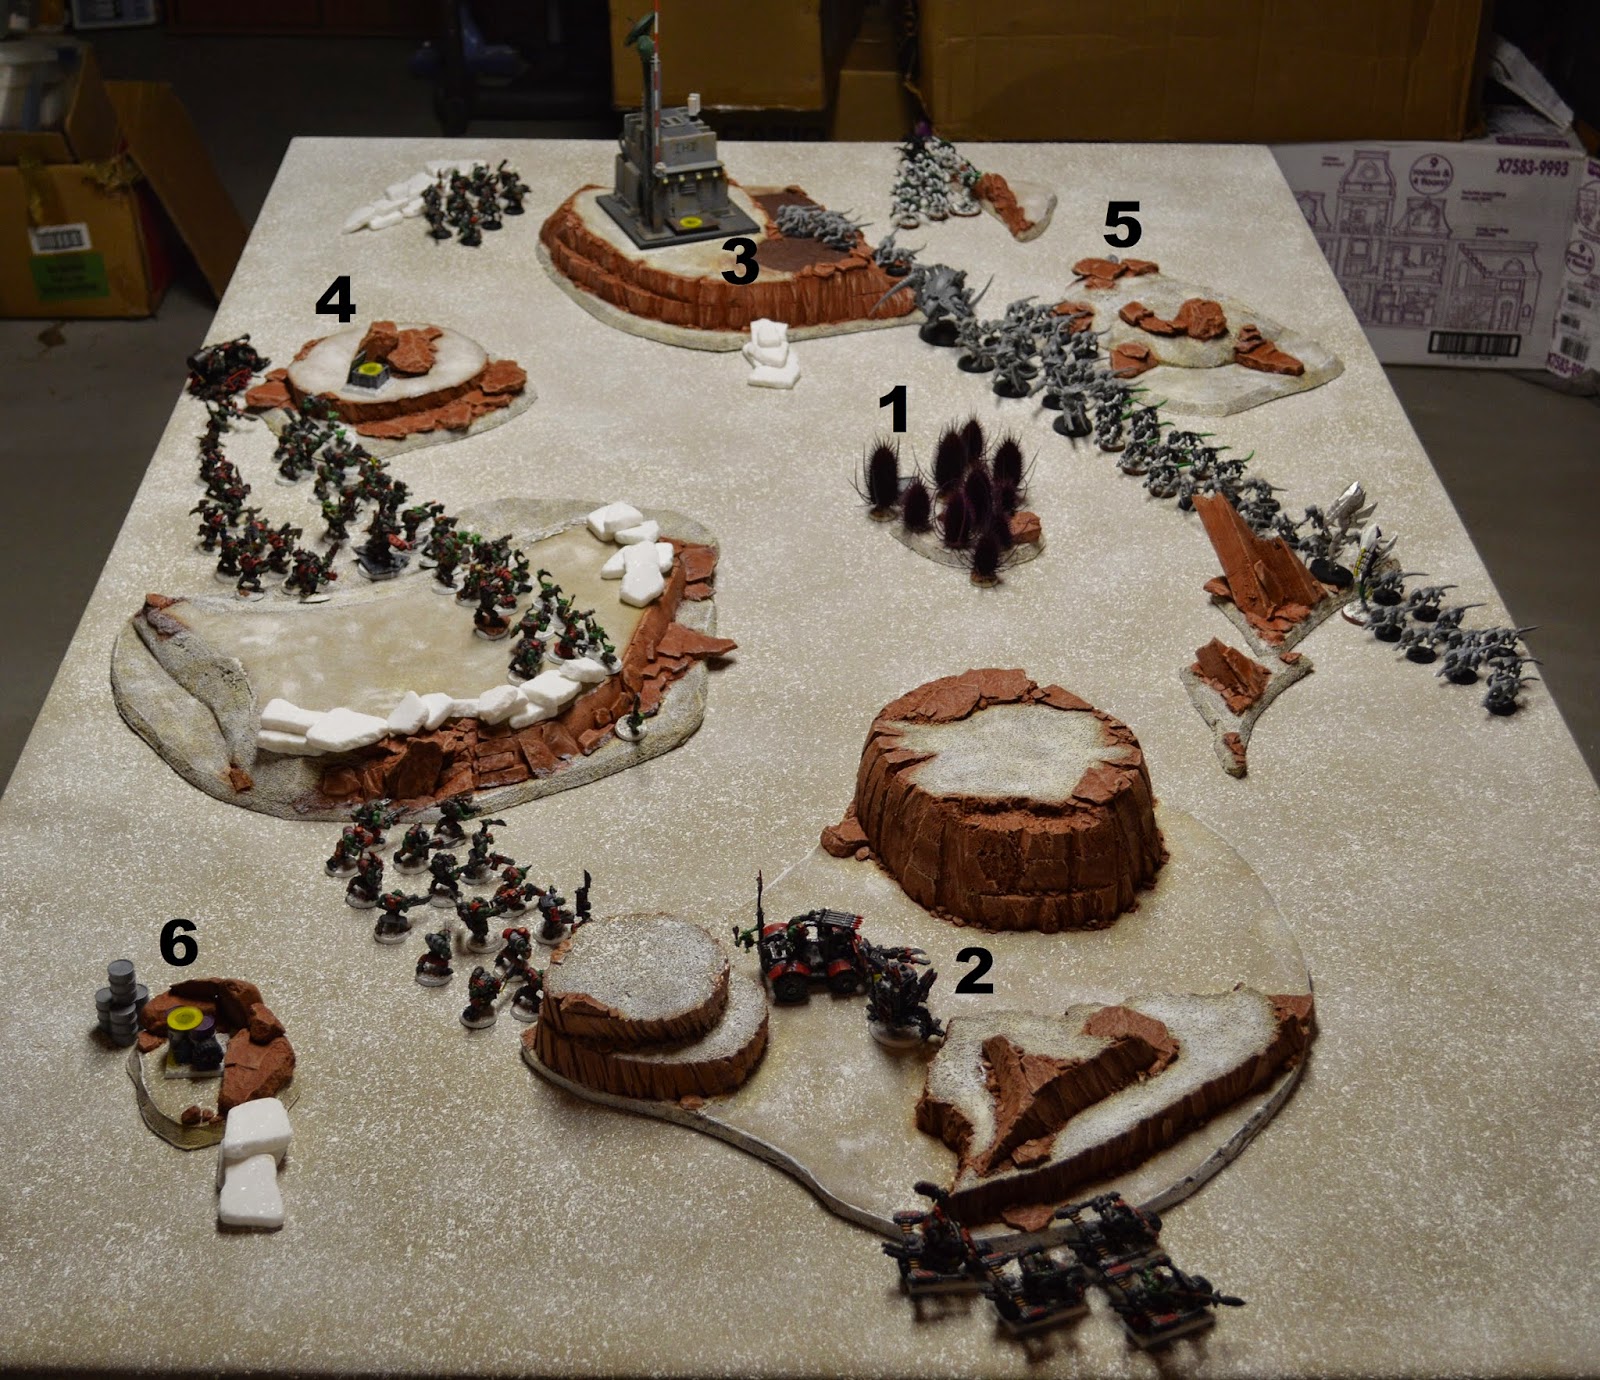
Bill wins roll to select table edge and chooses north edge.
Bill wins roll for first turn and elects to have the Orks deploy and go first.
Bill rolled for Night Fighting and didn't get it.
Orks - All units within 12" of Warlord add 1" to run and charge rolls (forgot to use it).
 |
| Deployment map showing the numbered Objectives. It was a good balance between the two deployment zones. |
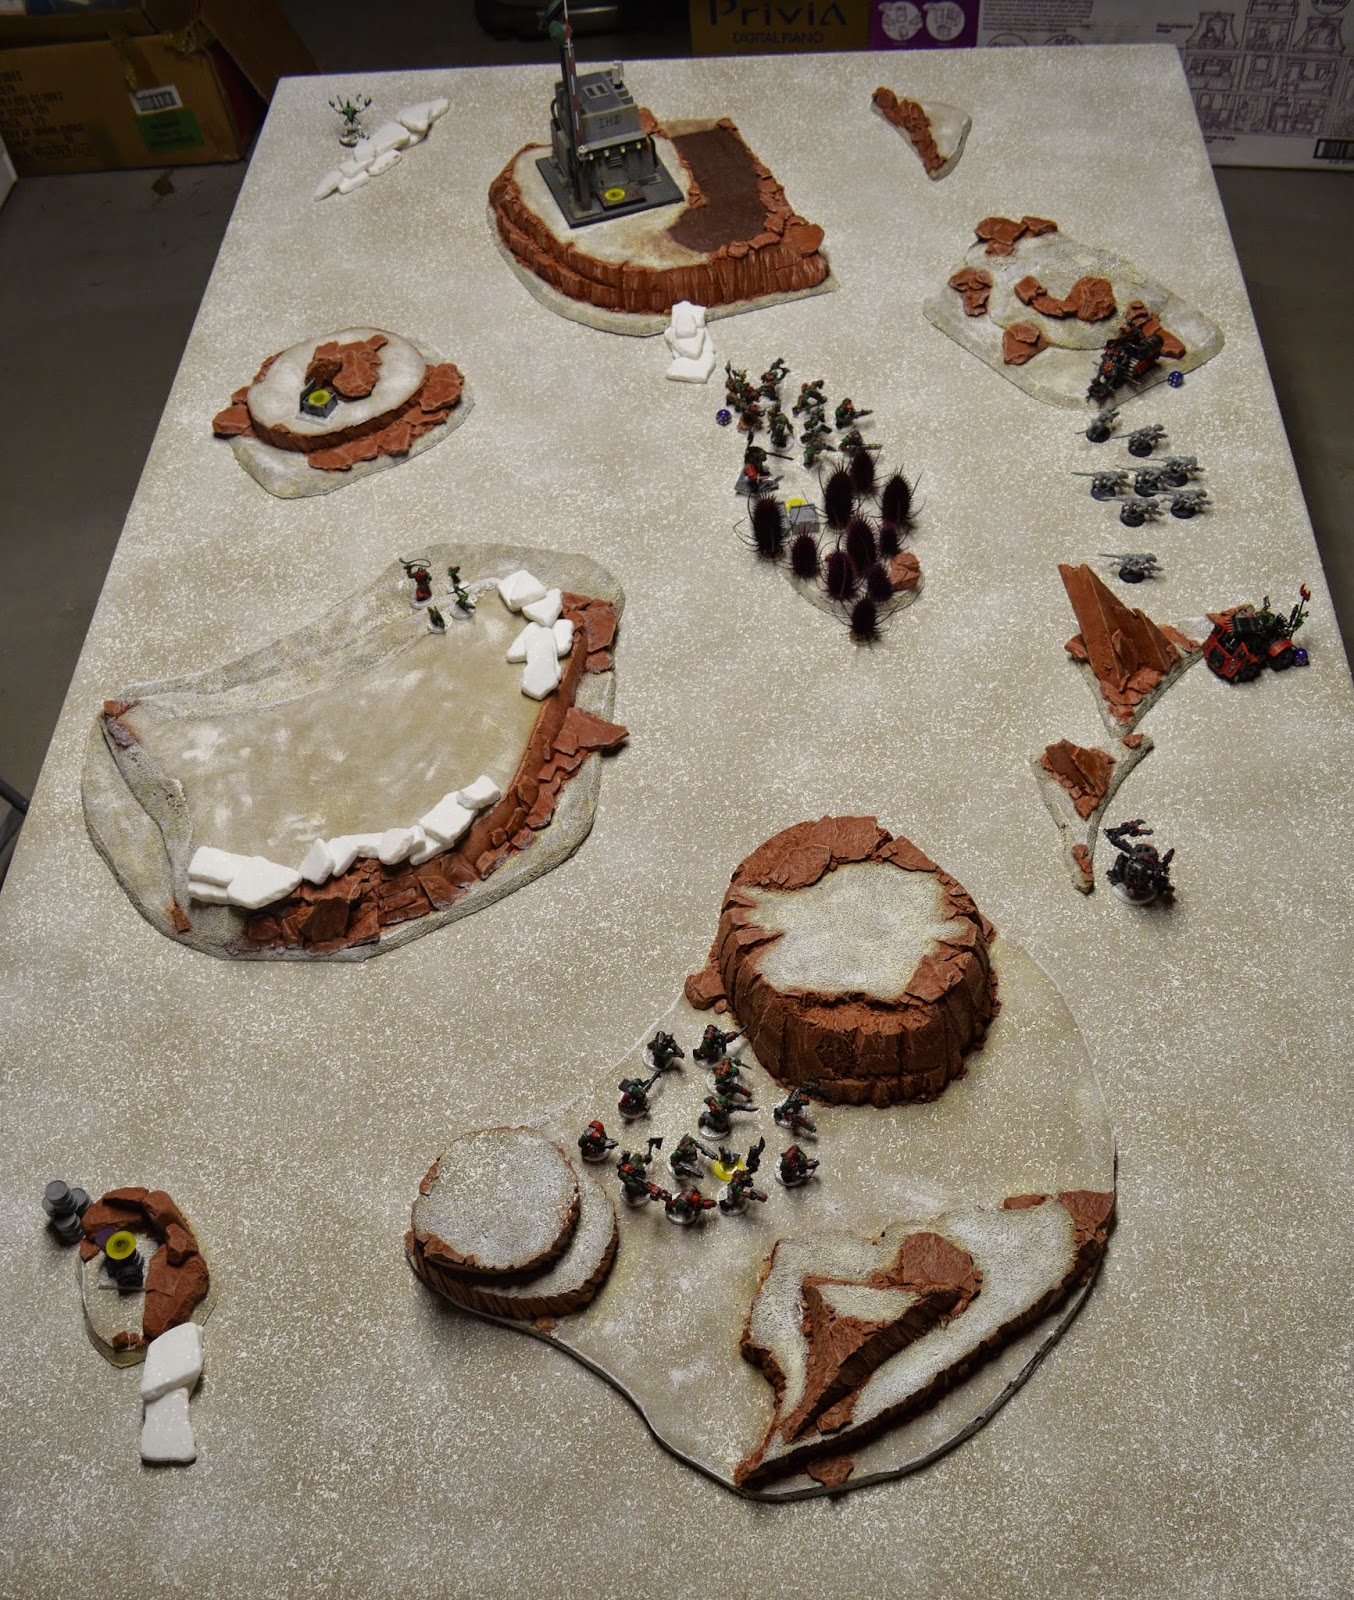
Ork Deployment and Da Plan
Phil: Looking at the objectives, I had one in my backfield, two just outside of my deployment zone, two in no-man's land, and one in the enemy deployment zone. I put the Shoota boyz where they could either advance to shoot the incoming Tyranids or move back to claim the backfield objective (6) or they could move to the right to grab Objective 2 in the rocks. I deployed the bulk of my army in the center where I had an open approach to advance towards the mid-field Objectives, if needed.
The plan was pretty straightforward. I knew we would be evenly matched in close combat so my priority was to get the charge. I deployed my units in long, think ranks in an attempt to make Bill charge my Grotz (if he didn't waste time shooting them) so that my boyz and Warboss could then charge him. As a backup, I put the 'Ard Boyz even farther back to provide a counter-charge even if my Slugga Boyz got charged by his main line or a surprise Infiltrating or Outflanking Genestealer brood.
My fast units would zip around the flanks to grab objectives or hit the isolated units at the ends of his lines where he couldn't bring his numbers to bear. The Killa Kan would hide in the rocks until the squishy little bugs got close enough to crush. I didn't leave anything in Reserve as I knew that pretty much everything would be in melee by Turn 2 or 3 and I didn't want to risk anything showing up too late to help (in hindsight, I should have kept the Skorcha in Reserve to Outflank as it didn't do anything the first few turns anyway and might have got killed before it could grab its Objective).
Since both armies had Infiltrators, I was lucky to win the roll and deploy my Kommandos first so I could grab the blind spot behind the Communication Tower. The plan was to use their Burna to catch the Tyranids in the flank or contest Objective 3 (the tower). Also, I didn't want the Genestealers and Broodlord deploying near the tower and hitting my main battle line in the flank while they're also facing his main horde.
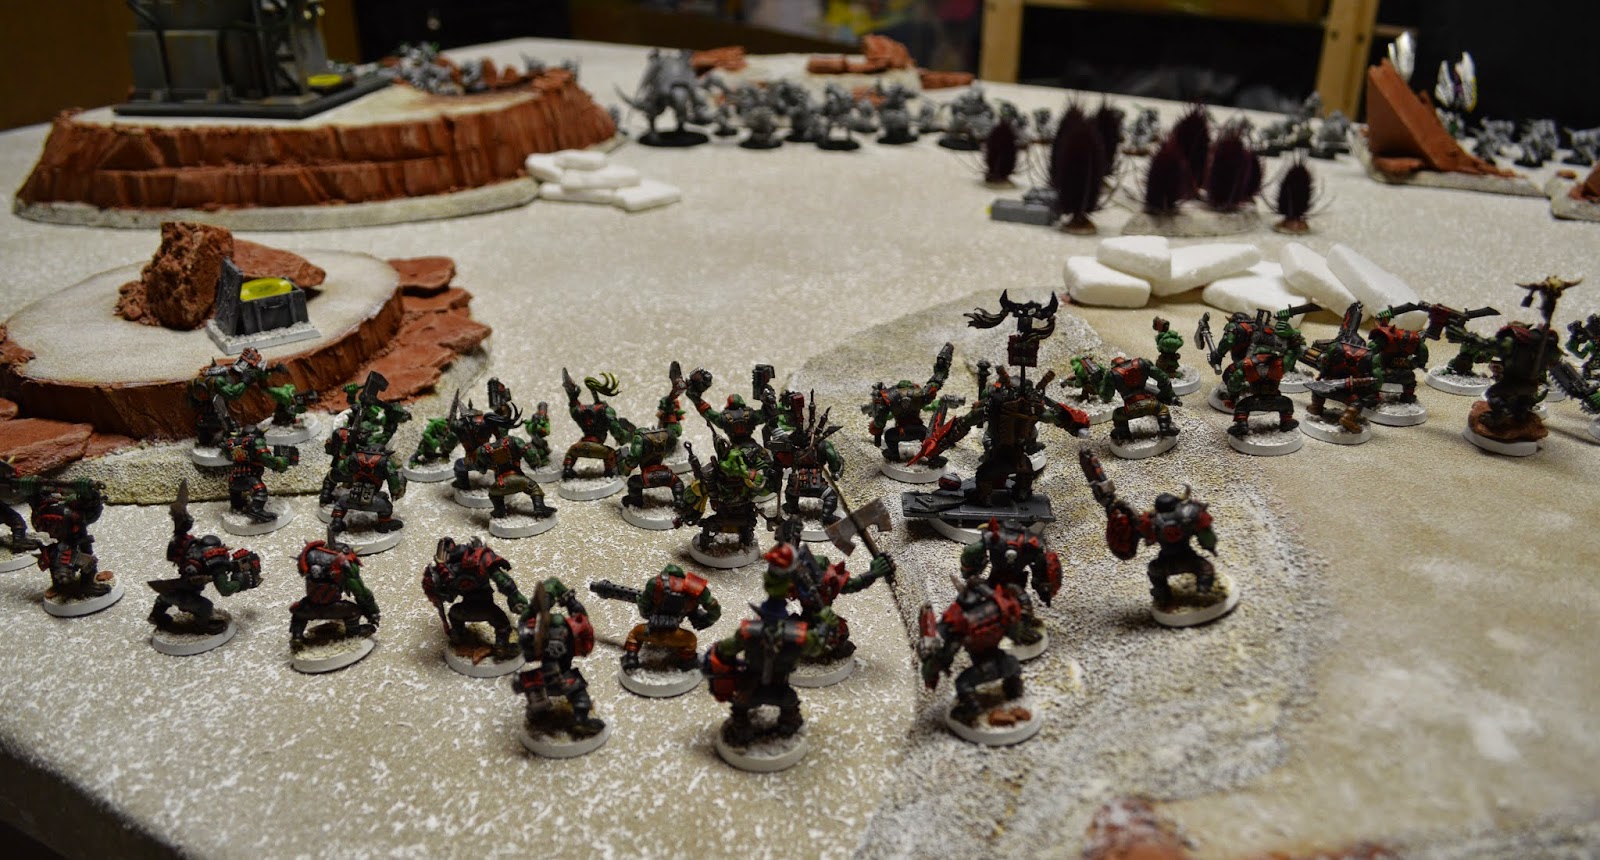 |
| The Ork units were deployed close together, where they could support each other. |
 |
| The Orks deployed in ranks: Grotz in front, then Slugga Boyz and then the 'Ard Boyz in the back where they could jump in to support as needed. |
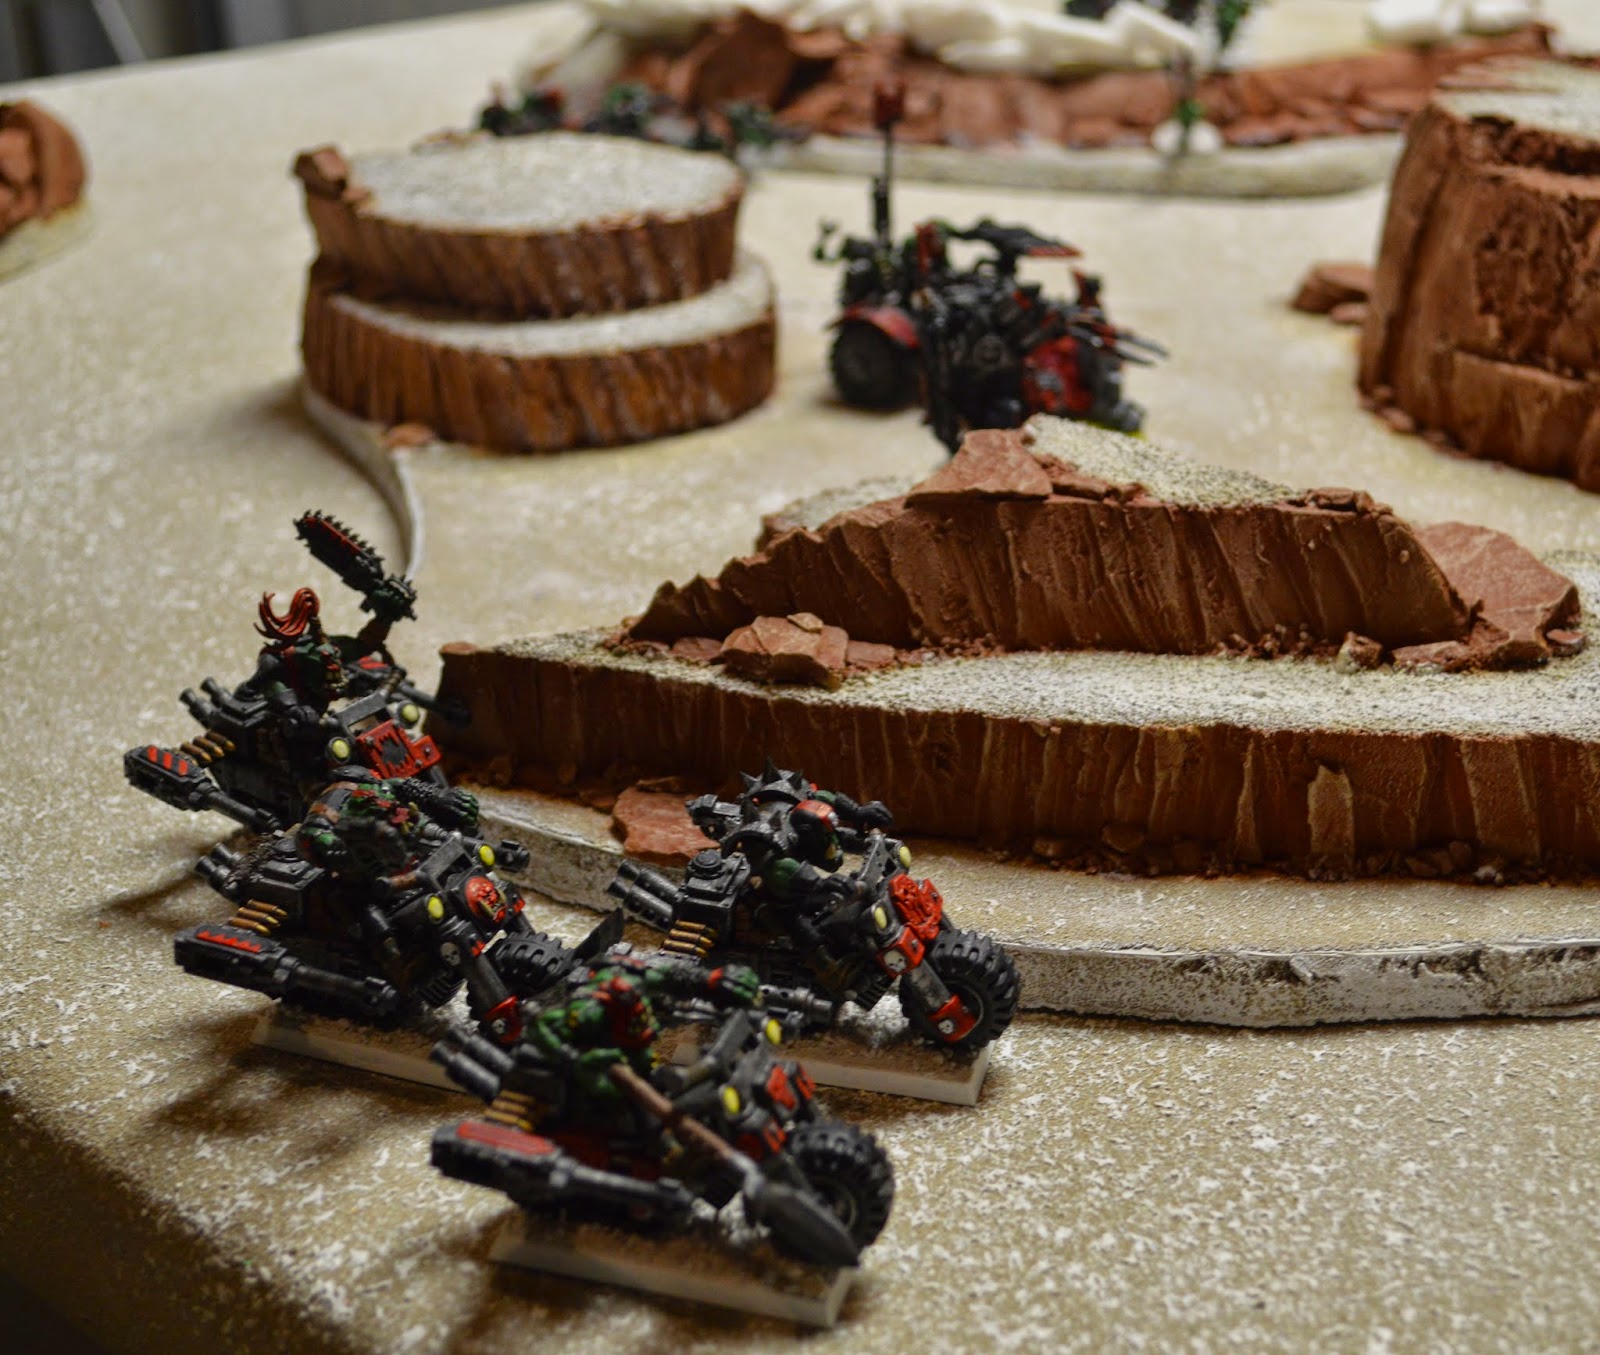 |
| The Ork vehicles were on the far right (east) of the battlefield, ready to hit the Tyranids in the flank. |
Tyranid Deployment and Strategy
Bill: Seeing as this was my first battle in years and I would be getting the hang of the new rules, I just deployed my army in the most general way I could and decided to let this battle serve as a learning experience. The hive mind certainly wouldn't bat an eye (or whatever) at sacrificing a small swarm to gain knowledge of the enemy. A swarm army doesn't have many options for deployment since all 53 of my gaunts would have to be within a foot of my 2 synapse units. Luckily, I had 2 elite squads of Genestealers who wouldn't need synapse support and could dash around the edges of the board to nab those hard-to-reach objectives. The swarm would have little choice but to horde together and head up the middle of the board where Phil's green masses would meet them.
I decided to infiltrate one squad of Genestealers and outflank with the other. The Broodlord and his retinue would start on the board to ensure their presence throughout the battle while the regular stealers would pop out of the board edge on some unknown future turn to hopefully get behind the Orks and capture some distant objective the main swarm would never reach. Sounded good! The only little snag occurred when Phil's Kommandos Infiltrated first and took the spot I had my eye on for the Broodlord and pals. In fact, it was the only spot on the board completely out of sight or at least 18" away from any Orks which forced my Broodlord to deploy FURTHER BACK along my battle line than he would have deployed had I just placed him normally. Oh well. This was a learning experience anyway.
Since I had never seen my army in action, I had literally no idea how my units would preform. I put the warriors across from the boys to try out the barbed strangler on their tightly crowded masses and the zoanthropes on my left to zap the vehicles. Spread between them was the mass of gaunts, 5 squads of troops to fight or secure objectives as needed.
I was very lucky with my pre-game dice rolling, not only choosing my deployment zone and deploying second but also seizing the initiative to get the first turn! I'll probably never get such perfect circumstances to win a game again.
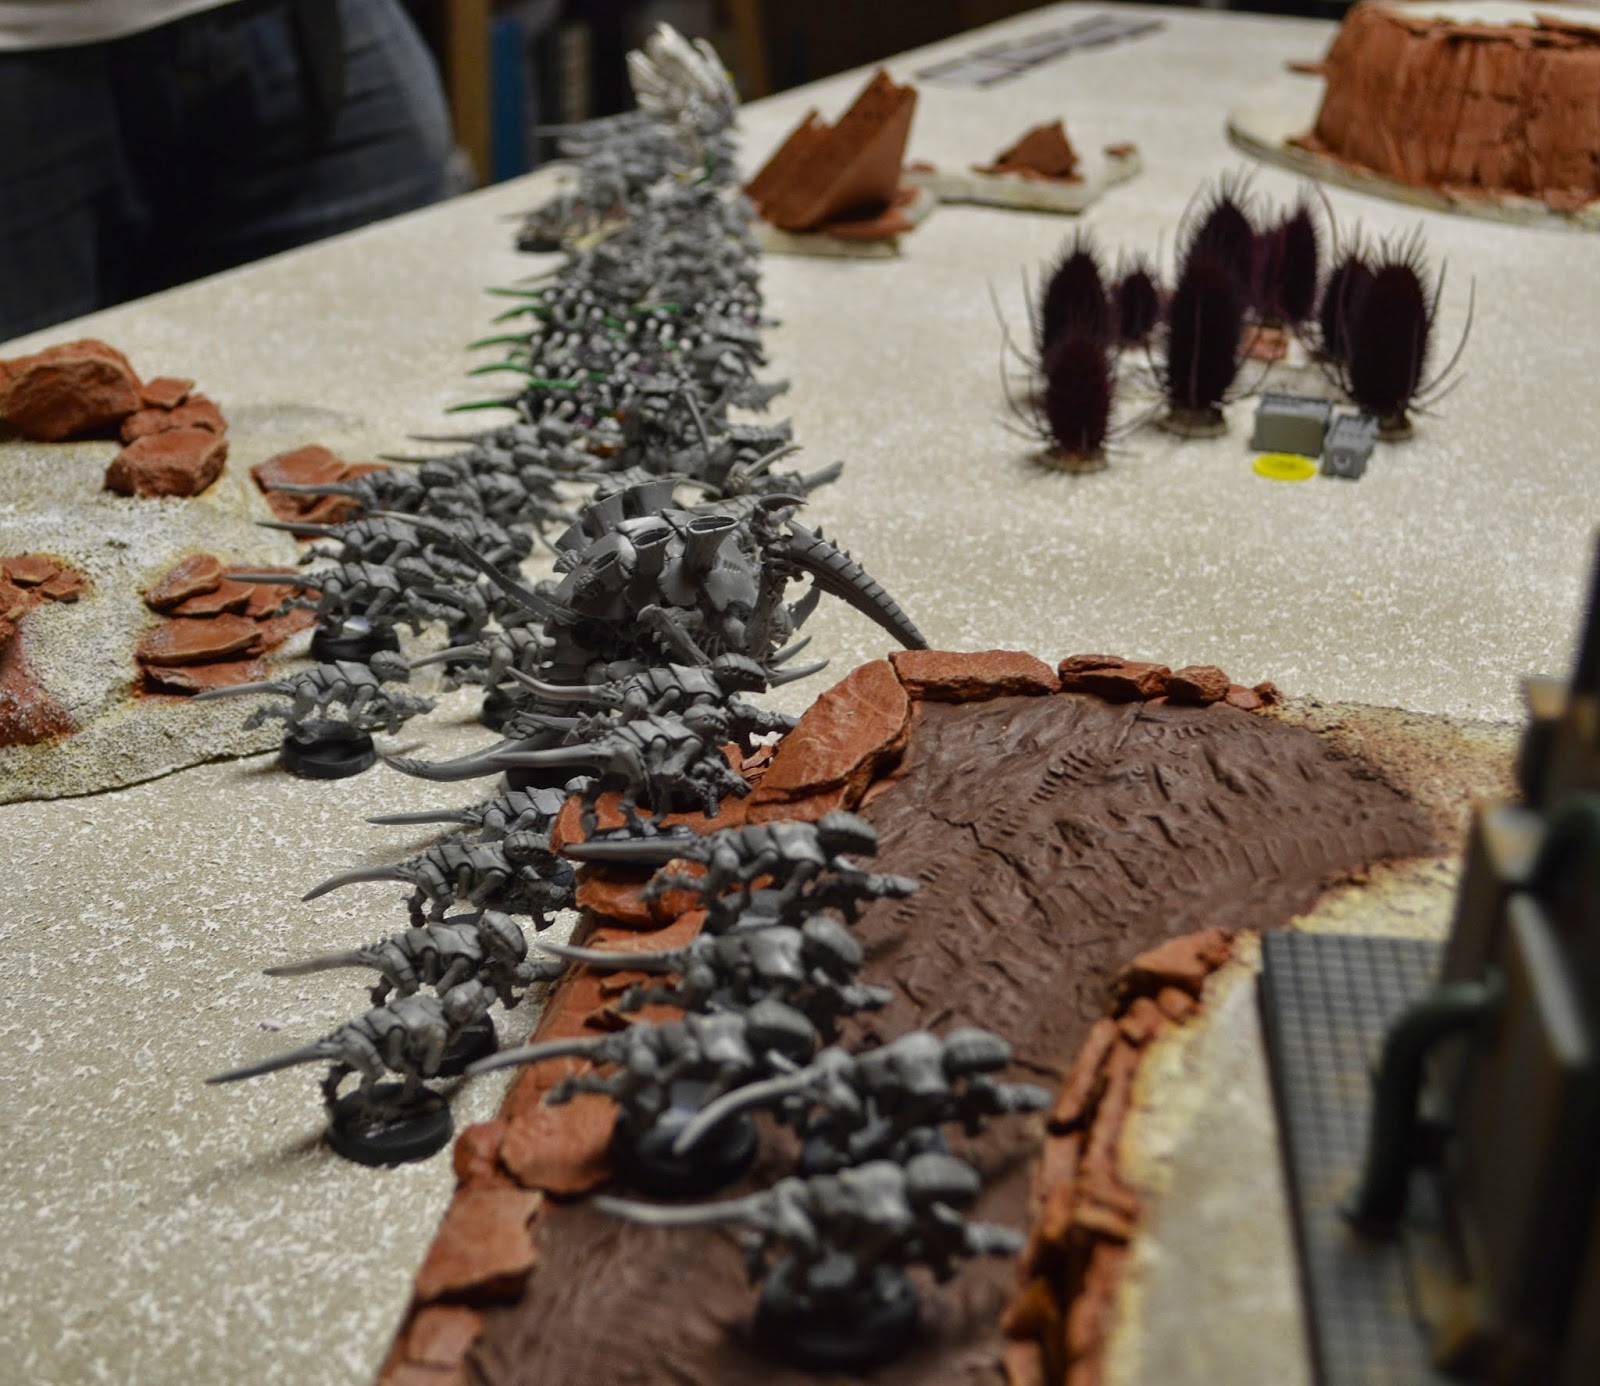 |
| The Tyranids deployed in a wide line of gaunts with the two Synapse nodes spaced evenly to cover the entire line. |
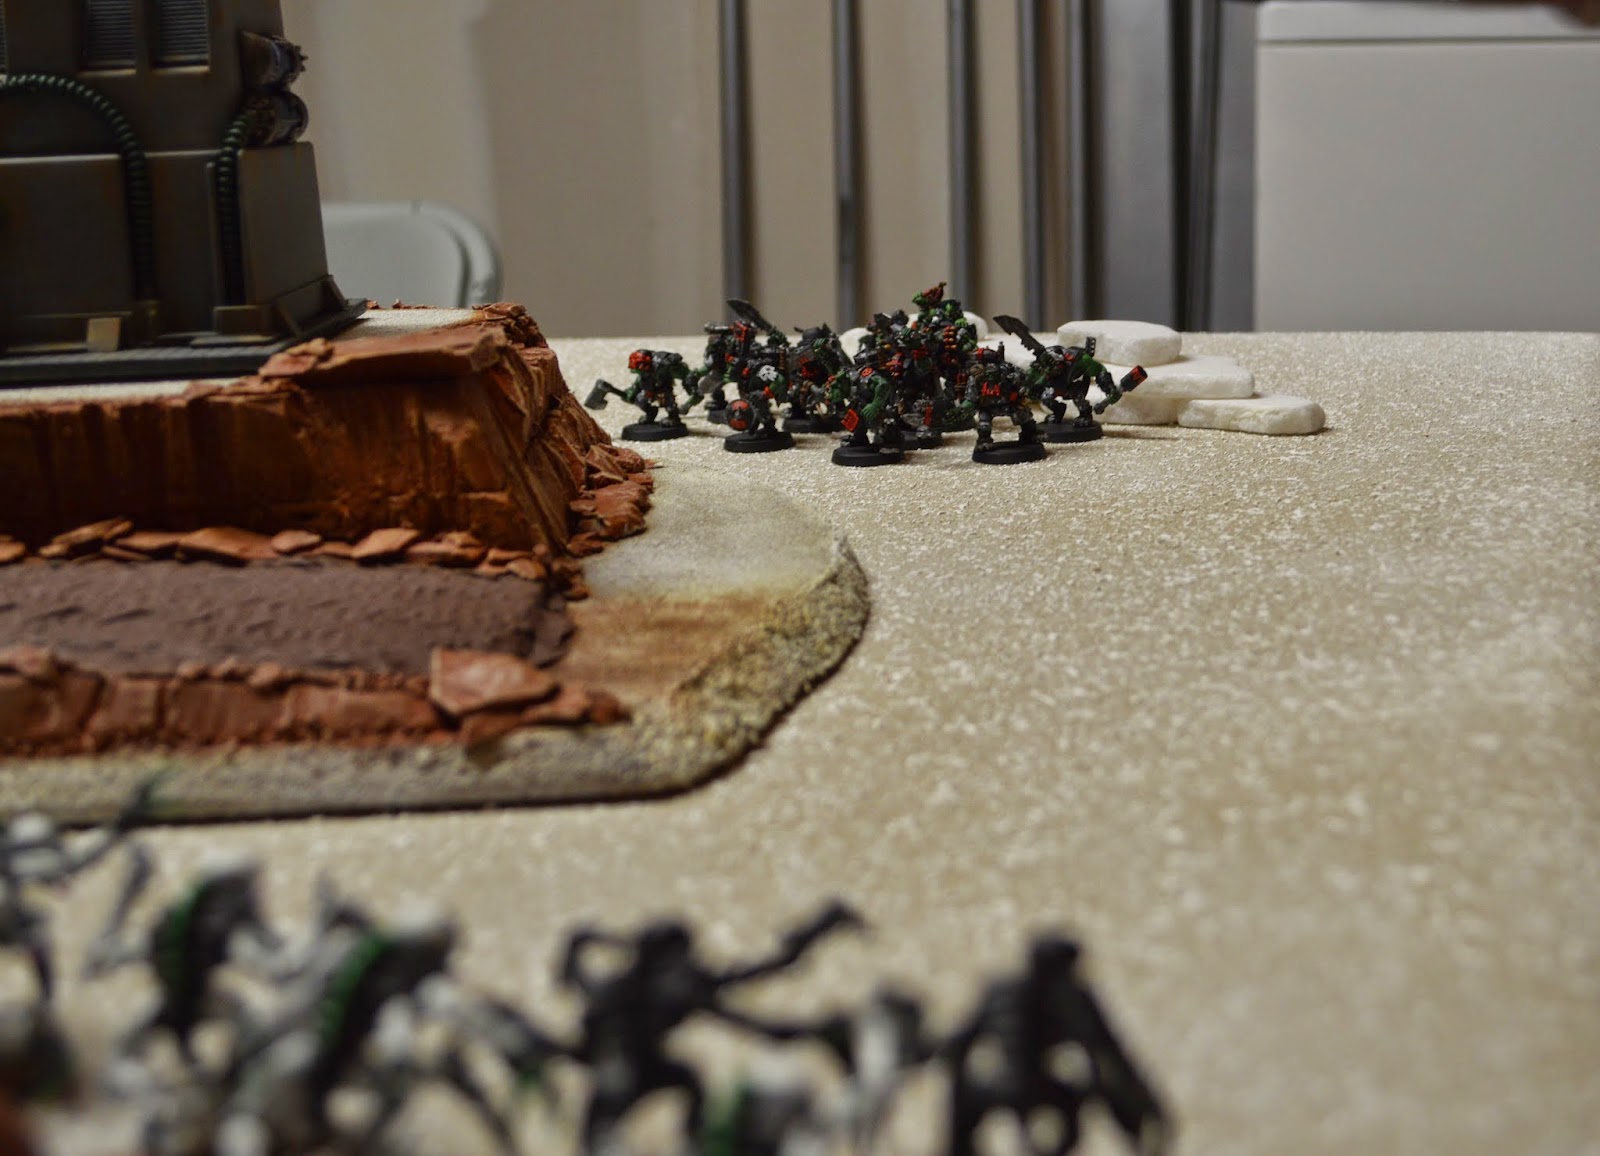 |
The Kommandos infiltrated near the Comm Tower. The Genestealers then infiltrated directly across from them.
|
Bill rolled to Steal the Initiative... and got it! Clearly, my Orks were caught off guard by the speed and aggression of this new foe!
Tyranids Turn 1
Bill drew his Tactical Objectives and got Secure Objectives 4 and 6, Blood and Guts (kill a unit in assault) and Harness the Warp (manifest a psychic power). His Warlord Trait gave him the fourth Objective.
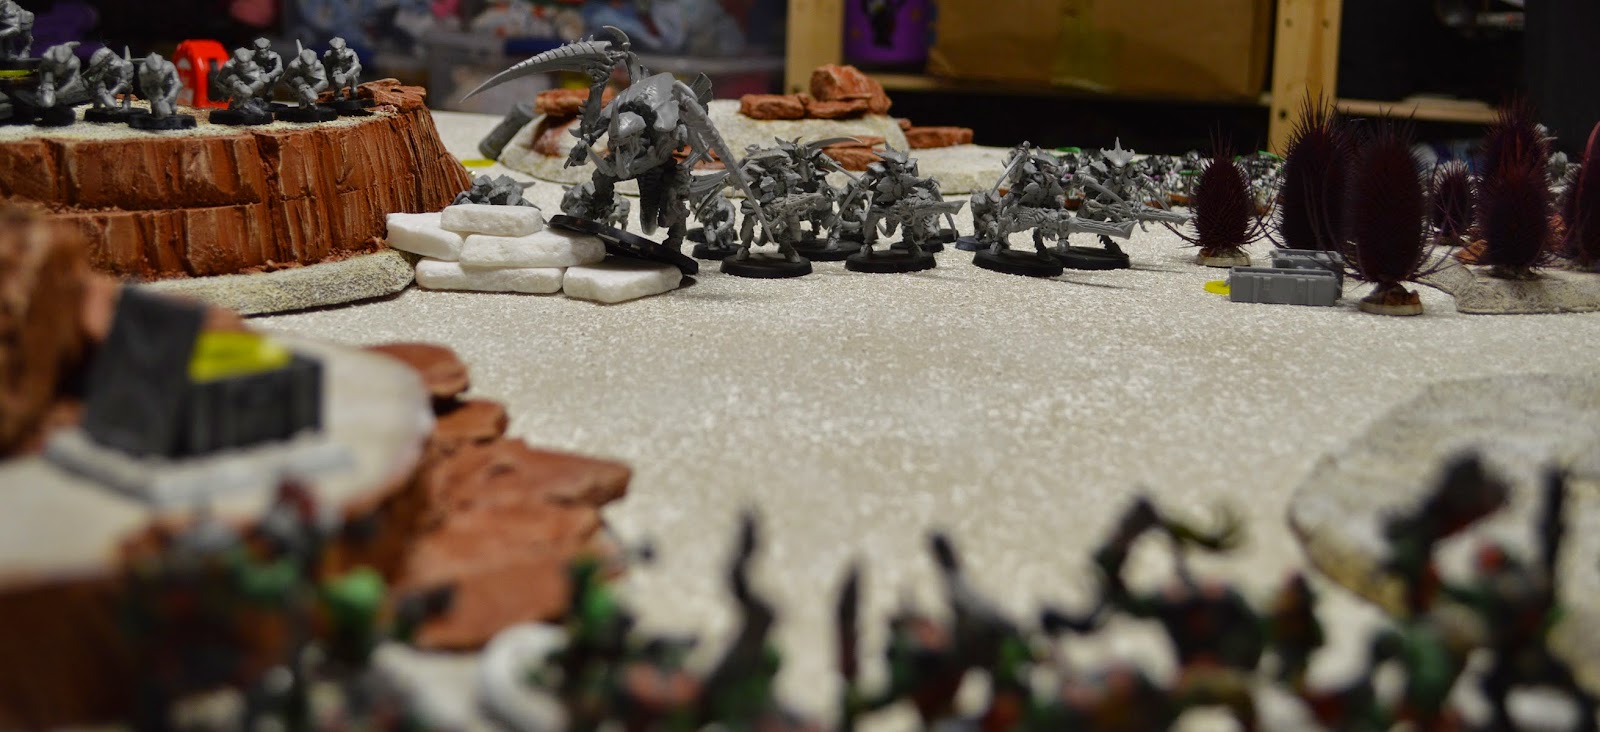 |
| The Carnifex and the Warriors lead the charge. |
 |
| In the west, the Broodlord and his bodyguard race towards the Kommandos. |
 |
| The scouts of each army prepare to engage each other. |
The Broodlord manifests The Horror on the Kommandos, who pass their Pinning test due to Mob Rule, without losing any boyz. But this nets the Tyranids a Victory Point for Harness the Warp.
 |
| Most the Gaunts run forward, but stay within synapse range. |
The Zoanthropes manifest Paroxysm on the Slugga Boyz, reducing their WS and BS by two until the start of the next Tyranid turn.
 |
| The entire Tyranid line advances on the Ork position. |
The Tyranid Warriors conduct the only shooting for the advancing Tyranids. They elect to shoot the Gretchin and kill 5 (along with two Slugga Boyz caught by the large blast template of the Barbed Strangler).
 |
| Overview, end of Tyranid Turn 1. The Tyranids race into the middle of the field. |
The Tyranids get 1 VP for Harness the Warp. Bill elects to discard Secure Objective 4 (the ammo crates just outside the Ork deployment zone).
Tyranids: 1
Orks: 0
Orks Turn 1
I drew my Tactical Objectives and got: Big Game Hunter (kill a vehicle or monstrous creature in my turn), Assassinate (kill a character), and Secure Objective 5 (in the Tyranid backfield). Not an ideal starting hand of objectives! Bill's only character is the Broodlord, who is far from my main lines. His only MC is the Carnifex. And Objective 5 is directly behind his advancing swarm.
I sent the Skorcha to the left flank, hoping to zip past the Genestealers while they were tied up in melee and grab Objective 5 behind the Tyranid lines. I figured I could take down the Carnifex in close combat with my Warboss once close combat was joined, but I didn't have much hope of getting Assassinate in the first few turns as my Kommandos would be greatly outmatched in close combat by the elite Genestealers.
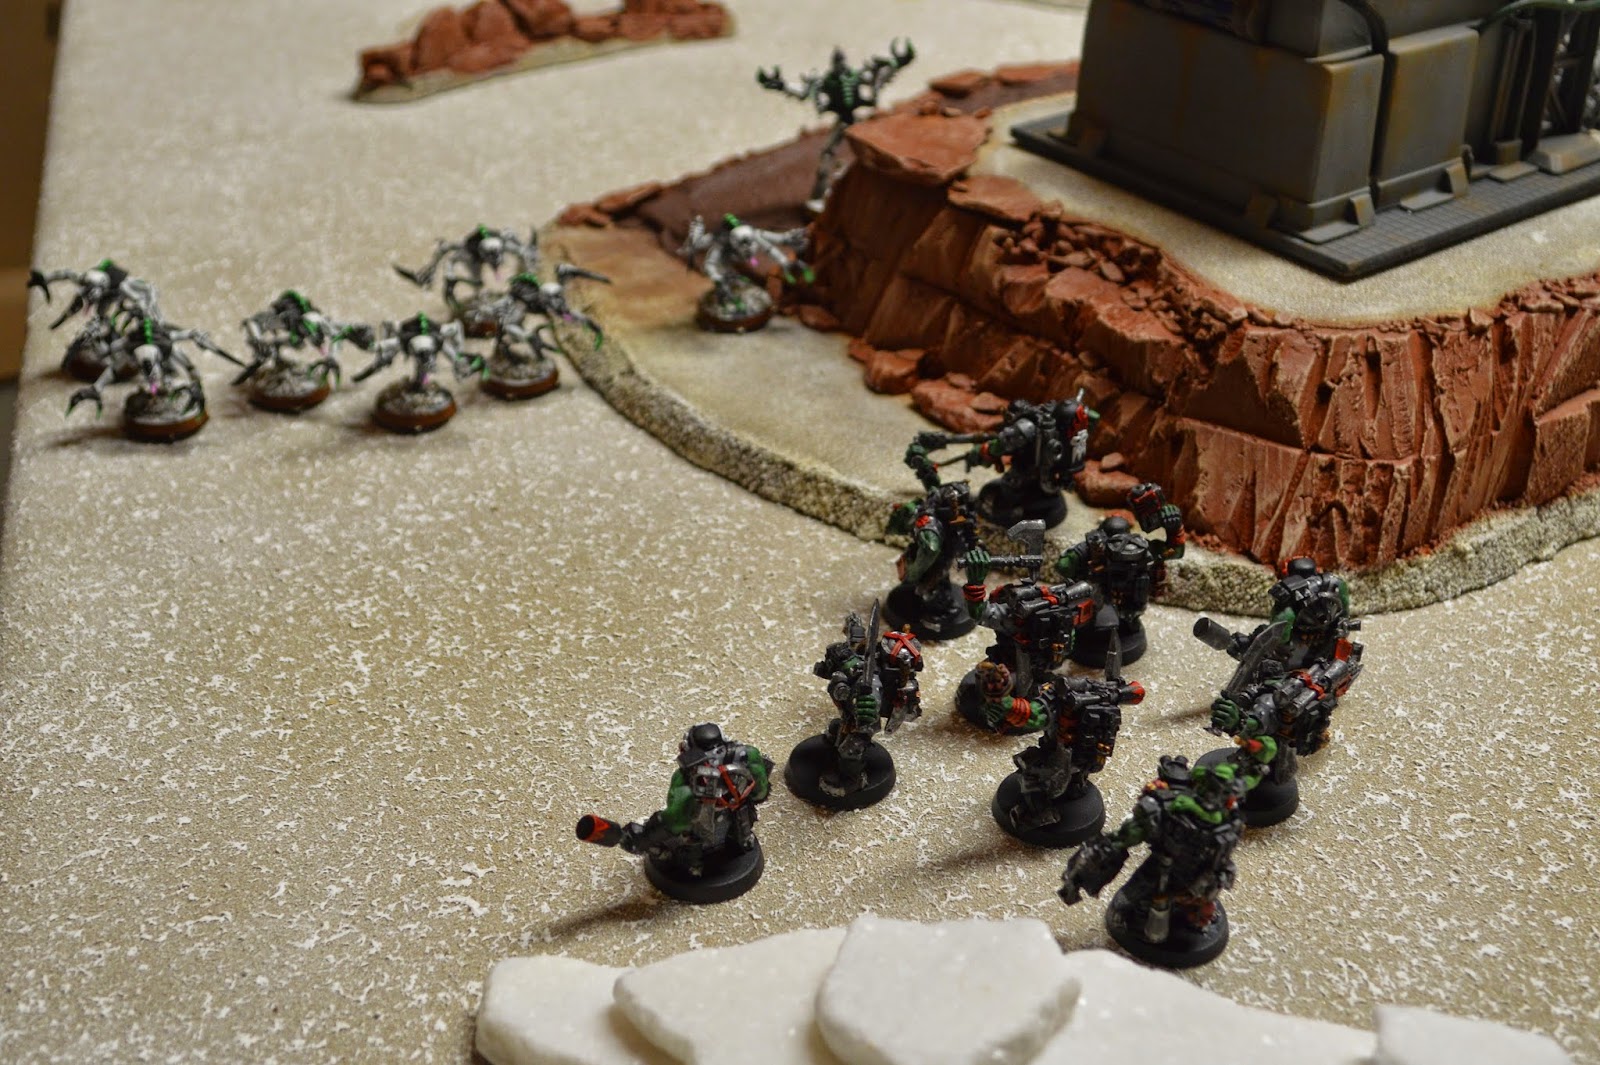 |
| The Kommandos kills two Genestealers with their Burna, but are unable to charge due to Infiltrating. |
 |
| The Grotz move back into coherency and shoot two Gaunts! Hooray! |
I had to move the Gretchin mostly sideways to get back into squad coherency, but I was able to also advance slightly to the edge of the hill. Most of my guns were still out of range and the rokkits missed. The big shootas in the 'Ard Boyz and Shoota Boyz mobs managed to kill two Gaunts. The only excitement in the center of the battlefield came when a mek managed to kill himself with a mis-firing Kustom Mega Blasta! At least that gave the boyz some entertainment.
My luck was better on the east flank where the Ork vehicles struck at the end of the Tyranid line. The Rokkit Buggy tried to drop one of those big floating brains, thinking a head that big would look great on a banner pole, but the rokkits sailed wide of the target. The Warbikers were thrilled to finally shoot something NOT wearing power armor and managed to kill 8 of the scuttling bugs.
 |
| The Warbikers raced around the rocks and obliterated 8 Termagaunts in a hail of dakka. Finally, some action! |
 |
| Overview, end of Orks Turn 1. The main Ork line advances slightly, while the vehicles hit the Tyranid flank. |
I discarded Assassinate because it was the hardest of my three, although they would all take at least 1 or 2 more turns to accomplish.
Tyranids: 1
Orks: 0
Tyranids Turn 2
Bill drew Secure Objective 2, the transmitter beacon in the middle of the eastern rocks. He still had Secure Objective 6 and Blood and Guts.
The Tyranid Reserves arrived: a second brood of Genestealers using Outflank. The enter from the east table edge and run to secure Objective 6 in the Ork backfield and also spread out toward Objective 2 in the rocks.
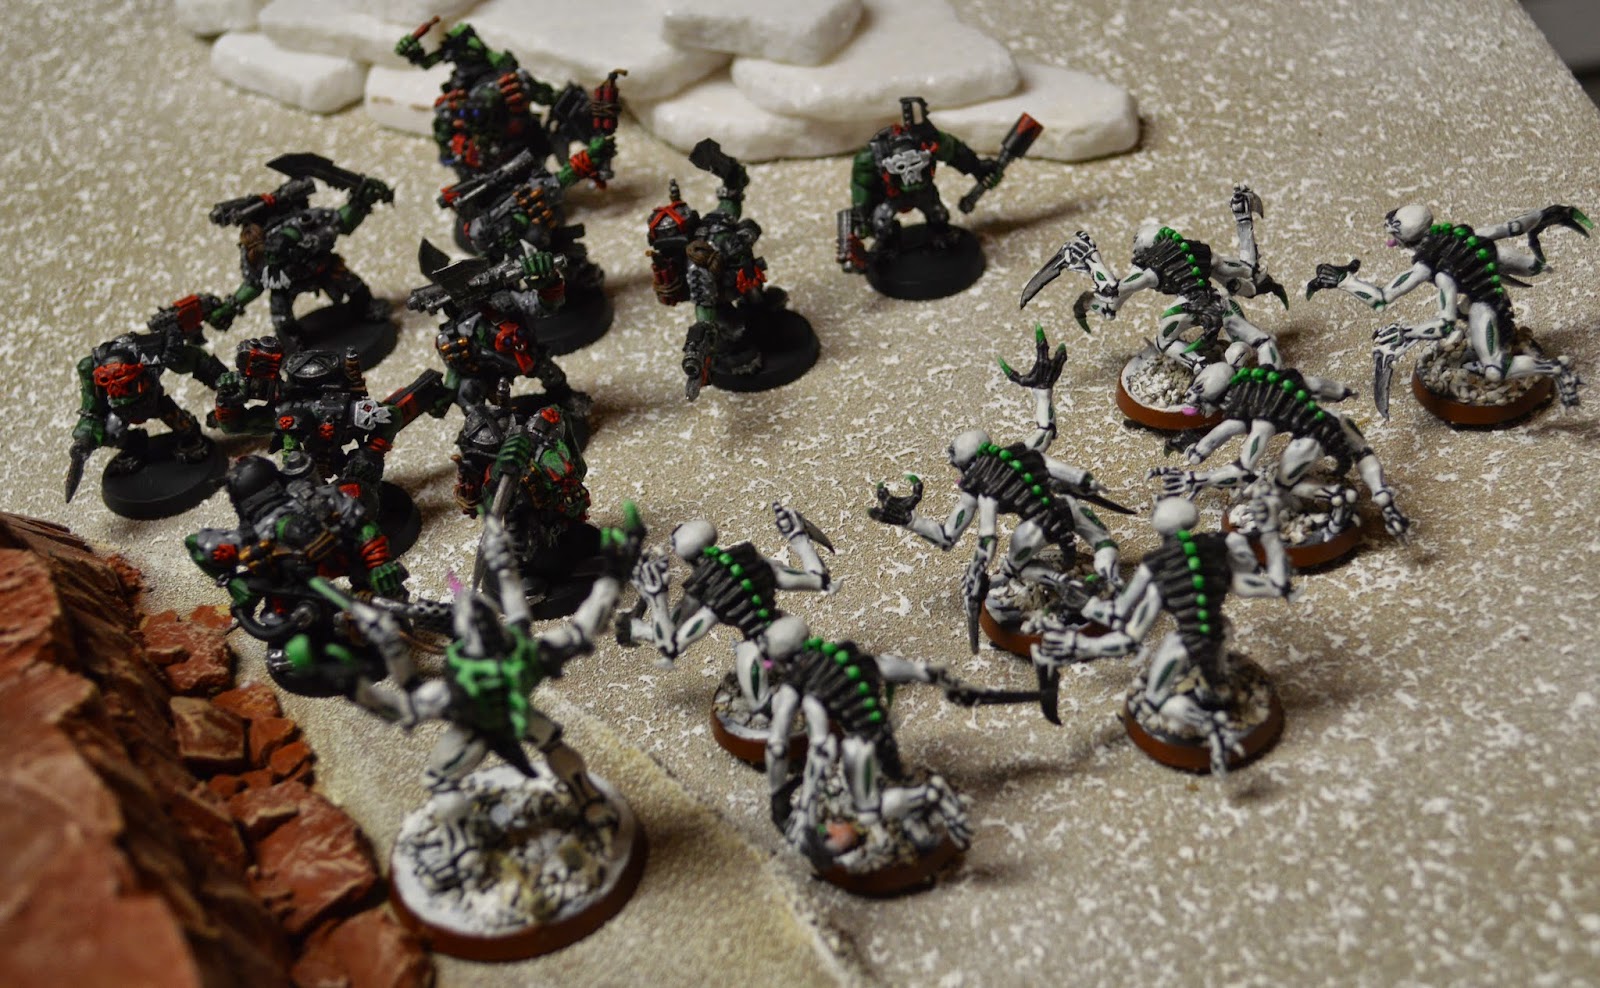 |
| The Genestealers race toward the Orks and the Broodlord uses his psychic powers to create chaos amongst the Orks. |
In the psychic phase, the Broodlord once against manifests The Horror on the Kommandos. The Orks are so shaken by the horrific visions, the Nob has to kill three boyz to snap them out of it and make them fight! He won't stand for any cowardly gitz in his mob!
The Zoanthropes once again curse the Slugga Boyz and Ork HQs with Paroxysm.
 |
| The boyz withstand a hail of living ammunition thanks to the Painboy and his drugs. The Grotz aren't so lucky. |
The rear unit of Gaunts shoots the Gretchin to get clear the path for the rest of the Tyranids to shoot and charge the Slugga Boyz. They kill five and open a nice clear lane of fire to the Ork mob.
Two units of Gaunts, the Warriors and the Carnifex all fire at the Slugga Boyz, but only manage to kill a total of three boyz due to help from the Painboy and his Feel No Pain effect. The boyz pass the Pinning test from the Barbed Strangler.
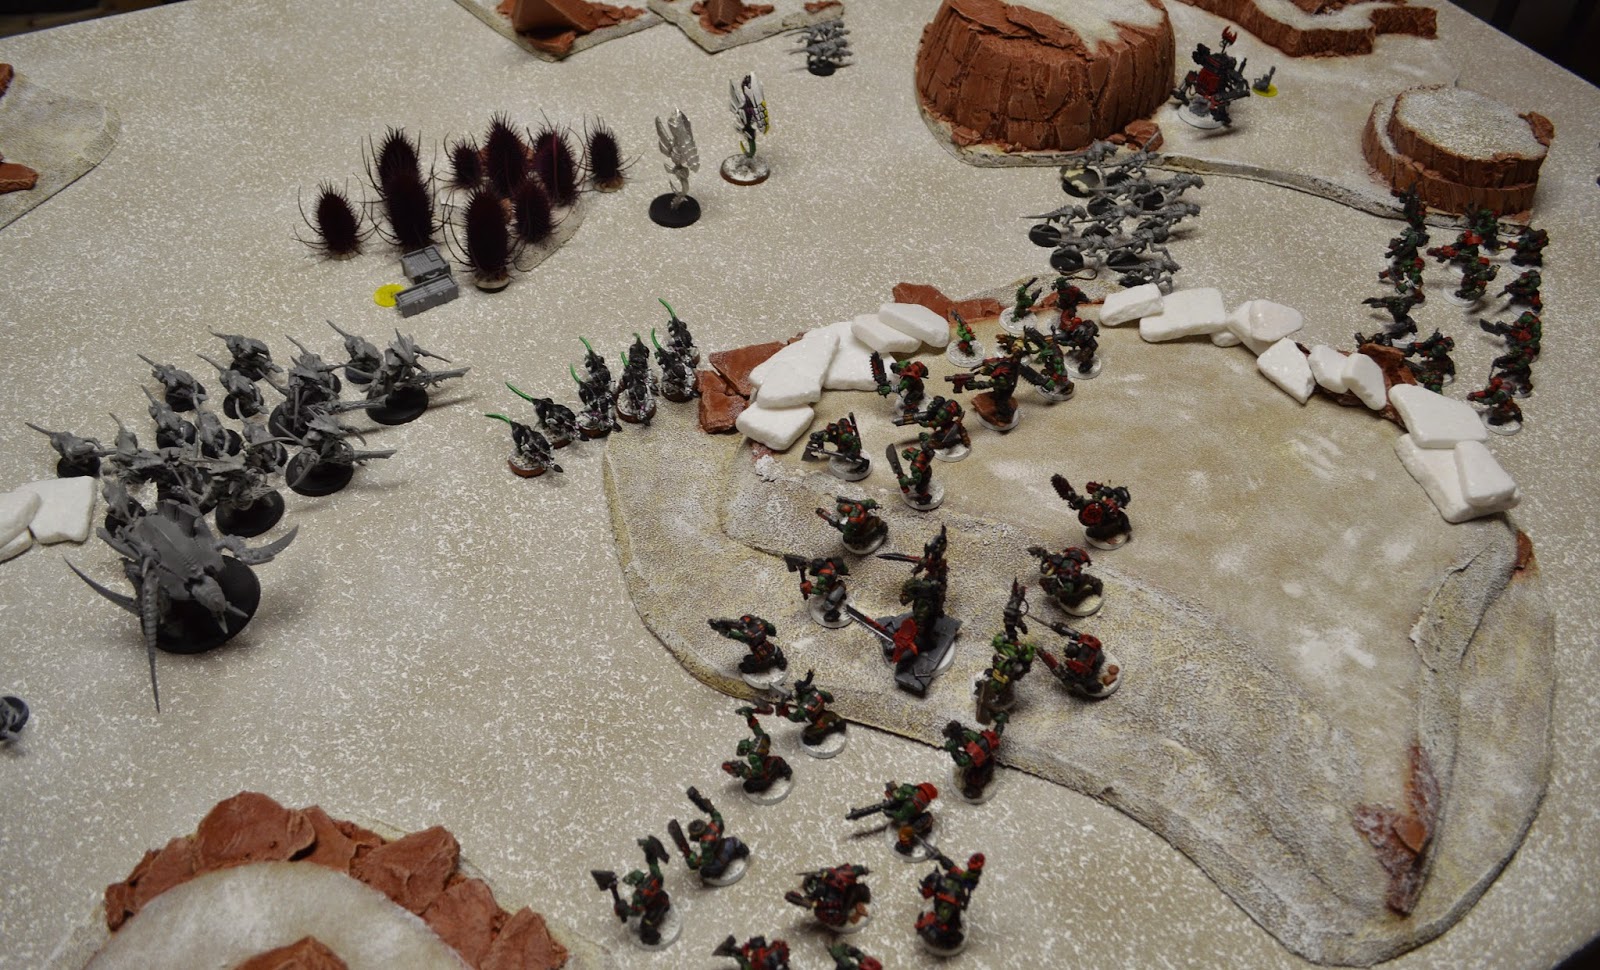 |
| The Grotz fail morale and the Slaver is forced to release the squighound, who kills five more of the cowardly little buggers! |
The closest unit of Termagaunts attempts to charge the Slugga Boyz, but after losing three to Overwatch, they fail the charge distance roll.
The Broodlord and his bodyguard have no trouble making their charge on the Kommandos. The Orks manage to bring down two Genestealers with Overwatch thanks to their Burna, but then the greenskins are soundly whooped and wiped out in the melee.
 |
| The Broodlord kills half the mob and then the Genestealers tear apart the other half. |
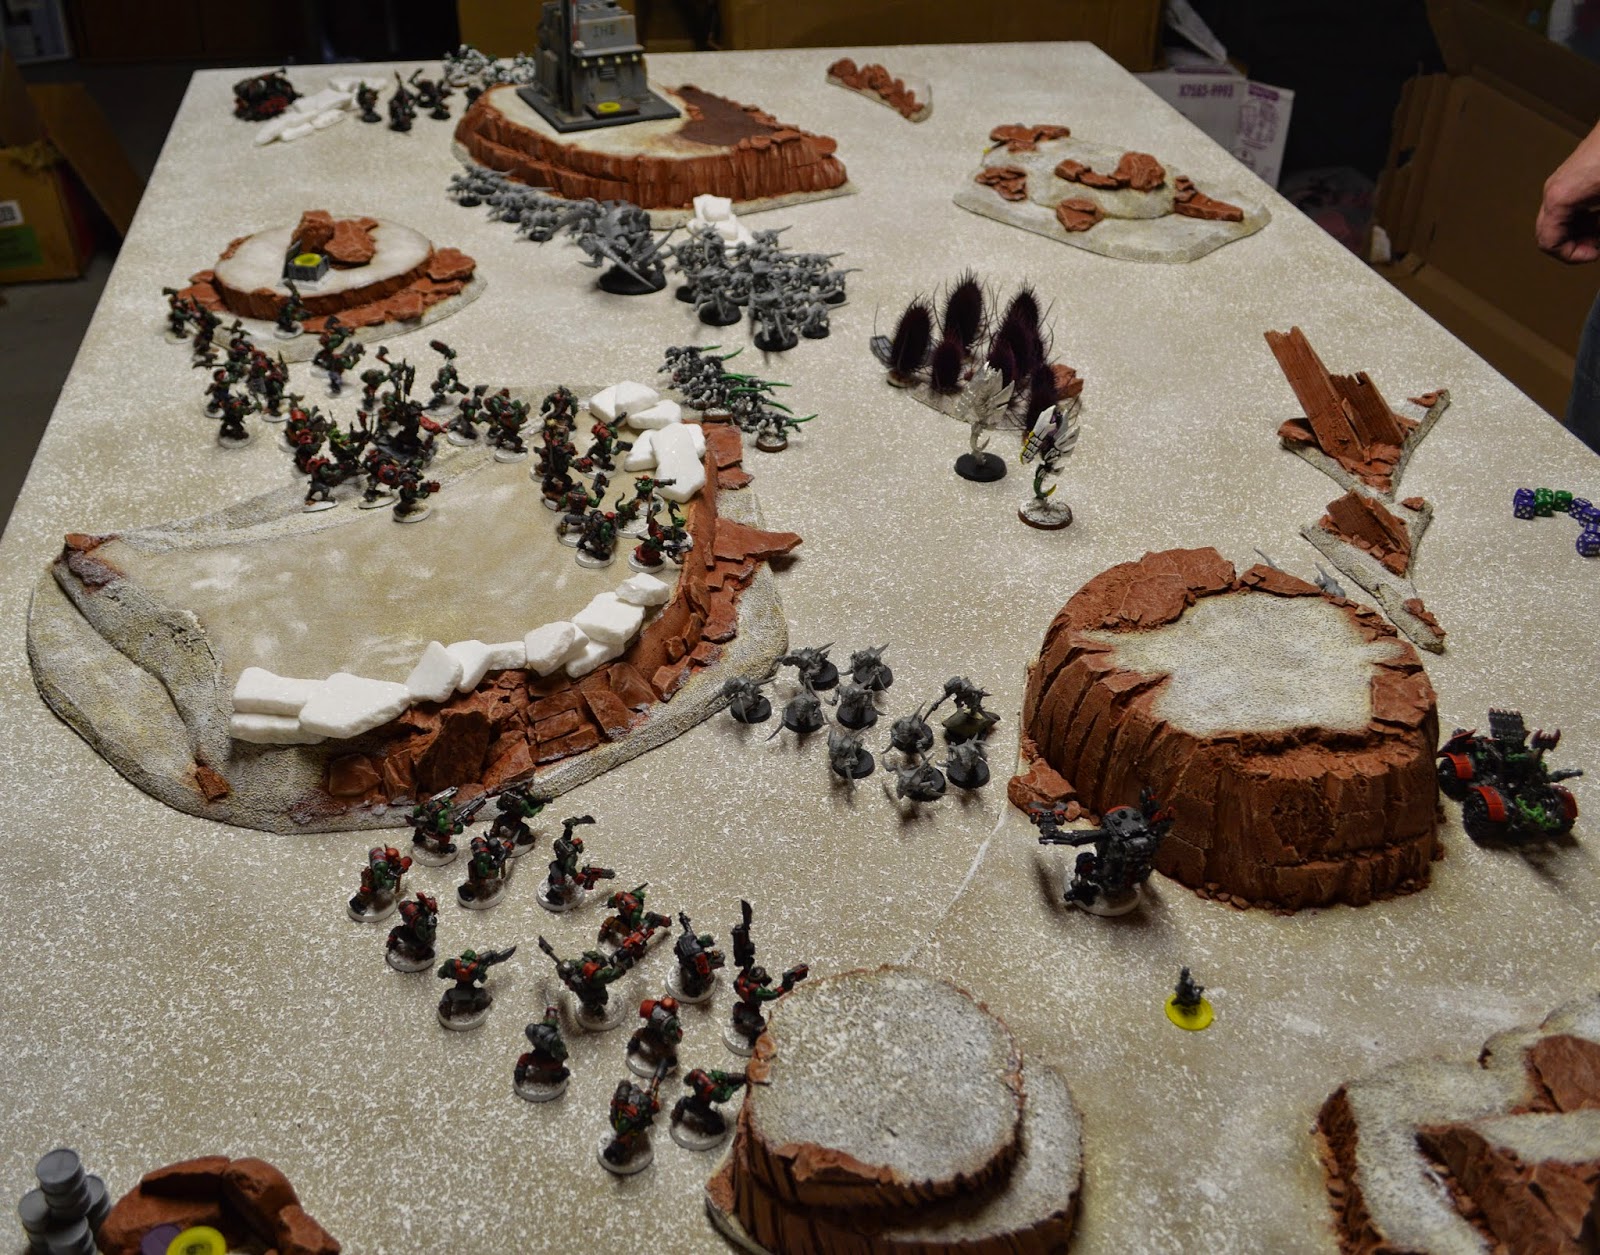 |
| Tyranid Turn 2. You can't see the Genestealers behind the Ork lines grabbing Objective 6! |
I did not get an end of turn overview picture, but the one above is close.
The Tyranids accomplished Blood and Guts by wiping out the Kommandos in melee (+1 VP), First Blood Secondary Objective (+1 VP) and Secured Objective 6 with the Outflanking Genestealers (+1 VP).
Tyranids: 4
Orks: 0
Orks Turn 2
I still had Big Game Hunter and Secure Objective 5. I drew a second copy of Secure Objective 5, making it extremely vital to nab dat shiny cylinder, whatever it was!
The Tyranid trap had been sprung. I now had Genestealers approaching my army from both flanks with the main Tyranid swarm bearing down on my front. With the Tyranids controlling most of the board, I knew it would be a challenge to claim any objectives and to deny the Tyranids without breaking out of the pincer.
The first thing I did was to send my Skorcha racing past the Genestealers as fast as it could move, trying to get to Objective 5, which was now worth two Victory Points! I didn't dare slow down to flame the Genestealers as the Skorcha would be easily killed in an assault by his Rending Claws and I needed those Victory Points.
The last few Grotz on the hill managed to bring down one Hormagaunt with their Grot Blastas. Also in the center, the 'Ard Boyz shot up a few Termagaunts from the painted squad. On the east flank, the Rokkit Buggy missed the Zoanthropes again. Clearly the floating bugs were much tougher to hit than the 'oomies in their bright red armor!
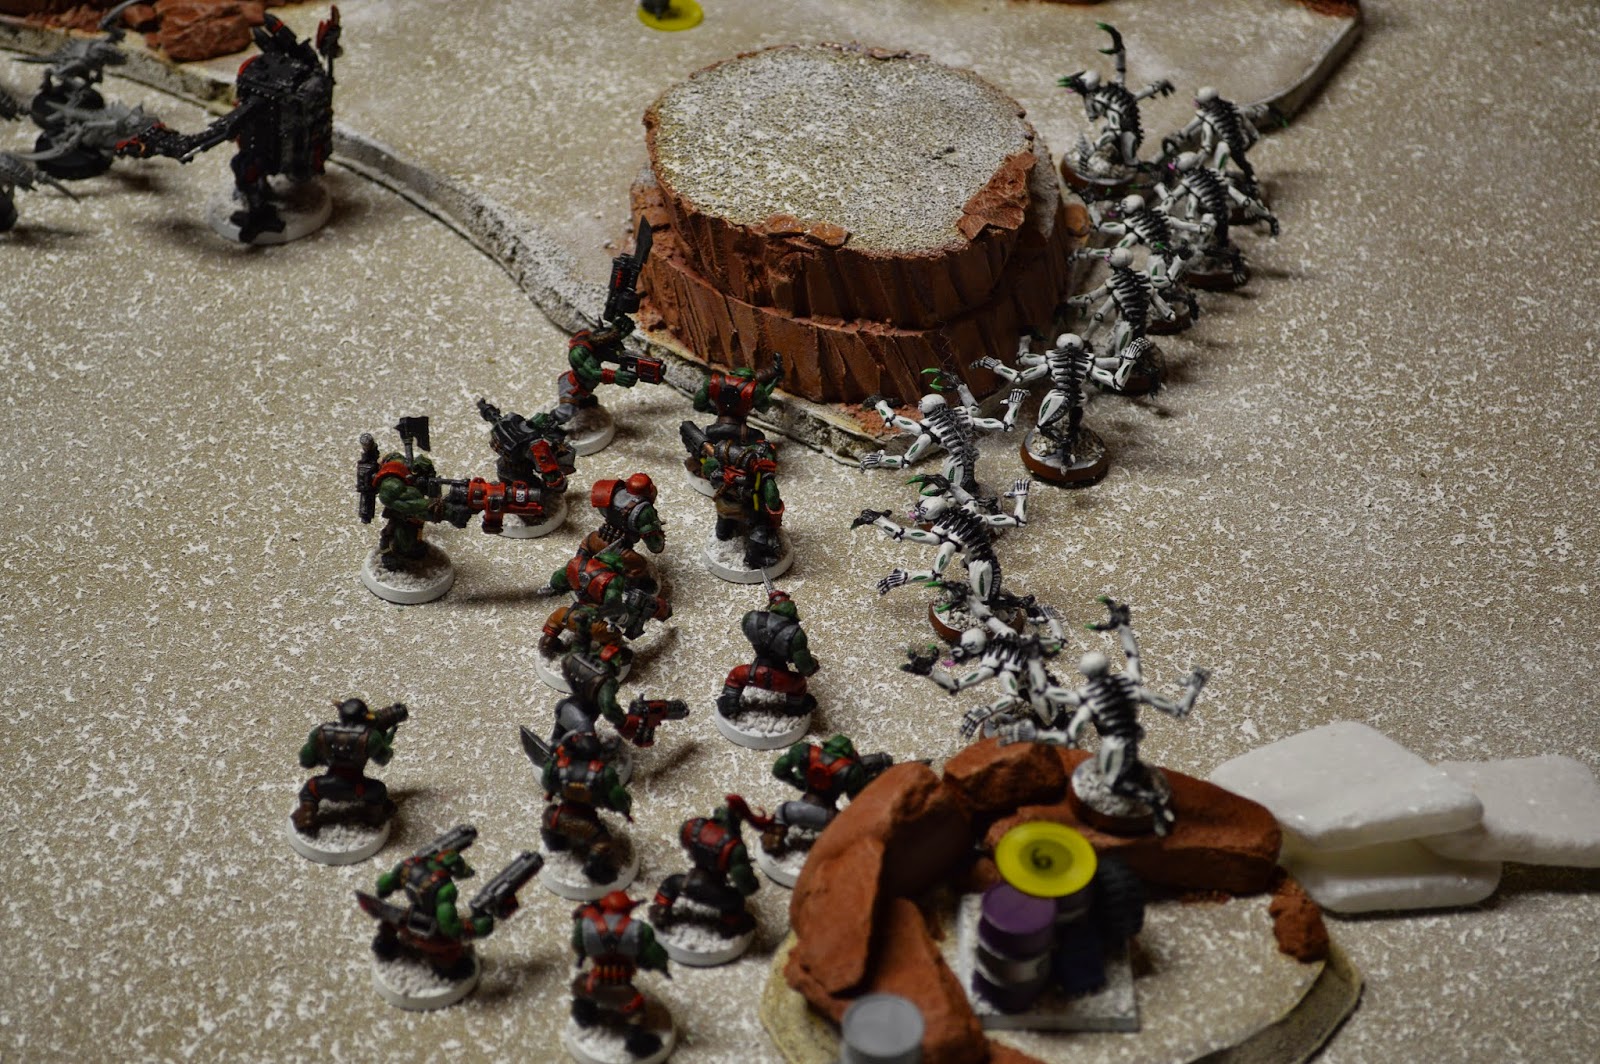 |
| The Shoota Boyz get nice and close before firing at point blank range. It makes 'em easier to hit! |
 |
| The Warbikes wheel around and add their dakka to the task of wiping out the Outflanking Genestealers before they can grab Objective 2 for another Tyranid VP. |
 |
| When all the smoke cleared, only two Genestealers remained... |
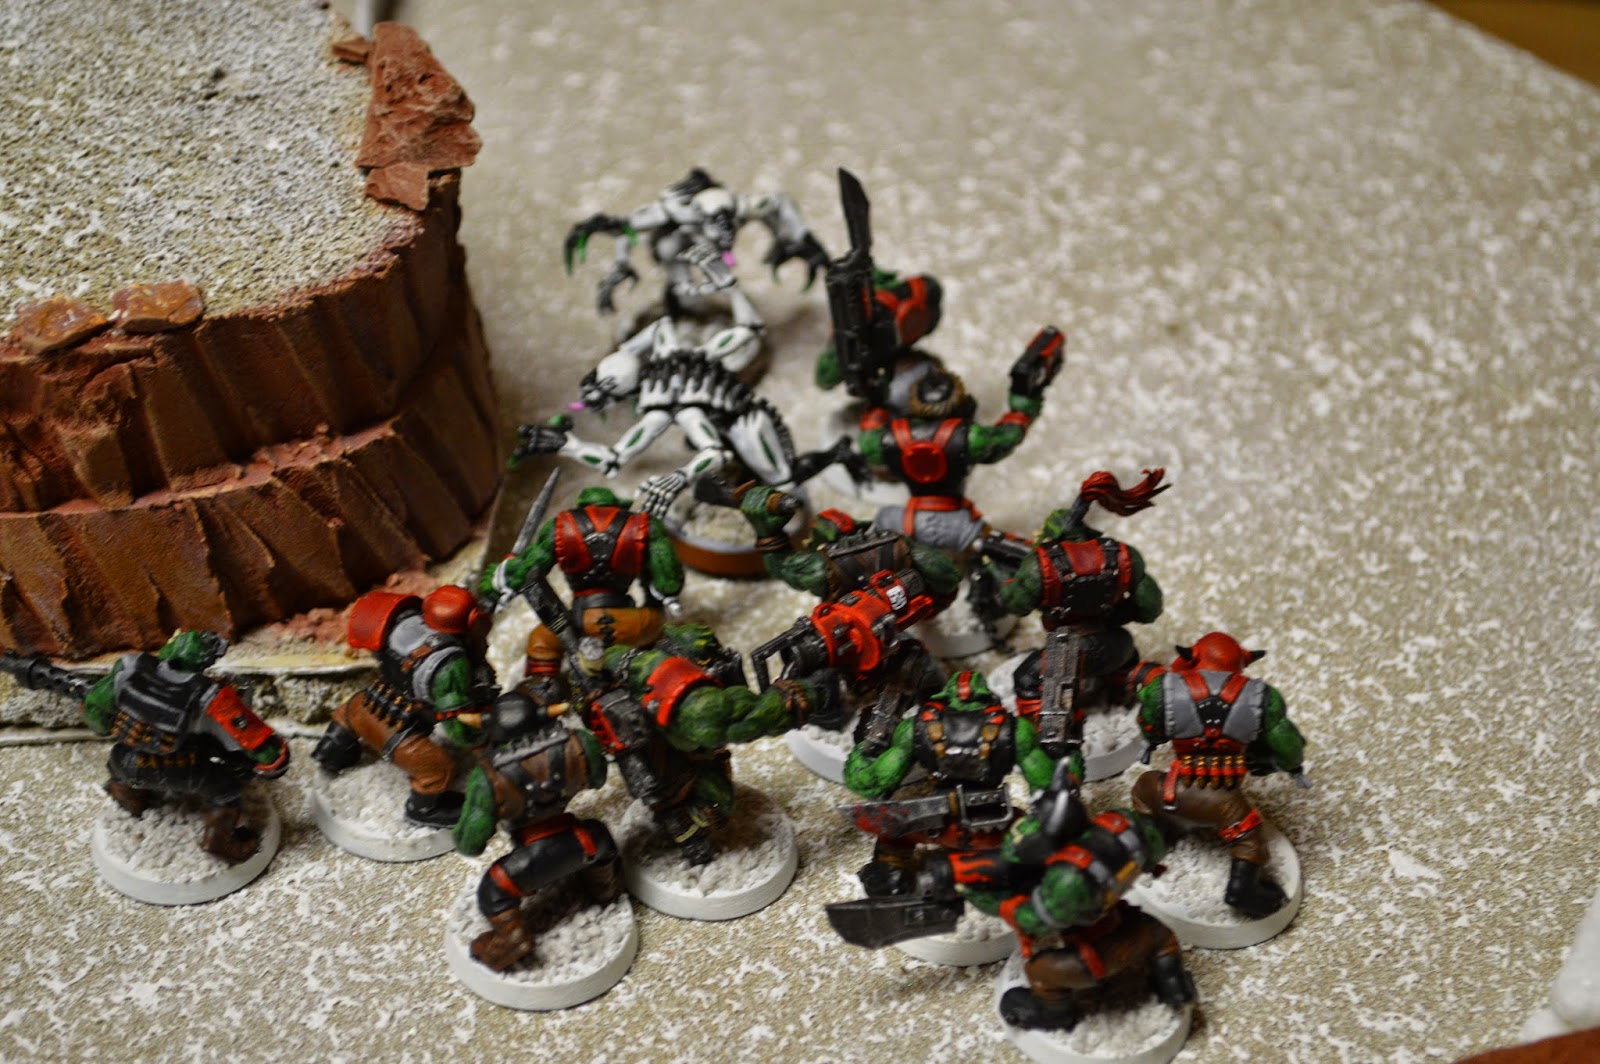 |
| Knowing they had an overwhelming advantage, the Boyz charge in to finish the job. |
The Killa Kan shot one Hormagaunt with a rokkit and then charged in. Unfortunately, he did not kill any and the bugs used Our Weapons are Useless to fall back. With their high initiative, the Hormaguants easily escaped the lumbering can and found themselves in position to charge the bikes next turn after they automatically rally due to being back in Synapse range! I badly misplayed that situation. I thought the Kan might be able to kill a few between Hammer of Wrath and his Klaw, but he struck out and sent the Gaunts directly toward my vulnerable bikes.
 |
| The Genestealers are wiped out, but the Ork forces in the east are now badly out of position. |
In the center, I decided to launch a disorganized charge against the Carnifex and the Tyranid Warriors with my big mob of Slugga Boyz. I would be giving up my charge advantage, but getting both of his heavy hitter tied up in close combat so that one couldn't counter-charge me next turn. I thought that with my numbers and two Power Klaws, I could win combat and kill the Monstrous Creature for a VP. But the Paroxysm malediction was still in effect and my boyz charged in with only WS3 (-2 for Paroxysm, +1 for Da Lukky Stikk).
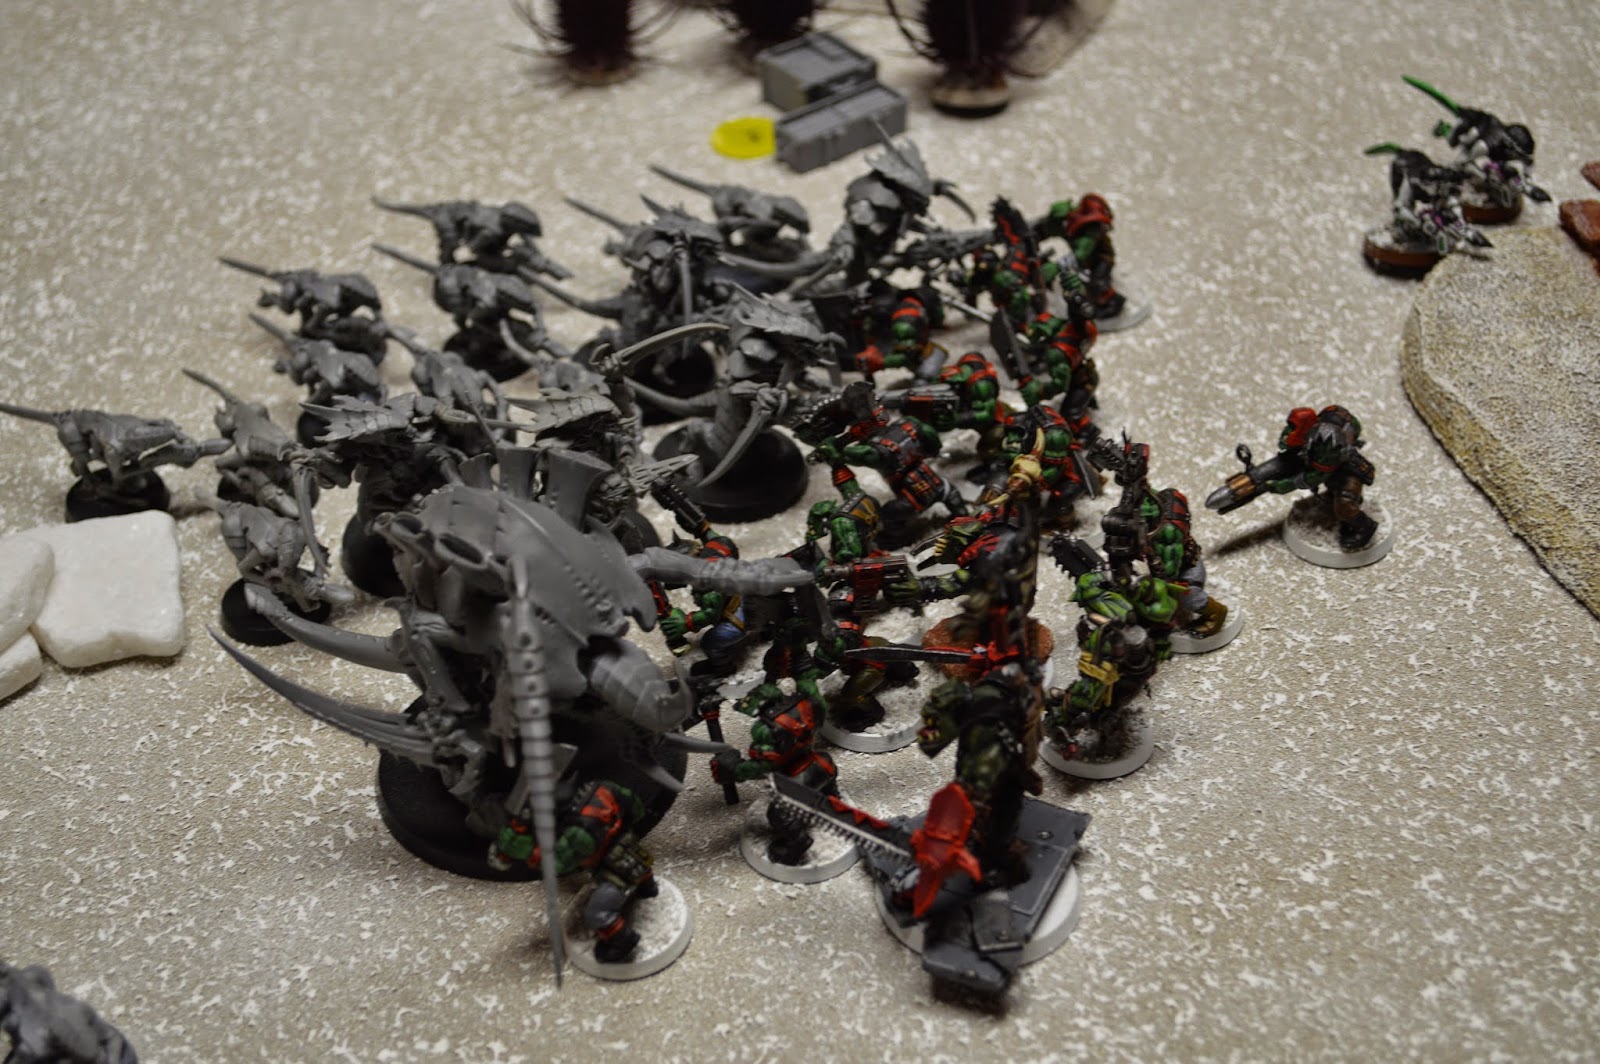 |
| Filgakk calls his Waaagh! and the Orks charge the Tyranid lines. |
The Orks only lost one boy to the Warriors and two to the Carnifex. Unfortunately, they only manage to land one wound on the 'Fex and two wounds on the Warriors, which didn't kill a single model. It was all up to the Power Klaws now, but the Nob didn't land a single wound. The Warboss did only slightly better and inflicted two wounds on the Carnifex, leaving the giant beast with one wound and denying me my Tactical Objective!
In hindsight, I should have thrown the 'Ard Boyz into the melee as well. But Bill still had a bunch of un-engaged units of Guants nearby and his Broodlord and bodyguard coming in from the flank. I was wary of committing my entire army and then not having any flexibility to deal with the other threats. But I failed to account for how poorly my boyz would do in close combat with the effects of Paroxysm and the Disorganized Charge robbing them of extra weapon skill, attacks and strength!
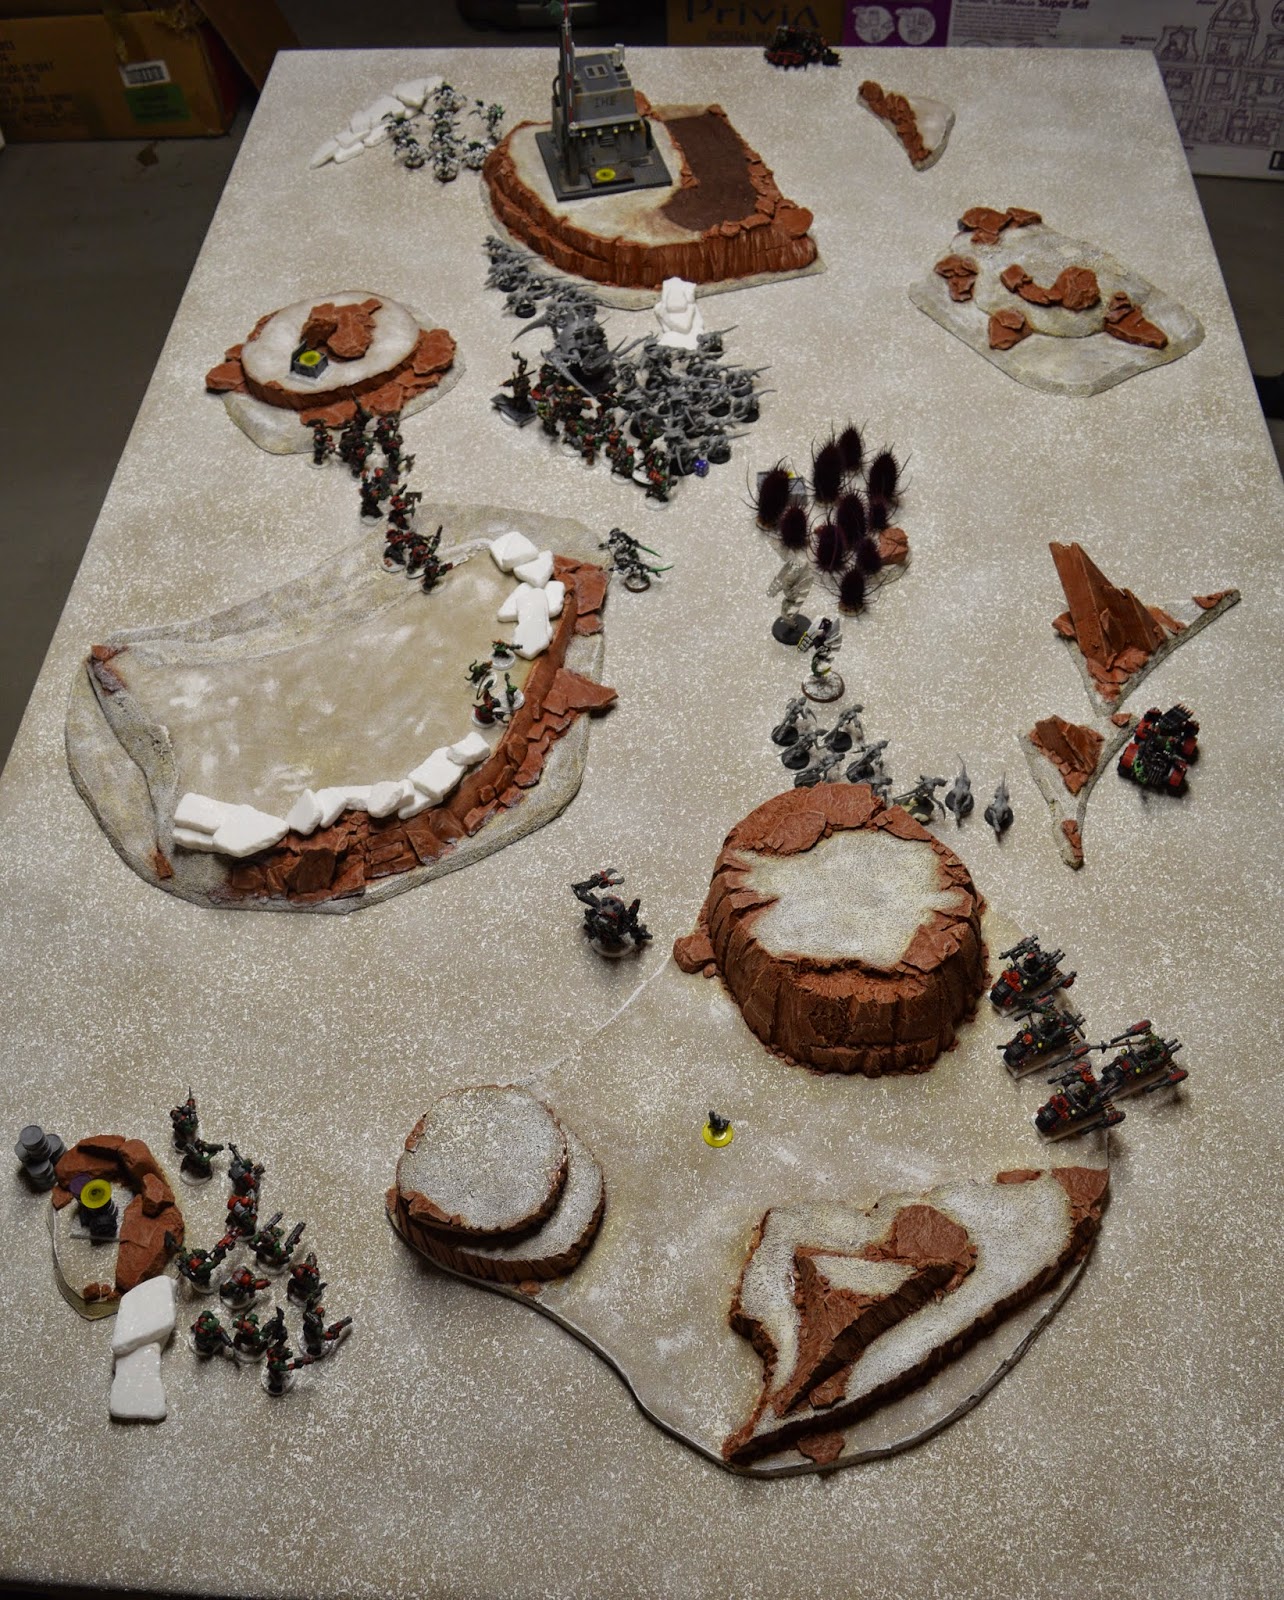 |
| Overview, end of Orks Turn 2. The Orks control the east, the Tyranids control the west and vicious melee is joined in the center. |
I still had not achieved any Victory Points. Worse, re-reading Big Game Hunter, it said I got a VP if I killed a Monstrous Creature "on my turn" so it would not count if I killed the Carnifex during Bill's Assault Phase, as I was sure to do! Aargh! So I discarded it, leaving me with two copies of Secure Objective 5.
At this point, I was feeling pretty frustrated and figured that if Bill killed my Skorcha with his Broodlord, we may as well call the game a Tyranid victory as I would have no hope of achieving either of my two Tactical Objectives on my next turn.
Tyranids: 4
Orks: 0
Tyranids Turn 3
Bill drew two copies of Secure Objective 3, the Communications Tower, so he sent one brood of Termagants scrambling back up the cliff to grab it.
The Tyranids chose not to destroy the speeding Skorcha and instead moved the Broolord and his bodyguard toward the Ork left flank. He attempted to manifest The Horror on the 'Ard Boyz, but the Orks managed to gather together enough psychic energy (probably from the ongoing melee) to deny the power! The Zoanthropes then failed to manifest Warp Blast.
 |
| The Broodlord and Genestealers approach the Ork left flank and attempt to pin the greenskins with psychic powers, but are denied by the Orks' combined psychic energy. |
 |
| The Termagants scramble back up the cliff to claim Objective 3. |
 |
| The Hormogaunts and Termagants charge the Ork bikes from the rear! |
 |
| The bikes lay down a hail of Overwatch that kills four of the charging aliens. |
 |
| The Hormogaunts bring down one biker and the Orks kill two more in return. But the bikes are now tied up in combat and, crucially, cannot shoot next turn. |
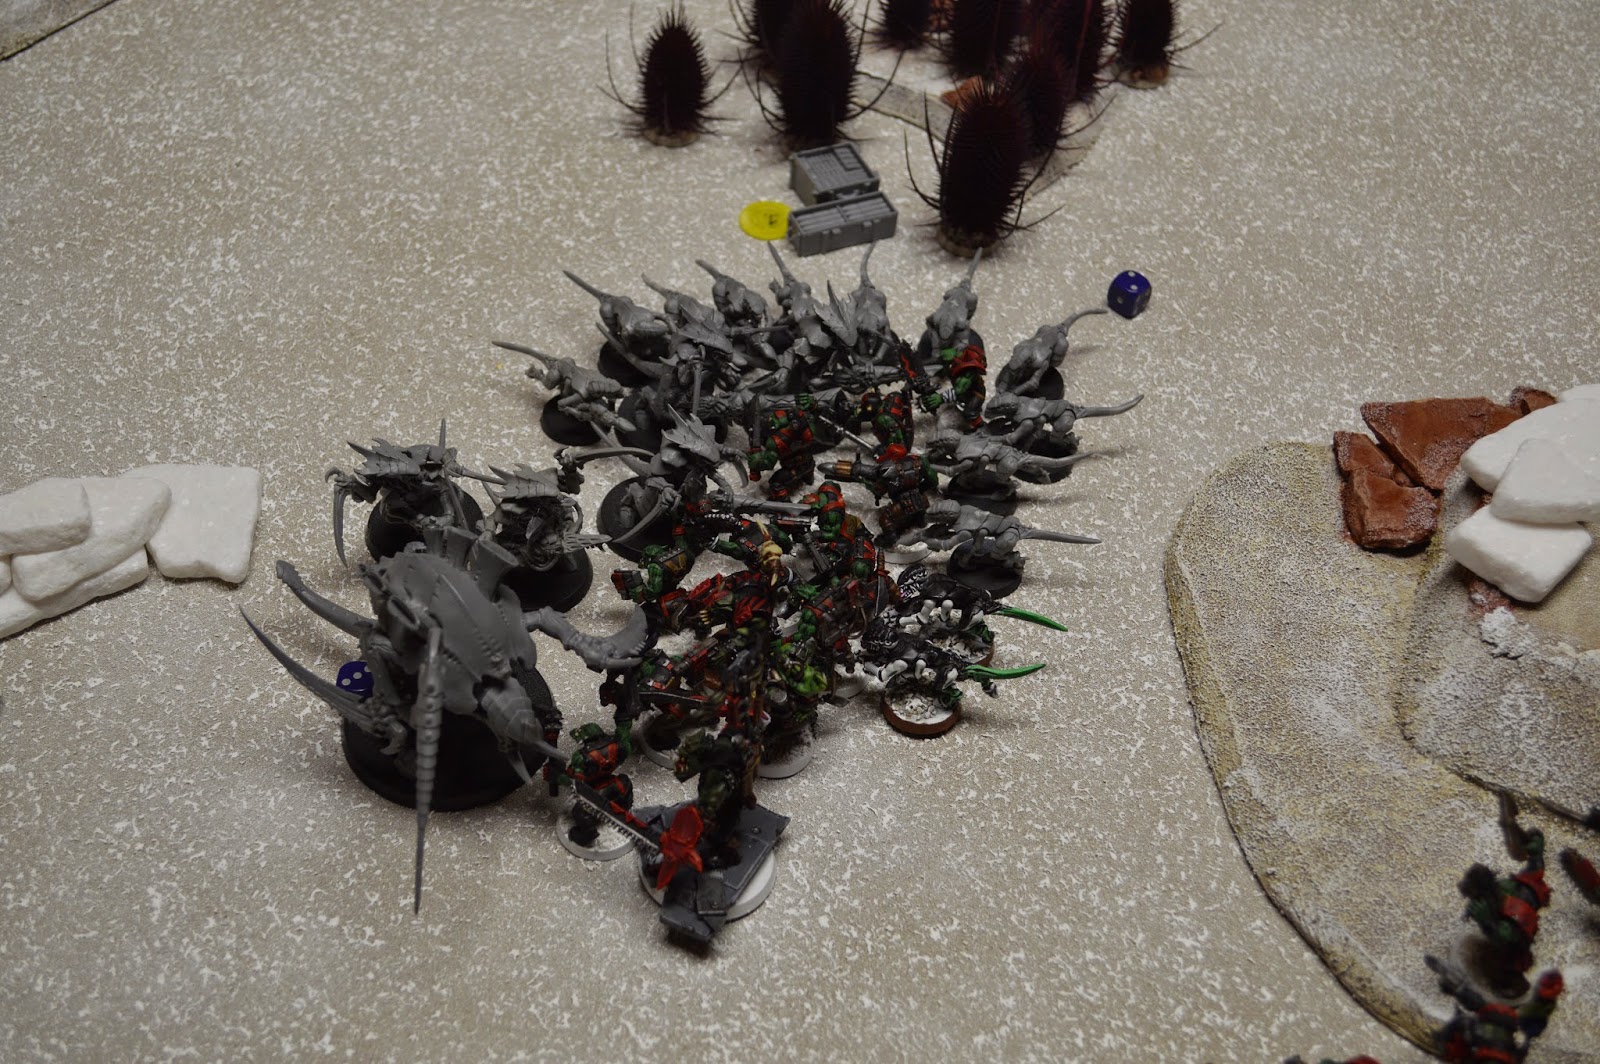 |
| The melee in the center intensifies with the Termagants joining in, killing two Orks. The Warriors kill two more. |
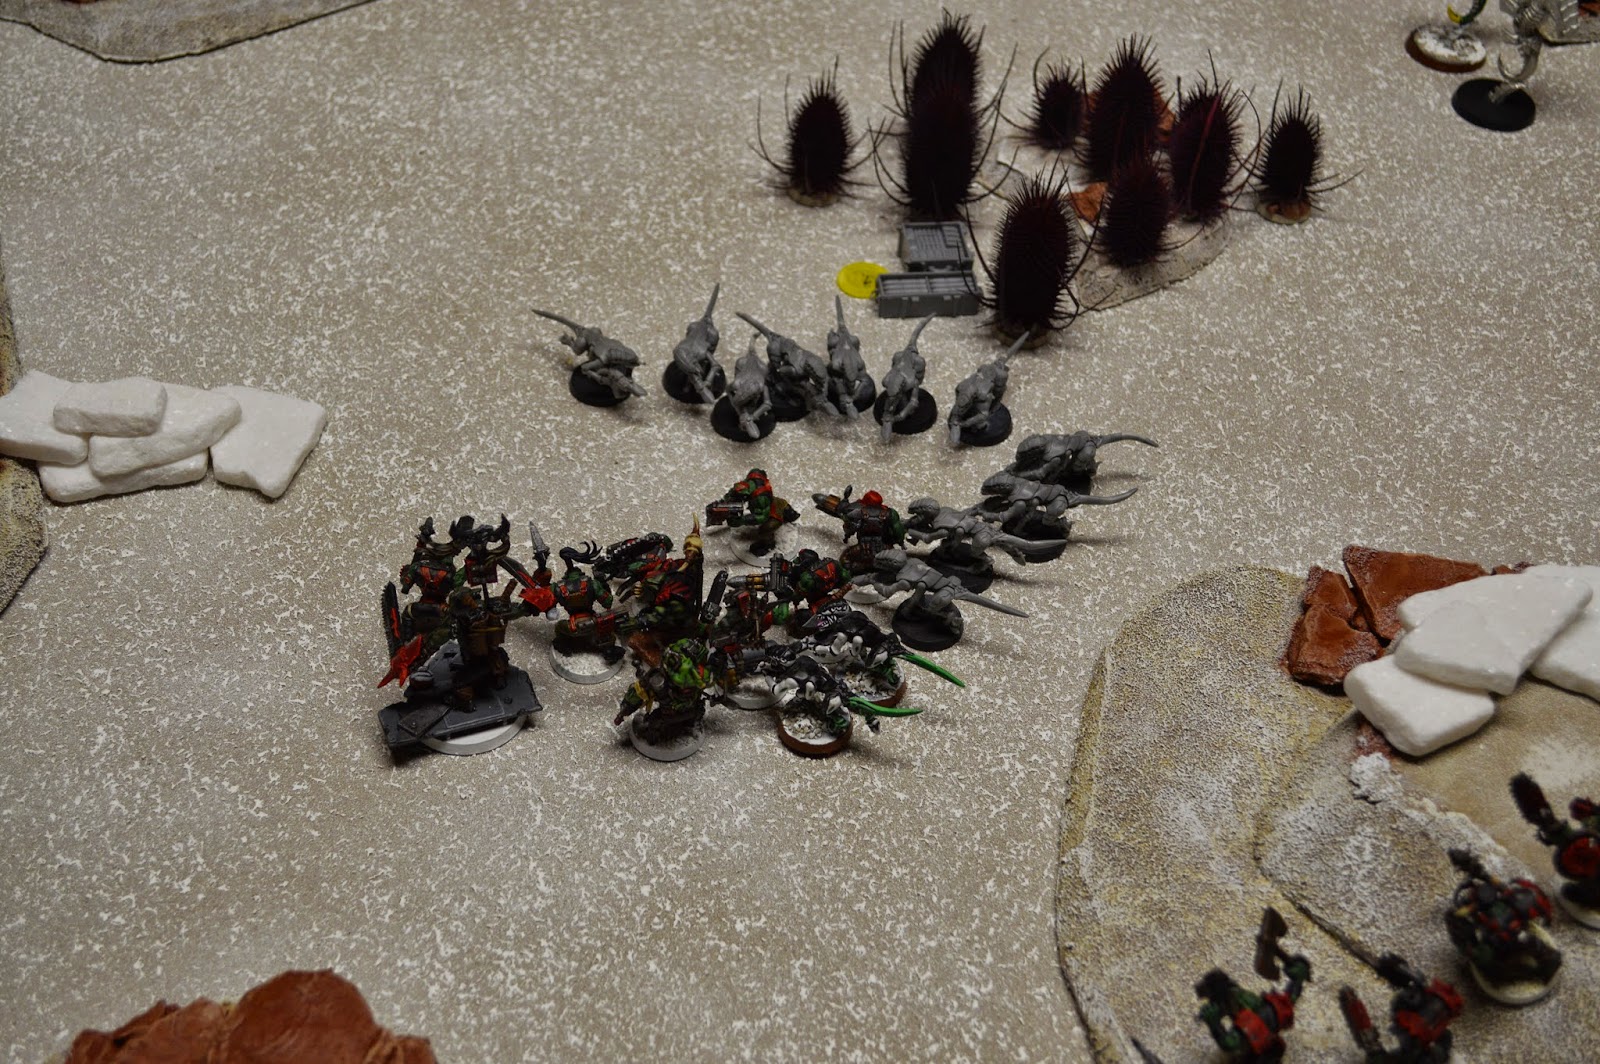 |
| But the Orks hit back harder! The Painboy finishes the Carnifex with his poisoned weapon, the boyz kill a Warrior, the Nob kills a Warrior and the Warboss kills the last three Warriors thanks to some re-rolls from his Lukky Stikk banner pole. |
The Orks win a crushing victory in the central melee and without the Synapse of the Tyranid Warriors, the Termagants fail morale and flee to the north. The remaining Orks consolidate toward the remaining Tyranids in the west.
 |
| Overview, end of Tyranid Turn 3. The Tyranids continue to pile up VPs, but they are taking heavy casualties. |
With achieving two copies of Secure Objective 3, the Tyranids continued their amazing pace of scoring two Tactical Objectives every turn so far!
Tyranids: 6
Orks: 0
Orks Turn 3
Bill left the door open for me by not attempting to charge my Skorcha with his Genestealers. He was about 14" away and he might have failed his charge roll even with Fleet, but if he had killed the Skorcha, I would have had very little chance to catch him.
I drew my new Tactical Objective and got Psychological Warfare (make the opponent fail a morale or pinning test), which is pretty tough to do against anything in Synapse range! Thankfully, I had killed his Warriors and his Zoanthropes could not cover all the Gaunts so I had a good chance.
Of course, I moved the Skorcha Flat Out to finally reach Objective 5.
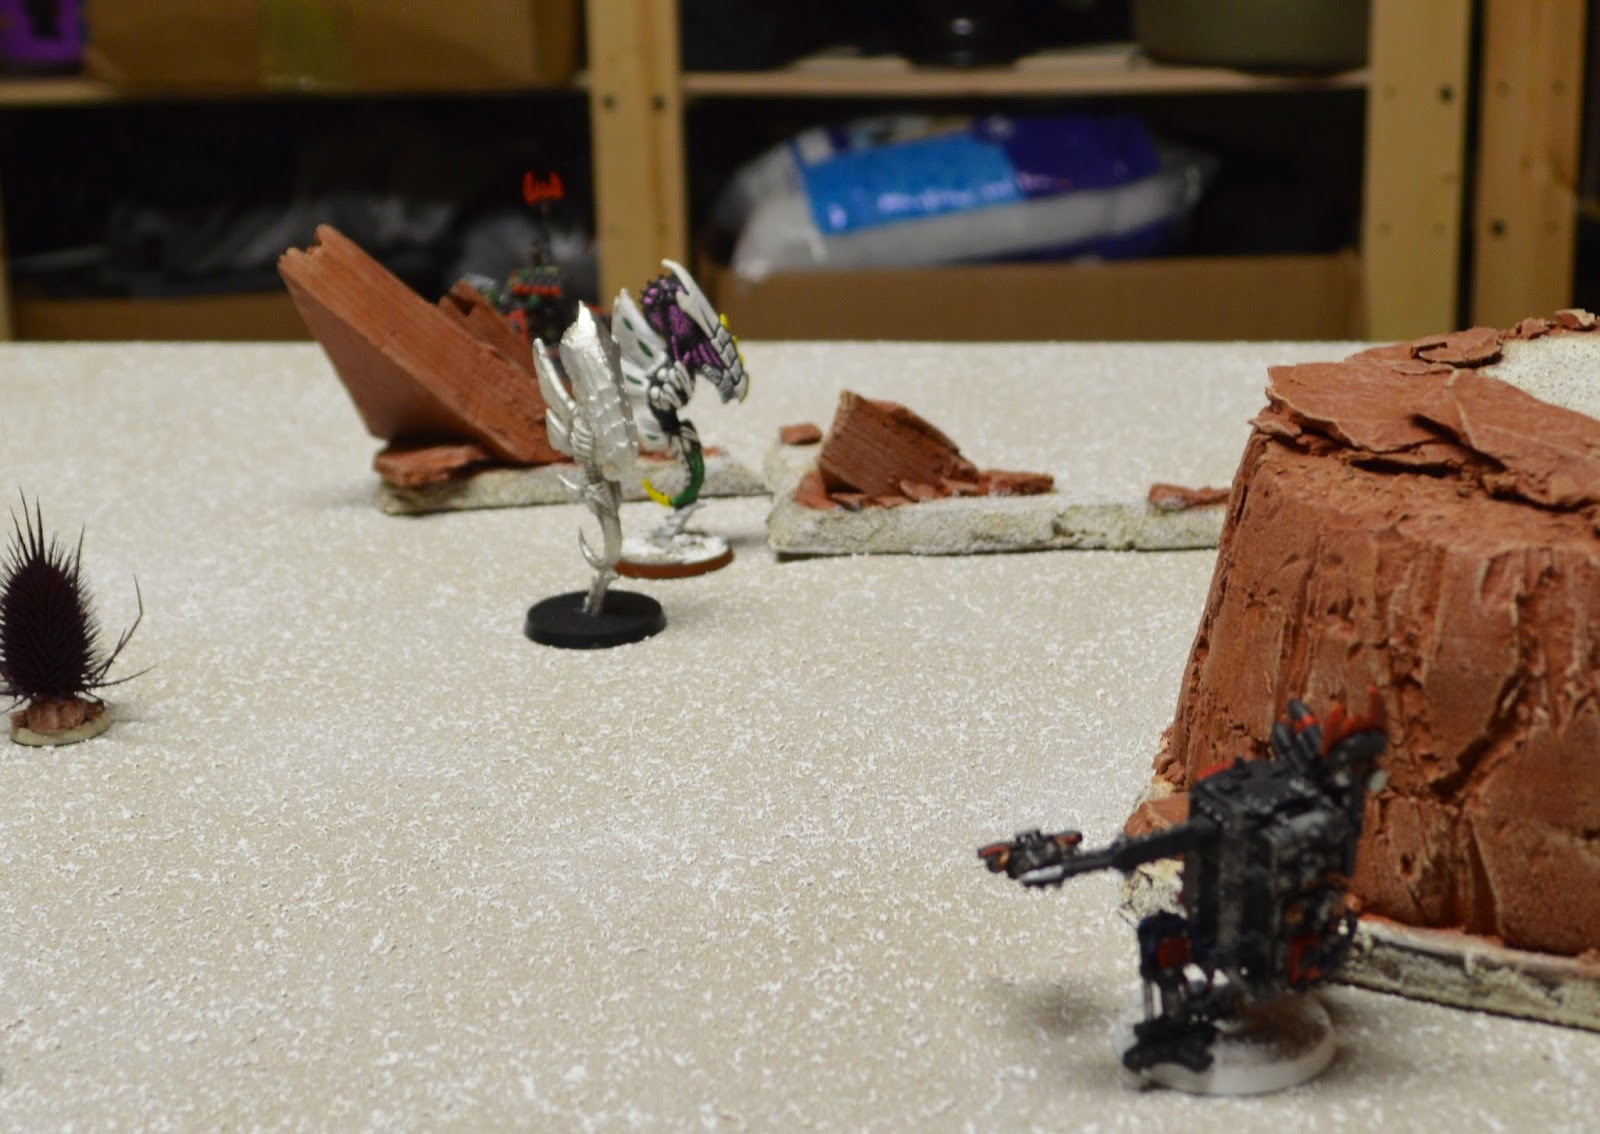 |
| The Kan and Buggy hit the Zoanthropes with Rokkits from both sides, but the shots are deflected by their psychic shields. |
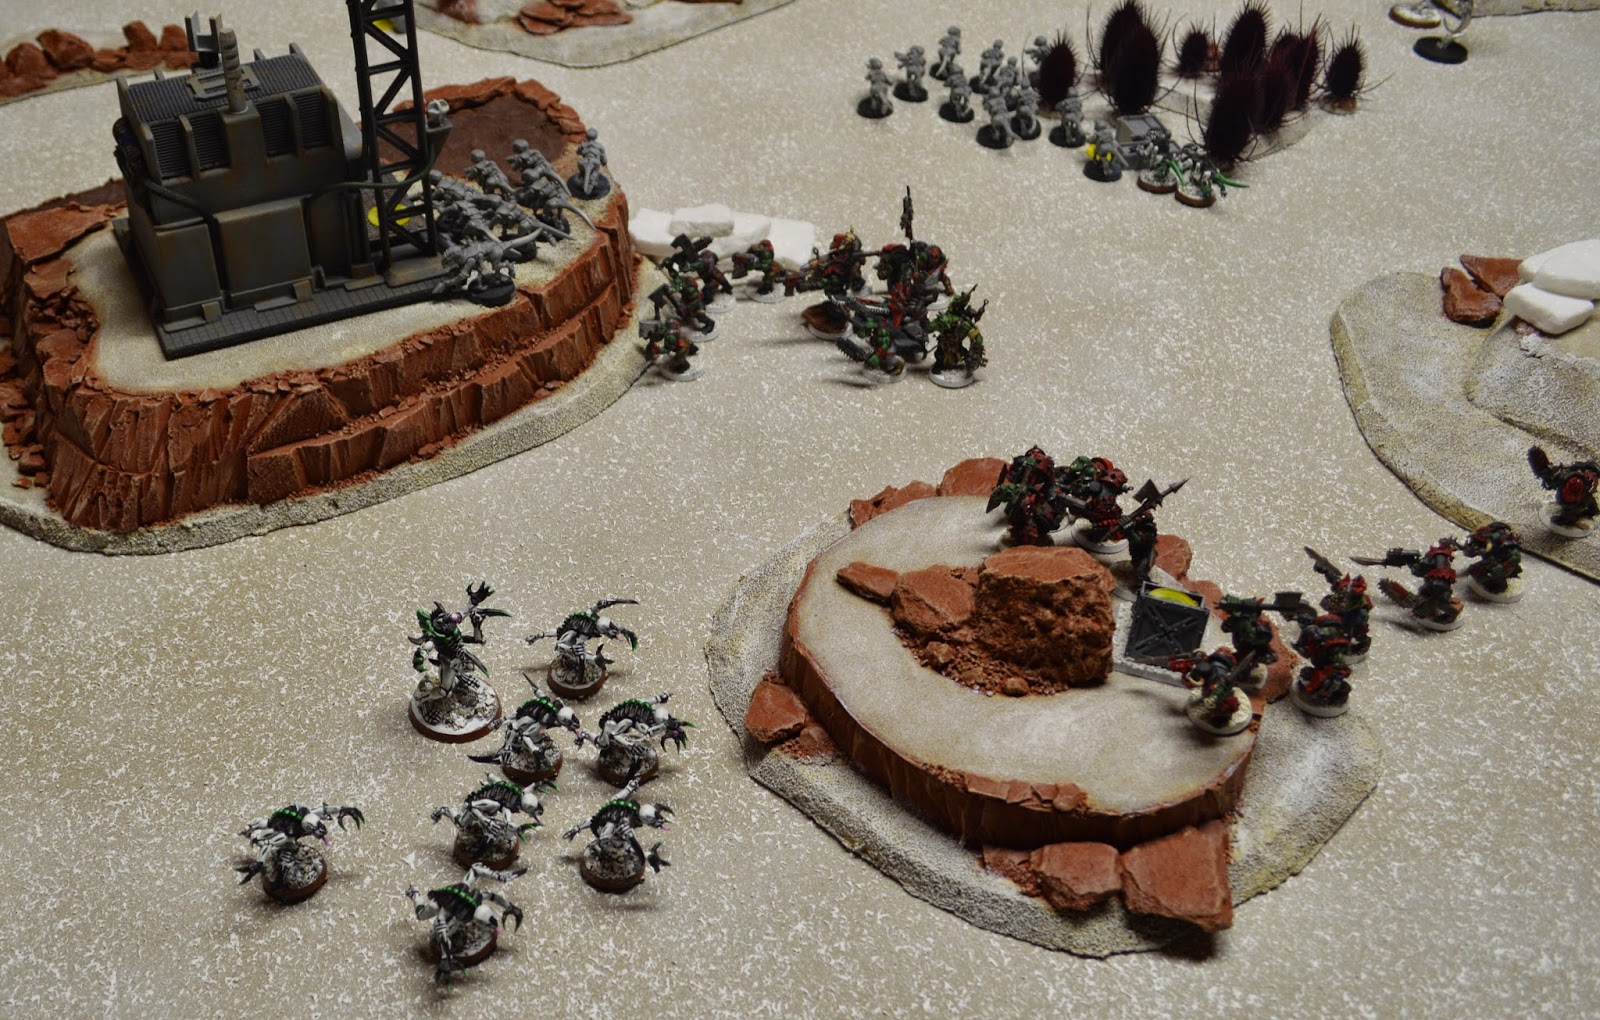 |
| The Slugga Boyz shoot the Termagants on the hill, killing 3 and forcing a morale check. They fail and the Orks claim a VP. |
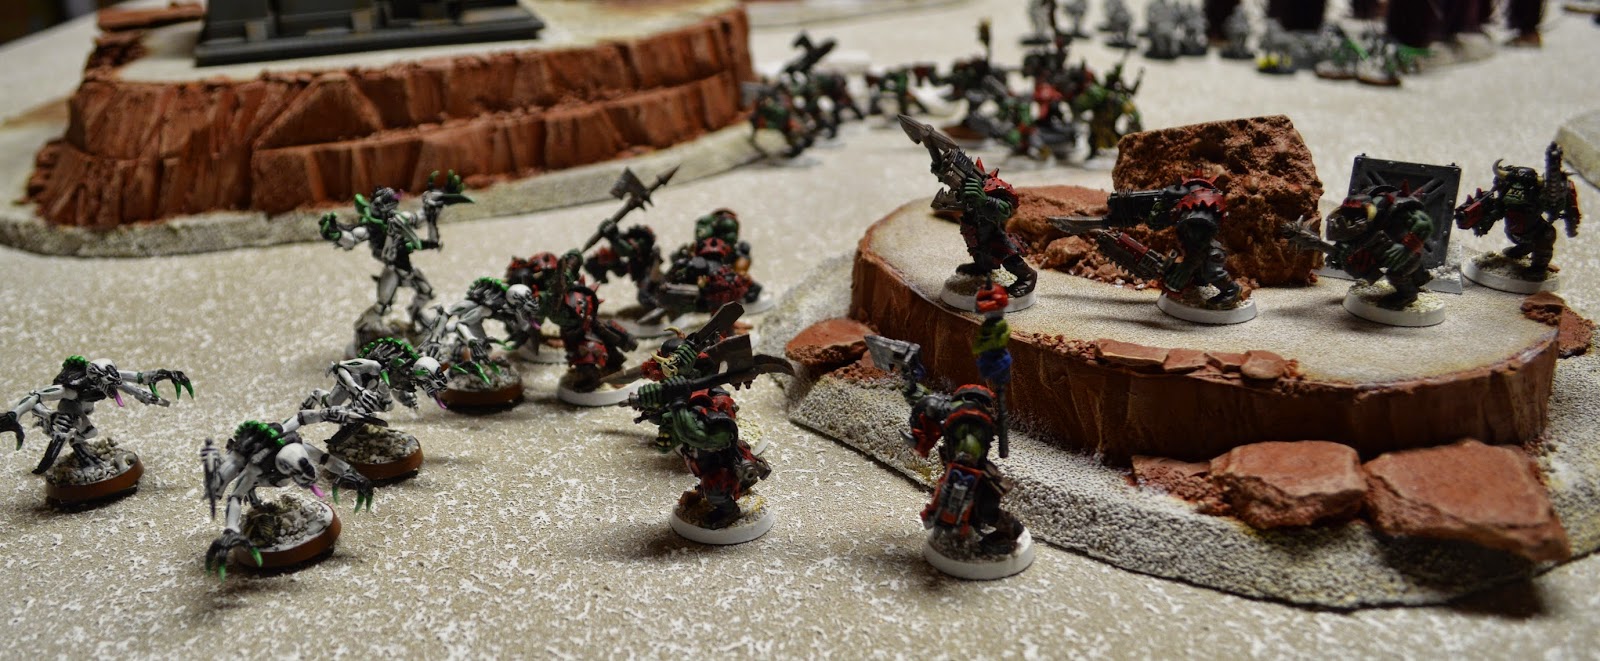 |
| Waaagh! The 'Ard Boyz kill three Genestealers with point blank shooting and then charge in! |
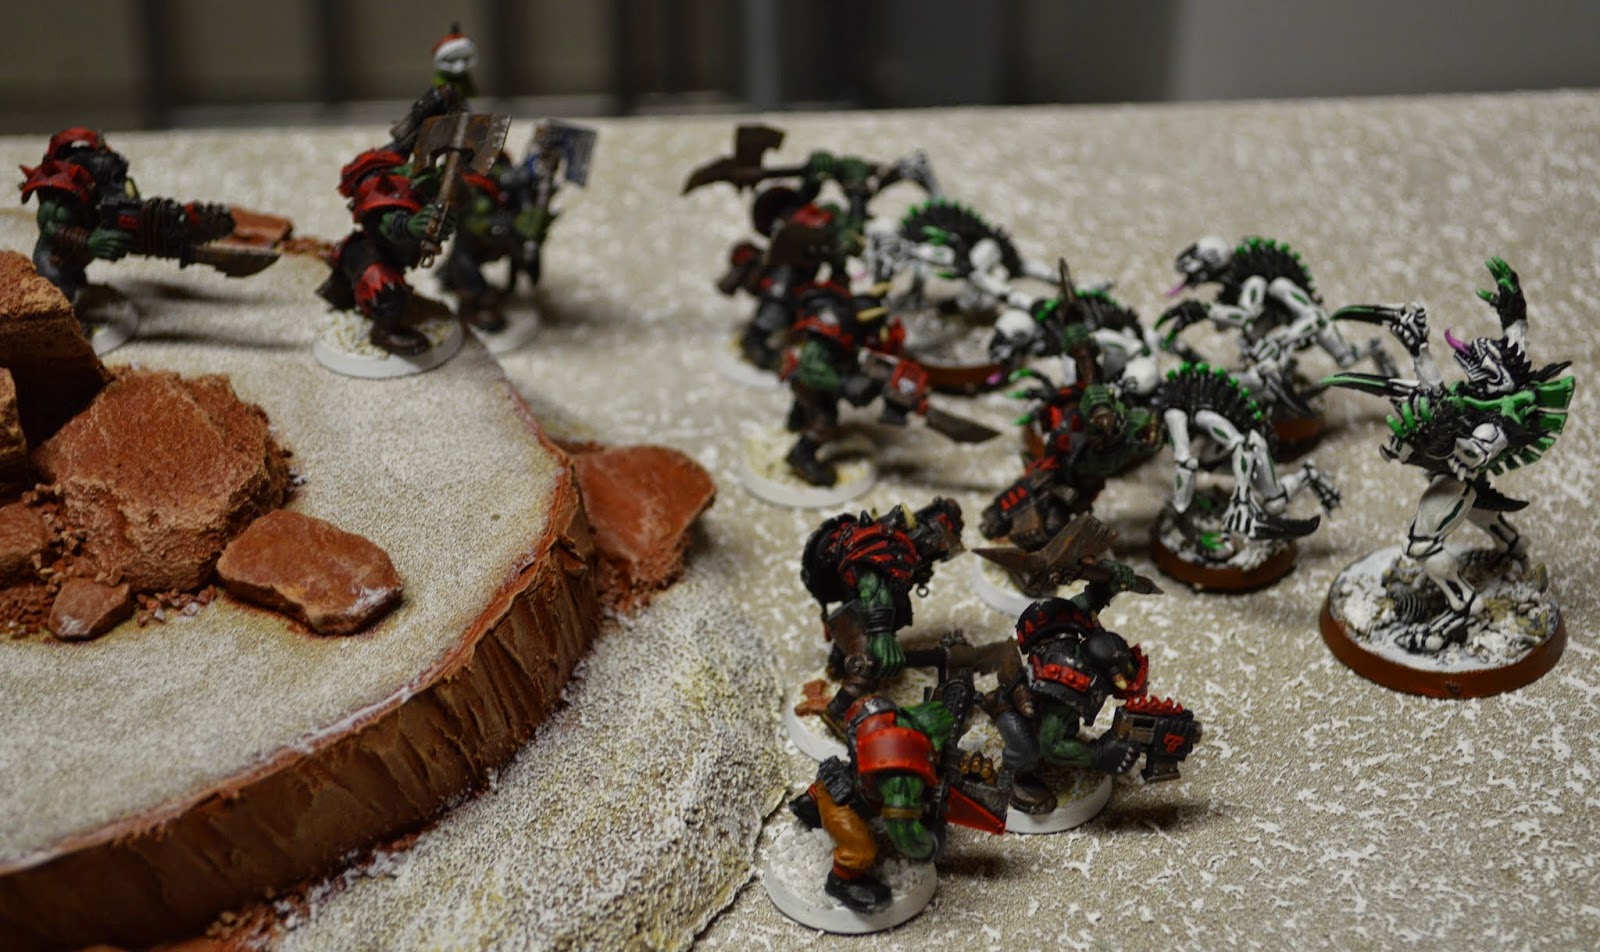 |
| The assault was vicious and bloody... just how both sides like it! |
 |
| In the end, the Genestealers kill 4 Orks and only lose 3 of their own, forcing the greenskins to take a morale check. The Orks fail and lose 2 more boyz due to Mob Rule, but stay in the fight. |
In the melee on the other end of the table, the Hormogaunts and Termagants killed two Ork bikers. The last bike failed his morale check and was killed in a Sweeping Advance.
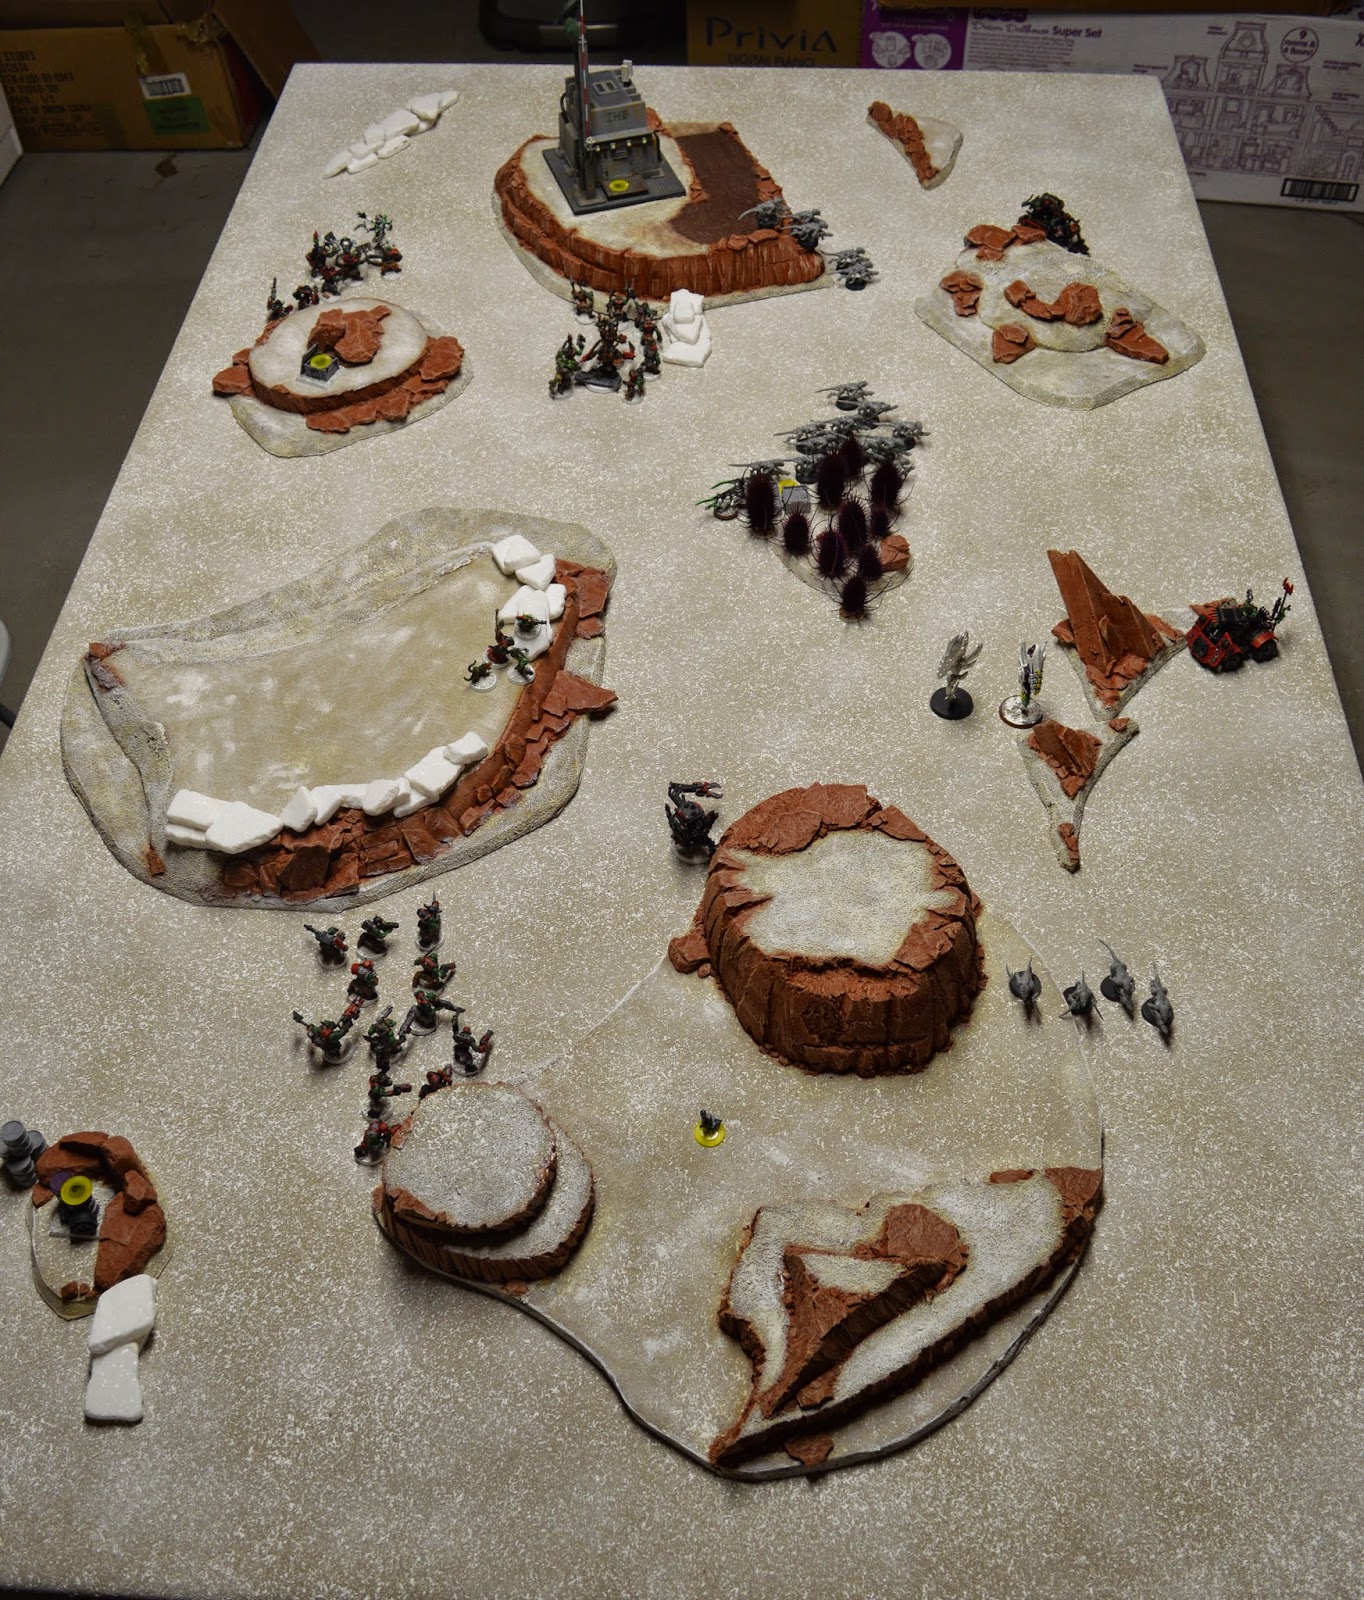 |
| Overview, end of Orks Turn 3. The Orks control the center of the board, but can they score enough Victory Points in the remaining turns to catch up? |
I finally got on the board with Securing Objective 5 twice and achieving Psychological Warfare for a total of three Victory Points. At this point, I felt that my army had strong control of the board, but the Tyranids had a big lead and at least one Objective that would be easy to achieve next turn, Secure Objective 2 (the transmitter beacon near the fast Hormogaunts). I would need some luck to achieve enough Victory Points to catch up.
Tyranids: 6
Orks: 3
Tyranid Turn 4
Bill drew another copy of Secure Objective 2, the transmitter beacon in the eastern rocks, making this the third instance of a double-scoring objective this game. Since his Termagaunts had killed the Ork bikes last turn, they had an unblocked path to the objective.
The Termagant brood that failed morale near the Comm Tower last turn is out of Synapse range and continues to fall back. The other Termagants automatically rally due to the proximity of the Zoanthrope.
The Broodlord continued his psychic shenanigans by manifesting The Horror on the Slugga Boyz. The end result was a wound on the Nob due to Mob Rule in order to pass the Pinning Test. Also in the psychic phase, the Zoanthropes manifested Warp Blast and zapped the buggy, immobilizing it and taking it down to one hull point.
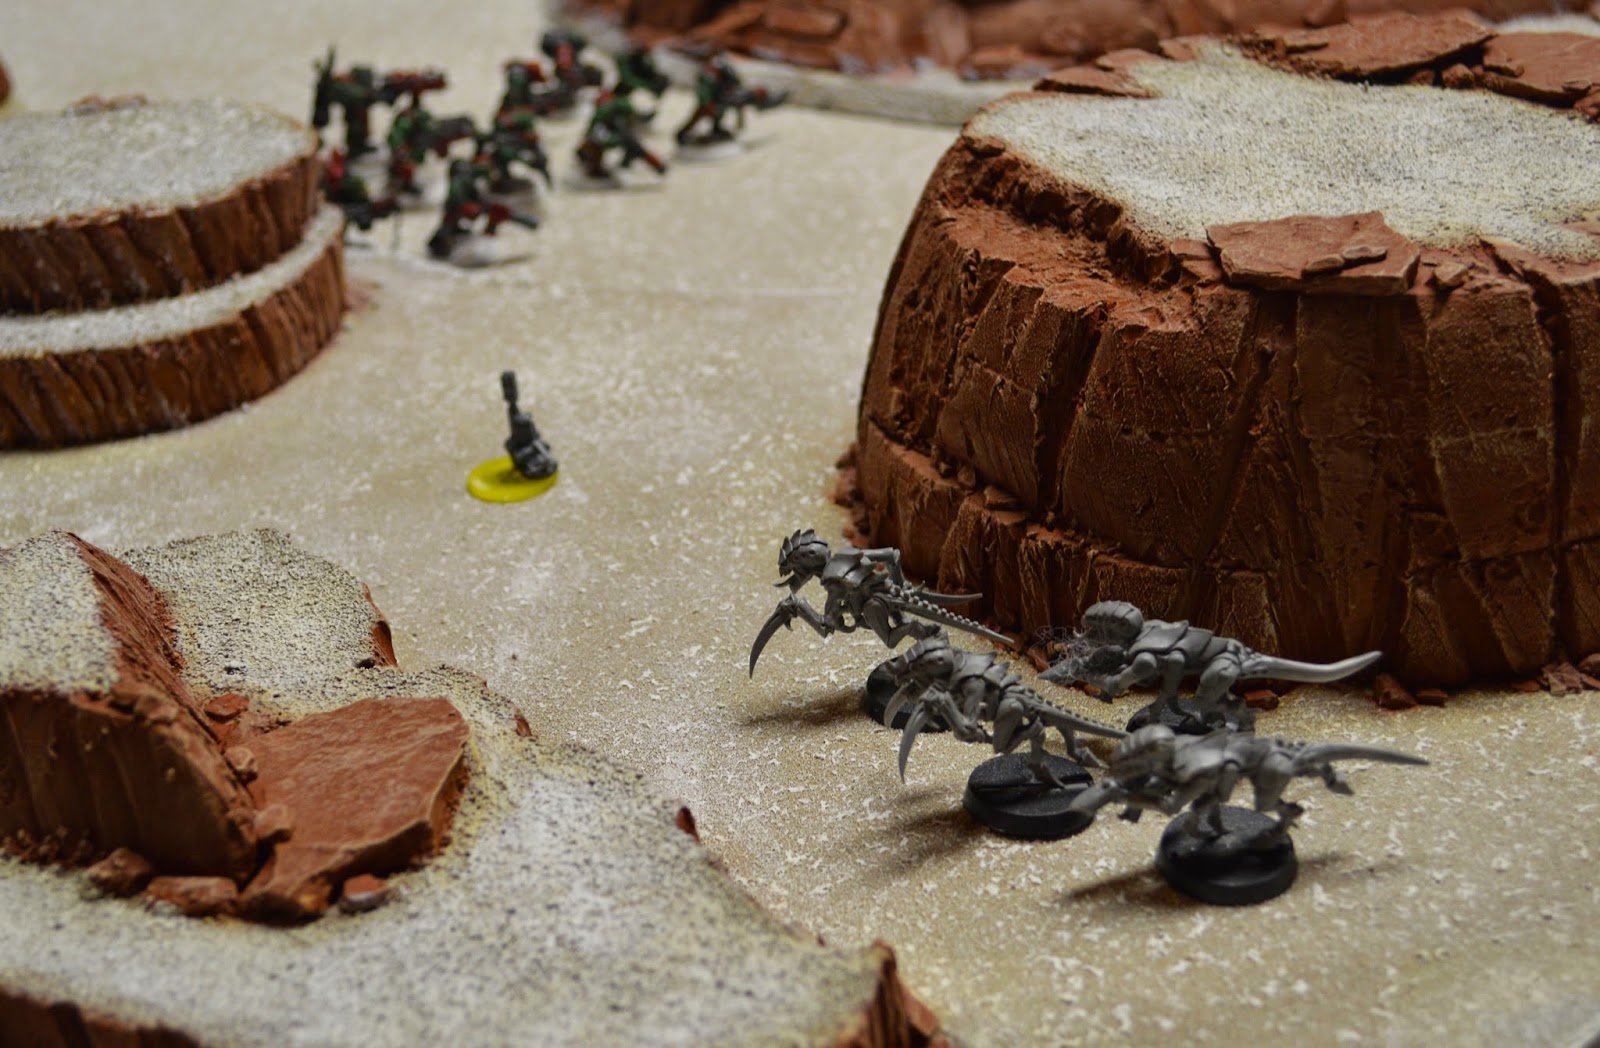 |
| The Hormagaunts overcome their instinctive behavior to race forward to secure Objective 2 for +2 VP. But an angry Ork mob stalks in the background. |
 |
| The Zoanthropes blast the buggy, immobilizing it and knocking off a hull point. The Termagants' Flesh Borers fail to find the soft tissue of the crew and do no damage to the vehicle. |
 |
| The Broodlord kills the Nob in a challenge before the lumbering Ork can use his Power Klaw. But the Orks kill the last Genestealer and inflict two wounds on the Tyranid leader. |
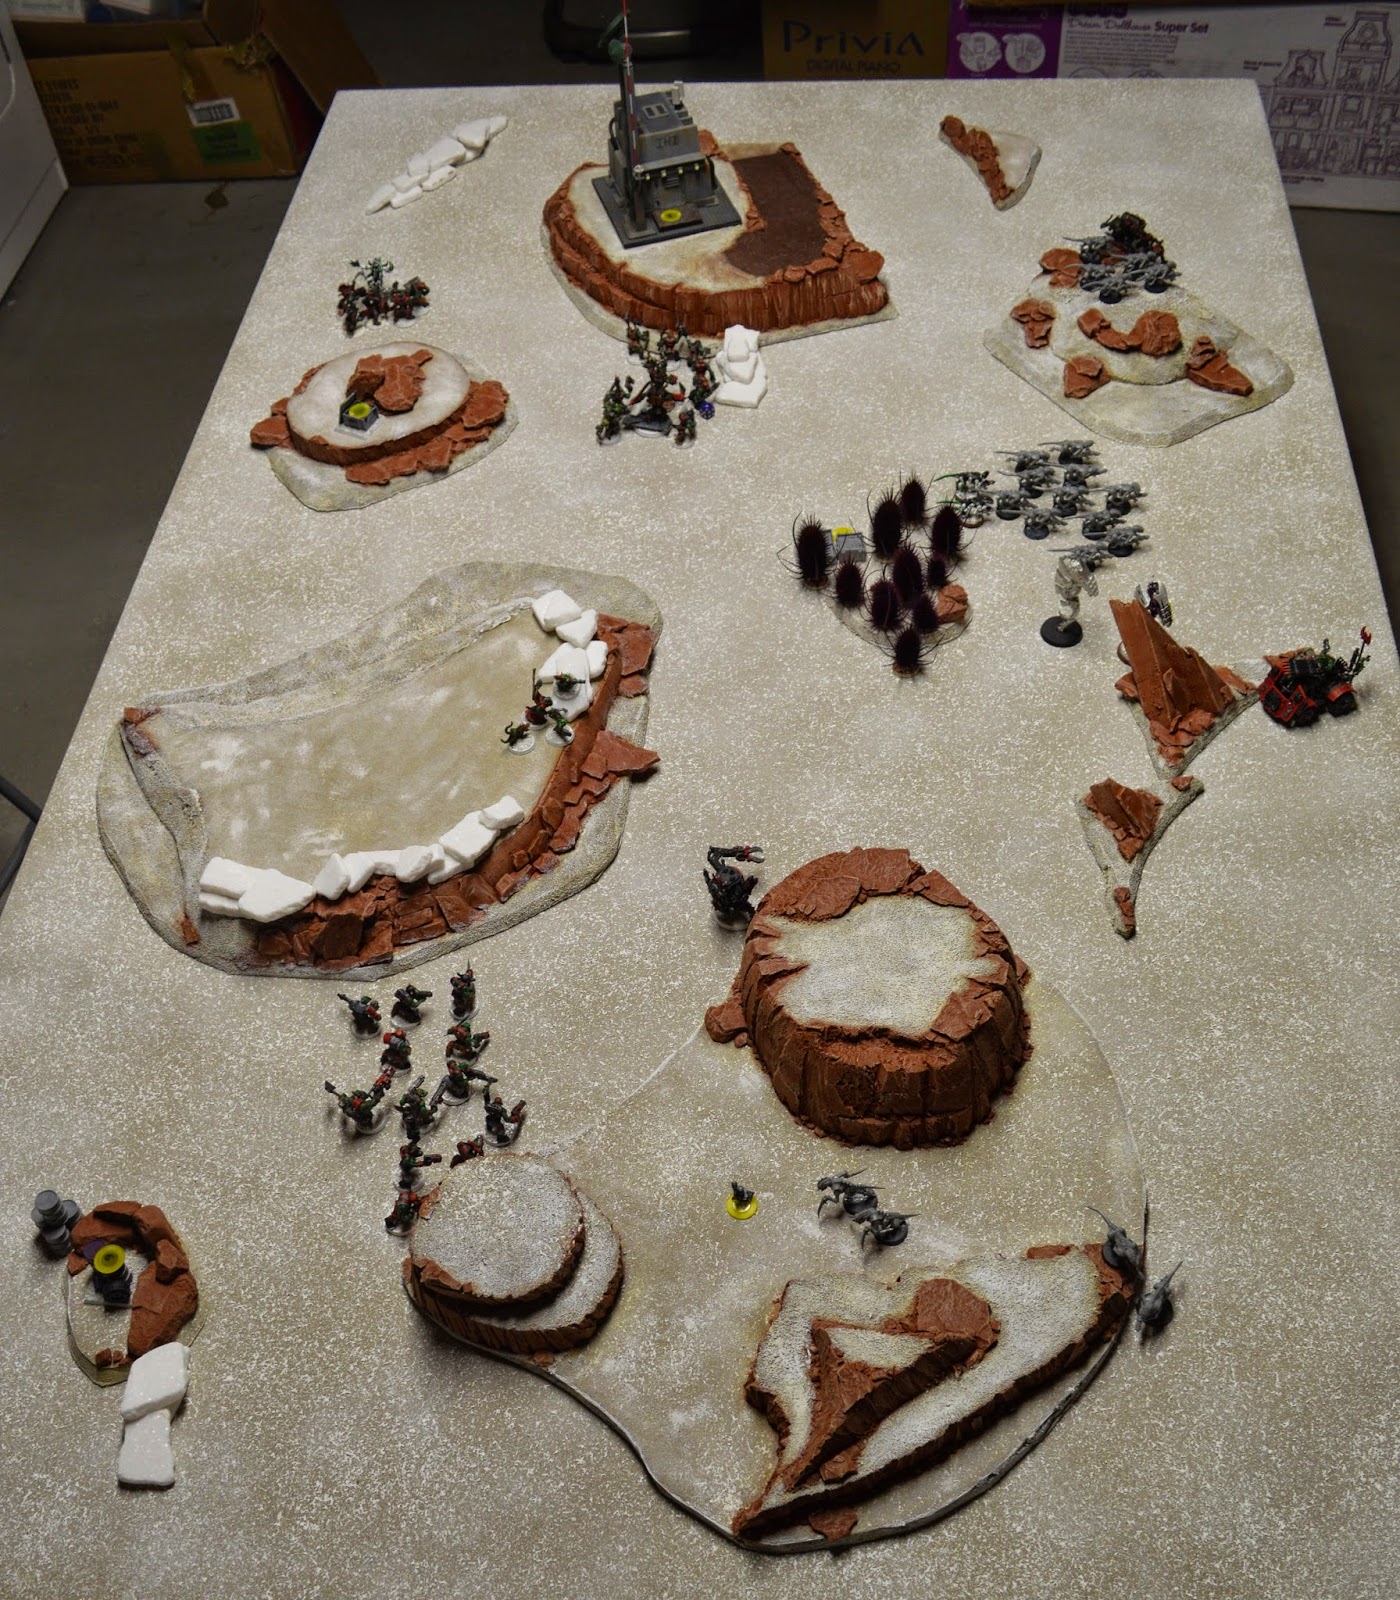 |
| Overivew, end of Tyranid Turn 4. |
The Tyranids picked up another 2 Victory Points for Securing Objective 2 on two cards, continuing their impressive scoring streak. Bill's army has enough units with enough mobility to claim objectives all over the board every turn.
Tyranids: 8
Orks: 3
Orks Turn 4
I knew I was going to need some luck to catch the Tyranids in Victory Points. Even though I was winning the battles all over the board, I was still losing the war! And luck was on my side. I drew my three objectives and they all had opportunities to score d3 VP, which was the only way I was going to be able to make up enough ground. Behind Enemy Lines (a unit within 12" of the enemy table edge for 1 VP, or 3 units for d3 VP), Supremacy (control twice as many objectives as opponent with a minimum of 2 for d3 VP) and Hungry for Glory (issue a challenge for 1 VP, or 3 for d3 VP). The first two were definitely do-able, but I wouldn't have an opportunity to issue any challenges unless I sent my Slugga Mob the wrong way toward the Broodlord and got there before that melee ended.
The Shoota Boyz open fire on the Hormagaunts and kill them before strolling up to claim Objective 2 unopposed.
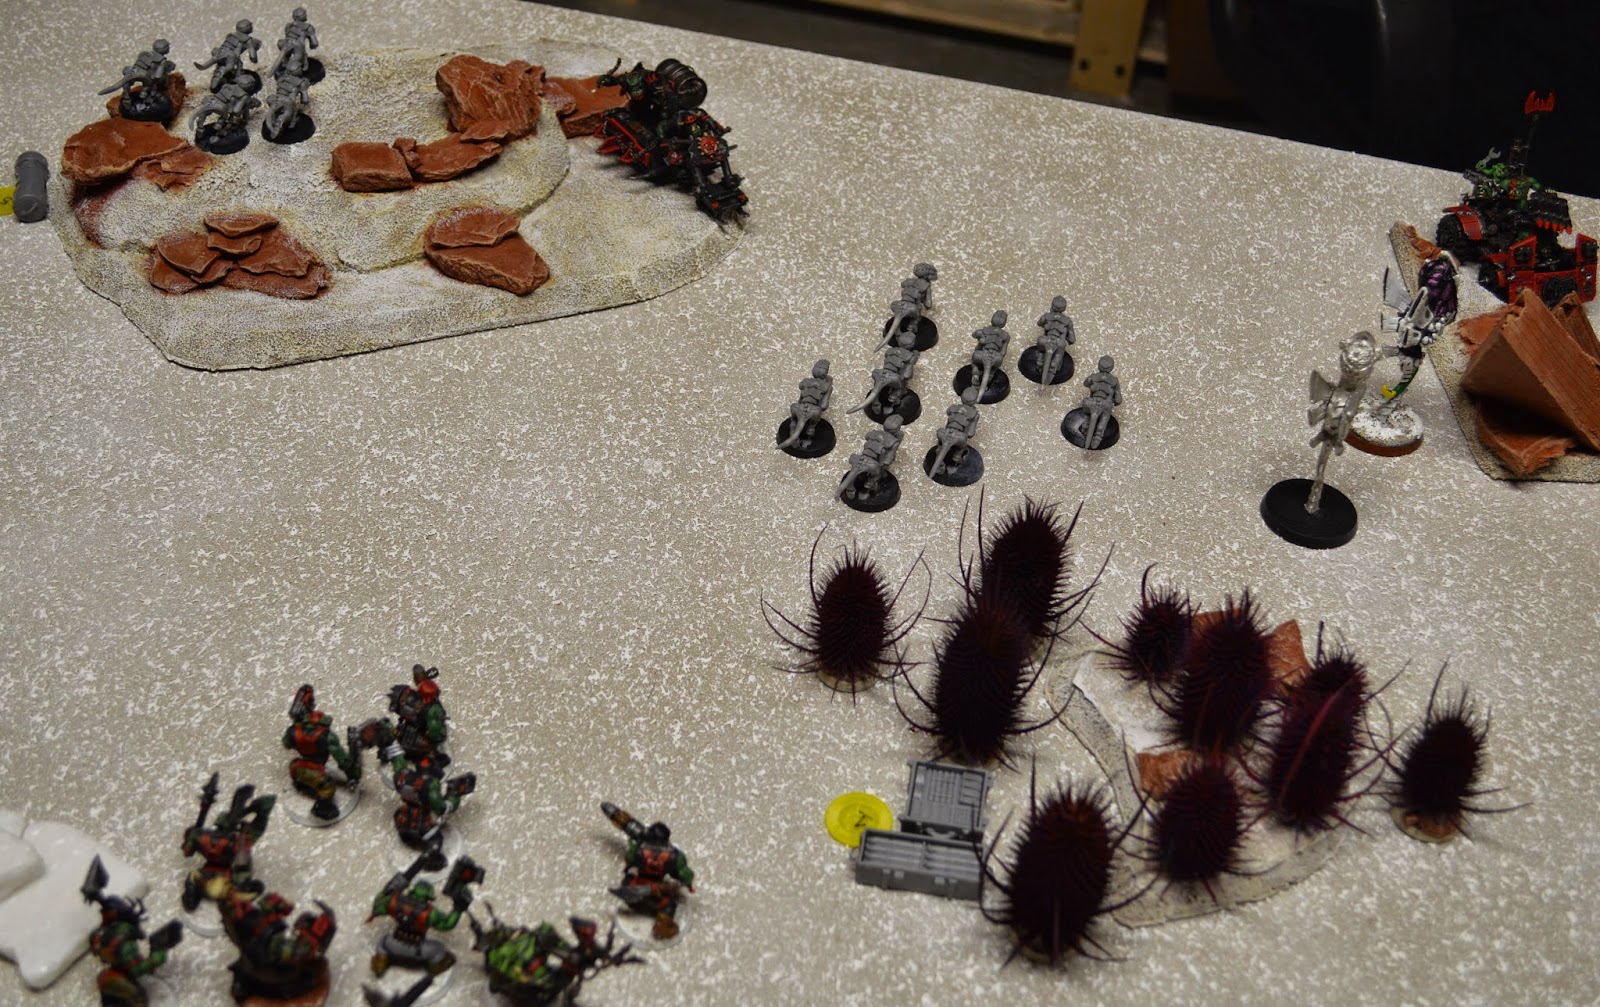 |
| The Orks concentrate their fire to whittle down the Termagants. The Slugga Boyz claim Objective 1 for Supremacy. |
 |
| The Broodlord kills two 'Ard Boyz. The remaining Orks cannot manage to inflict that final wound. So the Orks lose combat and are swept by the ferocious Tyranid leader. |
 |
| Overview, end of Orks Turn 4. The Orks take two Objectives for Supremacy while the Broodlord owns his corner. |
I managed to achieve Supremacy by taking two Objectives and ensuring the Tyranids had none. I rolled and got 3 Victory Points! I also managed to get one Victory Point for Behind Enemy Lines by having two vehicles near the Tyranid table edge, but I just couldn't get a third unit in there as the Killa Kan was too slow. Still, it was four VPs, just what I needed to catch up.
I discarded Hungry for Glory as I did not think I could chase down the Fleet Broodlord before the end of the game.
Tyranids: 8
Orks: 7
Tyranid Turn 5
At this point, Bill had Secure Objective 4 (the ammo crates near the Ork table edge, and two more that did not matter.
He had a tough choice. If he sent his Broodlord to secure Objective 4 for +1 VP, the Orks would surely kill him with shooting or a charge, netting the Orks +1 VP for Slay the Warlord and also denying the Tyranids Linebreaker for a VP. So he decided it was wiser to preserve his Warlord and claim Linebreaker by moving him away from the Orks and Objective 4.
The Zoanthropes tried to kill the Skorcha before it could flame any more Termagants. They fired their Warp Blasts, but only managed a Crew Shaken result and the loss of a hull point on the ramshackle Ork vehicle. Once again, the Termagants Flesh Borers fail to inflict any damage on the vehicle.
 |
| Overview, end of Tyranid Turn 5. |
For the first time, the Tyranids fail to achieve any Objectives. At this point, they are just trying to hold on for the win and hope the game ends early.
Tyranids: 8
Orks: 7
Orks Turn 5
I drew Hold the Line, Secure Objective 1 and one more that I forgot to write down. Lucky for me, I already had Objective 1. I just had to keep my Slugga Boyz where they were and resist the temptation to charge the puny Termagants!
 |
| The Orks concentrate their fire on the Zoanthropes, finally bringing penetrating the psychic shields of the Tyranids and bringing them down. |
The Shoota Boyz killed the two skulking Termagants near the east table edge.
 |
| Overview, end of Orks Turn 5. The Tyranid forces are nearly depleted. |
I secured Objective 1 in the woods for one Victory Point, tying the game. Momentum was clearly with the Orks and the longer the game went on, the better chance I would have to win.
I let Bill roll the die to see if the game ended... and we got another turn!
Tyranids: 8
Orks: 8
Tyranid Turn 6
Bill drew his Tactical Objective and got No Prisoners (kill a unit), probably one of the only Objectives he had any chance to accomplish with his depleted army!
There were two vehicles within range of his Termagants with AV10 and only one hull point. A single roll of 6 to penetrate armor would be enough for a Glancing Hit that would destroy either vehicle. But first, he had to pass his Instinctive Behavior check since the Synapse creatures were gone. He passed! He then fired on the Skorcha, but despite several hits, could not roll a 6 for penetration and the Ork vehicle survived again!
 |
| Overview, end of Tyranid Turn 6. The Termagants fail to accomplish their Objective. |
The Tyranids got no Victory Points this turn.
Tyranids: 8
Orks: 8
Orks Turn 6
Somehow, I did not write down my Tactical Objectives for Turn 6.
The Skorcha, the buggy and the Slugga Boyz all fired on the Termagants and managed to kill three more.
 |
| Overview, end of Orks Turn 6. A few Termagants are killed and the Orks control most of the table. |
According to my notes, I got one Victory Point this turn, but I didn't write down what I accomplished! So after all the notes, all the pictures and all the writing, I don't know exactly what I did to actually take the lead in Victory Points that won me the game! A little anti-climactic. I guess I need to work on my note-taking next time. But by the end of a game like this, there is too much excitement and too much exhaustion to think of writing down every detail!
Bill rolled for another turn and the game ended.
Both armies scored the Linebreaker Secondary Objective.
Final Score:
Tyranids: 9
Orks: 10
ORKS WIN!
POST-GAME ANALYSIS
Phil (Orks):
Wow, what a game. The Tyranids had such a big lead early on (6 - 0 after Tyranid Turn 3) that I started to think I could never catch up. And truthfully, Bill had the chance to put me away for good by trying to charge my Skorcha on his Turn 3. But out of some sort of misplaced mercy, he decided not to! At that point, neither of us could see how I could come back in points enough to win. I was just playing to have fun, kill some bugs and at least make the final score respectable. And despite my huge surge to take control of the center of the table and rally to catch up in Victory Points, it still came down to a lucky d3 roll to get 3 VPs for Supremacy that allowed me to win. An average roll right there and we would have tied. The desperation and the huge momentum swing made the game really exciting for me (and probably soul-crushing for Bill!) and I can't wait for my next match against Hive Fleet Tarasque!
Ork MVP: Finally, I get to say it was my Warboss. After a few lackluster performances against Pete's Space Marines, the big boss finally proved his mettle by crushing the Tyranid center. His Strength 10 Power Klaw attacks (with re-rolls to hit and wound from Da Lucky Stikk) were devastating to the T4 W3 Tyranid Warriors as the Warboss could kill each of them with a single hit. The boss and his unit managed to soak up a lot of Tyranid fire, win the central melee, and then accomplish a bunch of Tactical Objectives late to allow the Orks to catch up in VPs (Psychological Warfare, Supremacy, Secure Objective 1 and possibly the last one).
Ork Disappointment: Although my army overall performed quite well and did what it was supposed to do, there were a few disappointments. The Kommandos and the 'Ard Boyz both got creamed by the Broodlord and his Genestealers. The 'Ard Boyz even had a chance to shoot the unit and then charge it, but still couldn't bring down the elite Tyranids. Partially, it was because they were too strung out so that not all of them could shoot or hit in close combat. But they just could not inflict enough damage and both got killed in Sweeping Advances.
Key Moment: I would like to say that my winning the central melee was the key to winning the battle. It was certainly the most dramatic and fun moment (for the Orks, anyway). But, as I mentioned earlier, Bill not attempting to charge the Skorcha with his Broodlord let me get Objective 5 for two Victory Points and let me get back into the game. If he had killed my Skorcha on his Turn 3, I was seriously considering just calling it quits because I figured I would have no chance to catch up since I hadn't scored a single VP at that point and the only two in my hand were the two copies of Secure Objective 5 that would now be impossible (and Bill already had 6).
Tyranid MVP: Definitely the Broodlord and his Genestealers. Despite me thwarting his Infilrate deployment, they cut through my entire left flank of Kommandos and 'Ard Boyz (over 300 points of models) and his Broodlord survived to deny me Slay the Warlord. He then also got Linebreaker. That is a hard-hitting and fast unit that also could cause trouble for me in the psychic phase. All those Pinning checks meant I had to keep rolling for Mob Rule and losing my boyz in order to keep my mobz in the fight. I was also impressed by the Hormagaunts. They escaped from the Killa Kan, killed my bikes, and then grabbed Objective 2 for 2 VPs. Not bad for a 55-point unit! They are fast and efficient and should be very effective in Maelstrom missions where mobility is key.
Bill (Tyranids):
Ha! What a game! And everything was going so well... To go from potentially winning by forfeit to narrowly loosing is about as exciting as it gets. I suppose 'exciting' is better reserved for the victor and I would describe the results of the last couple turns less favorably. The bottom line was that I simply did not take a long-term view of the battle. In retrospect, charging into the center of the table at full speed w my warriors and gaunts and running my hormies full-blast into the shoota boys was unnecessary since it was going to be at minimum a 5 turn game and I could have held back and shot plenty more. My 20-point bio-plasma only killed a single rank and file ork and the potentially ravaging barbed strangler only fired twice even though it had a 3 foot range. My hormies had fire support from 2 warp blasting zoanthropes who, instead of fragging some warbikes, focused on the mob of slugga boys in the middle with little effect. I had no tactical reason to push my entire army into Phil's table half as quickly as possible since none of my objectives called for it. I just figured that was what to do w tyranids! The genestealers, especially that wonderful Broodlord, raked in the vast majority of my VP's and could have done so independantly of the swarm.
An oversight I don't plan to repeat was ignoring the ork vehicles until the end of the game. I was discussing my loss w Pete on the ride home and concluded that their relative fragility is one of their strengths. Who wants to "waste" firing a high str weapon on such a pathetic target? Letting the bikes, kan, and buggy inflict so much damage on my army was quite a blunder especially when I had 4 turns of warp blasting to destroy them. And, of course, my decision (partially to keep Phil from quitting) to ignore that scrorcha trakk and give up those 2 VP's really came back to haunt me. As I mentioned above, it simply boiled down to not thinking long-term. I was comfortable enough by turn 3 to see losing as an impossibility but I should have stayed tough and heeded the prospect of losing on the last turn.
All in all though, I'm very happy w my army. I feel confident that a re-match against the orks will end in a solid Tyranid victory. My army structure was just about perfect for a tactical objective game: highly mobile and hard-hitting w tons of squads to cover the table and to respond to a new mission without having to detract from the main lines. The plentitude of 4 and 5 point models in a tyranid army means that I will never be outnumbered. It also means every expensive upgrade or gun option I purchase for a more important unit like warriors could have been an entirely new squad of gaunts. I was a little short in points this first game and ended up buying a few such biomorphs just to get up the round 1050. In future battles, a second squad of hormigaunts would do a lot more than adrenal glands for the warriors and bio-plasma for the carnifex.
Tyranid Disappointment: This game was polarized into enormously effective units and virtually useless ones. The carnifex and warriors, though weighing in at about 400 points, made no mark in the game and succeeding only in killing a few boys and a handful of grots before getting utterly embarrassed in the central melee. Once the warriors were destroyed, my gaunts predictably fell into disarray and one squad even fled off the table altogether. If I had kept the warriors back and taken my time getting into close combat with the vastly superior orks, I have no doubt I could have pulled off a definitive win. My gaunts couldn't pull off a single glancing hit that would have wrecked either the buggy or trakk but some str 5 deathspitters would have had an easier time. I could have pulled off a tie w Take No Prisoners on turn 6. Just goes to show how close it was!
Key Moment: The single most important die roll was for the random VP's awarded by the ork's Supremacy. 3!! Curses! Considering his board dominating position by turn 4, it was an ideal time to pull an objective that would normally be so difficult and thusly so rewarding. I keep coming back to that moment when I watched my total dominance deteriorate into a questionable advantage. That and watching my central swarm dissolve under the torrent of ork melee.
Rather than addressing such discouraging key moments, the high point in the game was the continued brutality of the Broodlord and his retinue against everything green and ugly in their path. If only every 200 point squad I had could earn me 4 VP's and kill a third of my enemy's army!

