Sunday, May 5, 2024

White Scars Army Update

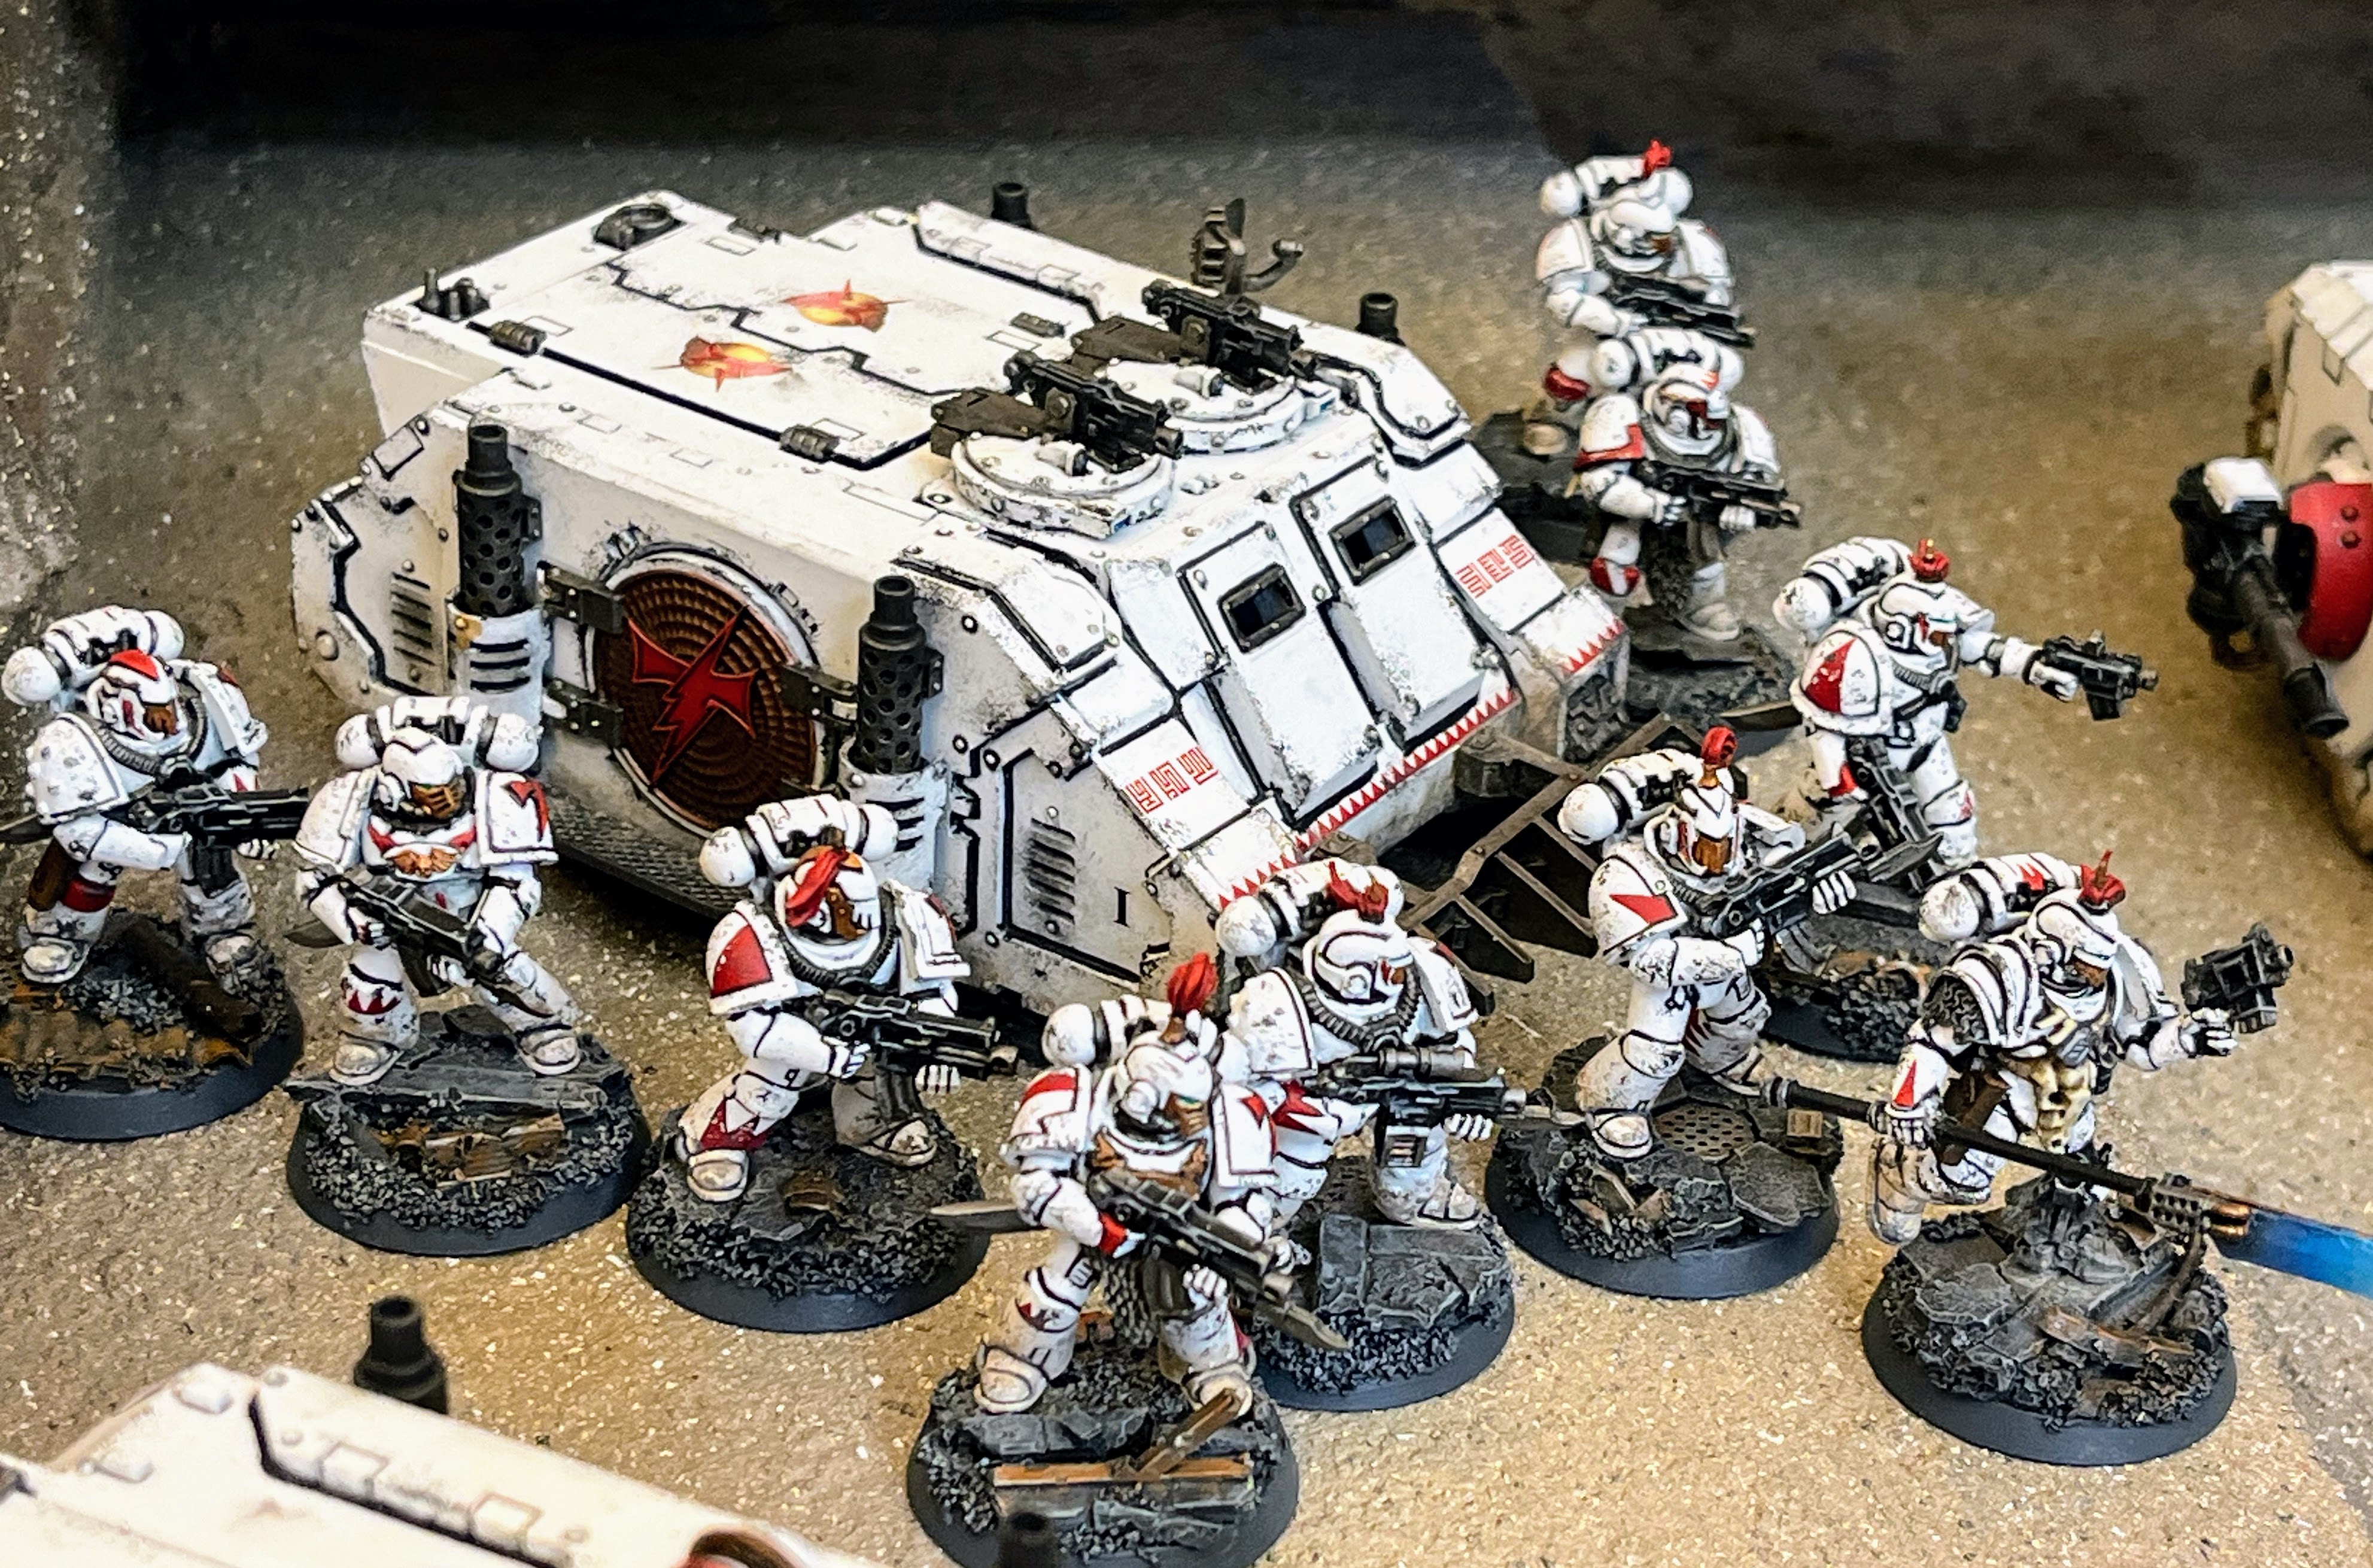
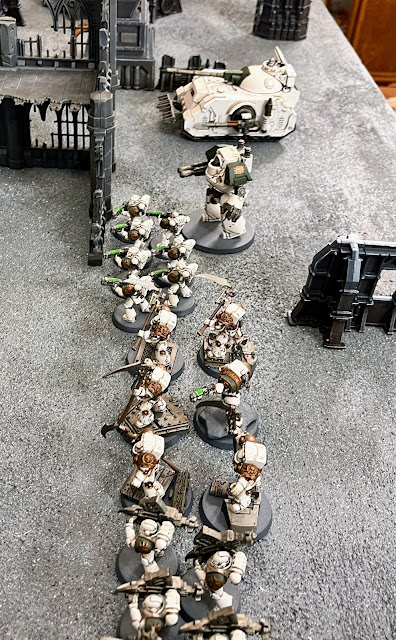
Here is where the White Scars stand as of the middle of the Second Arc of the grand campaign. The Brotherhood of the Wind has been defeated. Their leader, Khan Turan Jorma, has been critically injured and entombed into a dreadnought. Normally seen as a curse by the Brotherhood, Khan Jorma was entombed for two reasons: as punishment for his failure and in order that he should have his revenge. The Brotherhood of the Wind was no more. They would henceforth call themselves the Brotherhood of the Broken Blade. They lived now only for vengeance and the death of the Traitors. The survivors were augmented by V Legion recon units that had been spread through the eastern deserts as they trickled back westward to join them. Too depleted for pitched battles, the new Brotherhood fought from the shadows with surprise strikes aimed at sabotage or assassination. Their strategy was to stay on the move, striking and then disappearing before the Traitors could retaliate. However, when cornered, they would fight to the death with a terrible ferocity fueled by shame, vengeance and raw hatred.

Brotherhood of the Broken Blade


Khan Turan Jorma reborn

Centurion Champion Subotei flanked by two veterans

Recon Squad Chono, "The Hunters"

Stormseer Qiu Tongmi, Spirit Immortal

Praetor Muqal took on the mantle of command

Outrider Squad Tsujen

Ebon Keshig Contemptor Dreadnought


Sabre Strike Tank Squadron with neutron blasters

Centurion Champion Subotei

Tactical Squad 

Tactical Squad Temgar

Scout Squad รถs khonzon, The Vengeance

Recon Squad The Grey Ghosts

Skyhunter Squad Khujaa

Tactical Support Squad Khoer led by Elder Brother Sergeant Gansukh

Xiphon Interceptor Ariunbold

Sicaran Omega Flamespear


White Scars Brotherhood of the Broken Blade

3 HQ

2 Elites

6 Troops

3 Dedicated Transport

5 Fast Attack

1 Heavy Support

3601 points

79 models, 2 walkers, 8 vehicles

Rites of War: Recon Company, Chogorian Brotherhood, Sagyar Mazan

Sunday, April 28, 2024

Armies on Parade - Second Arc: The Xhorik System Engulfed (Phase 5 - 8)

The following are profiles of the main fighting forces of the Xhorik Campaign of the Horus Heresy in the middle of that period.


Traitors:


The World Eaters: XII Legion, ++[Company Designation Unknown]++


Commander: Ghrodd the Slaughter Lord (Overall Campaign Commander)

Notables: Chaplain Zungarz

Rites of War Utilized: The Crimson Path

Fighting style(s): Aggressive assaults backed by armor


The Death Guard: XIV Legion, ++[Company Designation Unknown]++

**[Pic-capt corrupted]**

Commander: Praetor Wolfgang

Notables: Sergeant Albrecht

Rites of War Utilized: The Reaping

Fighting style(s): Relentless advance supported by heavy firepower


The Sons of Horus: XVI Legion, 12th Company 


Commander: Praetor Ezman Vyke

Rites of War Utilized: Pride of the Legion

Fighting style(s): Application of concentrated force using elite infantry with supporting fire


The Iron Battalion, The Chem Hounds 

++[Pic-capt corrupted]++

Commander: General Titus Ghoulv, Robber Baron

Provenances of War Utilized: Alchem-Jackers, Industrial Stronghold

Fighting style(s): Wall of heavy armor followed by blocks of heavy infantry


Loyalists:


Blood Angels: IX Legion, ++[Company Designation Unknown]++

Commander: Garo Arteo, Bloody Executioner of the Crimson Gate, Paragon of Unity

Rites of War Utilized: The Day of Sorrows

Fighting style(s): Solid center that holds the line while one or both flanks advance rapidly


White Scars: V Legion, The Brotherhood of the Wind >> Brotherhood of the Broken Blade


Current Commander: Praetor Muqal, Stoic Defender

Former Commanders: Praetor Zalitai Zherdan (deceased), Khan Turan Jorma (entombed in dreadnought)

Notables: Centurion Delegatus Kuyuk (deceased), Sergeant Khaljyk, Consul Champion Subotei, Stormseer Qiu Tongmi

Rites of War Utilized: Chogorian Brotherhood (Brotherhood of the Wind); Legion Recon Company (Brotherhood of the Broken Blade)

Fighting style(s): Rapid strikes and maneuvers (BotW); Ambushes, assassinations and suicide tactics (BotBB)


Xhorik 87th Drop Troops, 3rd Company, The Firebirds


Current Commander: Captain Skander Xhaer, Marcher Lord

Notables: Lieutenant Tarvar

Provenances of War Utilized: Warrior Elite, Legacy of the Great Crusade

Fighting style(s): Combat drops with air support; massed elite infantry with artillery support


Sunday, April 14, 2024

Chem Hounds Baneblade


Updated Chem Hounds Baneblade

I took a few hours today to update my Baneblade to the colors and weathering of the Chem Hounds faction in preparation for this week's battle. Definitely far cooler looking now! Can't wait to get it on the tabletop, rumbling around and shooting everything in sight. But with ballistic skill 3, I should say shoot at everything in sight. It'll miss plenty of targets! 

I added a Leman Russ for scale. This thing is downright massive.


Saturday, April 6, 2024

Spartans!

 Legion Land Raider Spartans

I'm excited to finally have a Spartan for the Death Guard. A proper transport for a notoriously slow faction. I think it came out really neat looking, as all the DG models do with this simple but striking color scheme. 

I never officially posted the Blood Angel Spartan to the blog, so I thought I would pair them up for one  super-sized blog post. It'll be really cool to see them on opposite sides of the battlefield facing off. 


Sunday, March 24, 2024

Building a Better Bridge Table Part 6: Nearly Done

 I did some more spray painting today, but I do not know if it helped much. I did setup the two pieces together and tried to blend the two sides together more, since they looked a bit different. I also set up the roads and bridge to get an idea of how it will look. I would love to fill in the river at some point but I have never played with resin so I need to practice on something else first. 


This board provides about 36 square feet of gaming surface, equivalent to a 9 ft x 4 ft table. 

Here are two potential deployment maps. The blue represents the "river", which is more of a canyon currently. The red is No Man's Land. The two player map allows large deployment zones to enable big games (larger than a 1 ft x 8 ft deployment zone on our 4 ft x 8 ft table). The three player map below has deployment zones about equivalent to a standard 1 ft x 6 ft deployment zone on a standard 4 ft x 6 ft table. These are just some examples from me playing around with it.


Here is the board with the two-player deployment zones drawn on, for an idea of how it would look. 


Previous work:

Part 1

Part 2

Part 3

Part 4

Part 5


Saturday, March 23, 2024

Building a Better Bridge Table Part 5: Color!

 Added some additional texture and some colors, finally. I wanted a mix of multiple browns and greys to try to get a natural rocky desert look. It is a little more splotchy than I would like so I will have to do some more blending. But its a start.


Previous work:

Part 1

Part 2

Part 3

Part 4

Wednesday, March 20, 2024

Building a Better Bridge Table Part 4

 Latest update: I have added more texture, pasted up the edges/sides, and put down a full coat of brush paint as a primer. Next step will be start adding the browns and greys

Previous work:

Part 1

Part 2

Part 3


Sunday, March 17, 2024

M31 Battle Report 6-4: Death Guard Join the Onslaught on Planetoid Provisa

 Background:

TBD


Scenario: Onslaught

Game Length: 6 turns

Primary Objective
Onslaught Objective: Control the objective you place in the opponent's deployment zone: 5 VP 
Onslaught Attack: Each unit destroyed in the first turn: 1 VP

Secondary Objectives
Slay the Warlord: 1 VP
Attrition: 1 VP for whoever destroyed the most units


Belligerents:

Death Guard: Phil
Primary Detachment: Death Guard  The Reaping
  • Praetor Wolfgang: Catphractii terminator armor, volike charger, thunder hammer
  • Deathshroud retinue: 5 terminators with hand alchem-flamers, power scythes and rad grenades
  • Tactical Support Squad Folterer: 8 marines with flamers, sergeant with artificer armor. 
    • Transport: Rhino with pintle-mounted heavy alchem-flamer.
  • [Line] Tactical Squad A: 12 marines with chainswords, sergeant with power fist and artificer armor and Apothecary Gerhard
  • [Line] Tactical Squad B Toddestraffe: 12 marines with chainswords, sergeant with power fist and artificer armor and Apothecary 
  • Tactical Support Squad Blitz Schock: 7 marines with volkite calivers
  • Heavy Support Squad Feuer Sturm: 7 marines with missile launchers
  • Predator Mittel Panzer 021 with Predator Autocannon and lascannon sponsons 
  • Contemptor Dreadnought Jรผrgen:  Gravis melta cannon, melta gun, Gravis power fist
  • Deredeo pattern dreadnought with Arachnus heavy lascannon battery, twin-linked heavy bolter, Aiolos missile launcher, and helical targeting array
2062 points

Loyalists: Pete
Primary Detachment: Blood Angels  Day of Sorrows
  • Garo Arteo, Bloody Executioner of the Crimson Gate: Praetor w/ artificer armor, iron halo, digital lasers, jump pack, blade of perdition, bolt pistol, Paragon of Unity
  • Contemptor Dreadnought: gravis lascannon, gravis powerfist, metlagun
  • [Line] The Triarii Guard: 17 tactical marines with chain swords, sergeant with artificer armor, power fist, and plasma pistol. Vexilla and augury scanner. 
    • Transport: Spartan Assault Tank with flare shield
  • [Line] The Sanguine Berzerkers:14 assault marines w/ jump packs, bolt pistols, 2 power axes, sergeant with power fist, plasma pistol, artificer armor
  • [Line] The Golden Shields of Baal: 10 breacher marines, void-hardened armor, 8 bolters, 2 melta guns, breacher shields, sergeant with thunder hammer and artificer armor
  • Kratos Battle Tank: Melta blastgun with coaxial autocannon, lascannon sponnons, hull-mounted heavy bolters. flare shield, reinforced hull
  • Heavy Support Squad: 7 marines with lascannons and augury scanner
2060 points

Army Selection and Pre-Game Plans:

Phil: Since they are both his armies, Pete wrote both lists in an attempt to make them balanced and then let me choose which one I wanted to play. I was very excited to try out the Death Guard for the first time. For once, I would be the one dishing out their deadly shooting instead of being on the receiving end of it! 

Looking at the force selected, I had a lot of Troops but only two Line units so I knew how I used those two tactical squads would be essential to winning a game where the majority of potential victory points come from objective control. I decided to put the two apothecaries with the tactical squads to give them the best chance of surviving until the end of the game. I also knew my heavy weaponry on the two dreads and the Predator would be stretched trying to deal with two heavy tanks and a dreadnought. On the plus side, I would have more units than my opponent, which would give me some advantages with this scenario's staged deployment, letting me deploy the last few units. I also knew I had a lot of anti-infantry firepower with the feared volkite calivers, missile launchers, and the flehsbane flamers, which will force the Blood Angels infantry to keep their heads down. Although the strength of this Death Guard force was in its shooting, I also had the satisfaction of going into battle with the toughest infantry unit on the table in the Deathshroud. Their WS5, W3, and Battle-hardened (meaning it would take S10+ to trigger Instant Death) meant they were going to be very, very tough for the Blood Angels to remove. 

Pete: 


Deployment:

The Death Guard won the roll to select their turn order, and elected to go first and deploy the first unit, using the scenario's staged deployment rule. 

The battle was fought across the former front lines on the city borders of Zdojan


Phil:  I wanted to go first so that I had the best chance of destroying an enemy unit on the first turn, which could be a tie-breaking VP in a scenario where there were only a few ways to earn them. 

I placed the Deredeo where it would have good line of sight to where I expected Pete to place his bigger tanks, on the more open left flank. The center of my line was made up of my heavy infantry, the missile launchers, volkite calivers and the Deathshroud. This would allow me to control the center of the table. On the right, I put some firepower in the Predator and Contemptor. On my far left, I placed the two tactical squads. My plan was to concentrate my only two scoring units together and place my objective on that flank. They would have the Deredeo for covering fire and the tactical support squad with flamers in the Rhino to clear them a path. 

However, once I saw that Pete placed his objective on my far right flank, where I had nothing but the Predator to defend it, I quickly realized I would have to adjust my plan. I decided to send the Rhino to support my right flank and attempt to prevent the Blood Angels from easily taking their objective. 

I also knew that target priority was key in Horus Heresy because only certain units have the potential to damage certain enemy units. In many previous games I had been in the hopeless position of not having any weapons that can reliably threaten an enemy heavy unit after the first turn or two. I was concerned to be facing three very tough units (two tanks with AV 14/15 and 5HP and a Contemptor). But I also knew how deadly a large squad of lascannons could be, so I decided to focus my deployment on destroying the Heavy Support squad in the first turn. This would eliminate a major threat before it could attack and earn me a crucial VP. I knew it was a risk to ignore the armor on turn 1 and use my best weapon, the Deredeo, on infantry, but I knew I had a better chance of wiping out that squad in one volley than the tanks or dreadnoughts. So I deployed a concentration of force opposite from the Heavy Support Squad.

With the deployment complete, my plans were set and ready to be put into action.

The Deredeo supports the two Tactical Squads

The Deredeo sports a frightening arsenal of weapons

Wolfgang and his Deathshroud anchor the center of the Traitor line, supported by heavy weapons


Pete: Well this would be a fun challenge – facing off against the intractable Death Guard in an Onslaught Mission 6 turns long. Could I get to my objective in the DG deployment zone and clear away all Phil’s tough shooting units on my way in? Plus, I needed to accomplish something the Blood Angels weren’t known for – defending an objective in my own deployment zone. With an army like this, I’d prefer to mass my forces and strike in unison and power on turn 2, maybe turn 3, to crush the weakest part of the opposing army and be too fast with too many units to have shooting reactions nullify the charge. Instead, in this game I would need to divide my forces and fight almost two separate battles. 

I decided to have the mighty Spartan with my large tactical squad be a tough and nasty barrier to the DG advance, supported by the deadly lascannon heavy support squad and the Contemptor Dreadnought for scrapping with elite units like the Deathshroud or Phil’s opposing Dread. To my left, to go for my objective, that gave me the Blood Angel Praetor with his fierce Assault squad retinue, the brand-new Kratos heavy tank, and the tough-as-nails Breacher squad. Both the Assault squad and Breachers are scoring units, which would be key to gaining the 5 VPs for securing the objective on turn 6. Thankfully there was a lot of terrain to block line of sight on my path to the objective so I should have a bulk of my units alive when I charge in late in the game to secure win. 

Time to get rolling. Death to the traitors. Glory for the one true Emperor!


The Heavy Support Squad takes up position at a supply dump.

The Tactical Squad, The Triarii Guard, are mounted in a Spartan

The mighty Contemptor holds the center of the Loyalist line

Garo Arteo leads the Sanguine Berzerkers.

A massive Kratos anchors the Loyalist left flank.

On the far left, the Golden Shields of Baal prepare to advance on the Blood Angels' objective.


Final Deployment 


Saturday, March 16, 2024

Xhorik 87th: Drop Mech Suits

The Xhorik drop regiments make use of heavy mechanized suits for certain critical missions. The most commonly used is the OGRE Class. Similar to drop sentinels, they are piloted by an individual and deployed by grav chute, but they are smaller, more heavily armored and generally equipped for combat at close quarters.

The left shoulder has the icon of the Xhorik mechanized heavy drop infantry painted white on a field of orange, the regimental color.

The XVI marking on the right shoulders indicates the 16th Squad of drop mech suits in the regiment. 


16th Squad of OGRE Class Mech Suits, Xhorik 87th Drop Regiment

Four suits armed with ripper guns. One has the cockpit open and the pilot's helmet is visible.

The remaining suits have melee weapons and boarding shields.

The sergeant (boss) has a thunder hammer


This unit gives the drop troopers their first decent melee unit. This should especially help in games of Zone Mortalis where their fliers and artillery are useless.

Saturday, February 24, 2024

Building a Better Bridge Table Part 3

I am continuing to make some progress on the table. I need to have it complete by April for Bill's visit.

I got all of the foam blocks glued down and the gaps filled with drywall putty and sanded down. I evened out and sanded the edges somewhat as well, although they are nowhere near perfect. 

Then I started applying texture. Currently, I am in the process of giving everything an initial coat of white paint. More texture and painting to come. 

Previous work:

Part 1

Part 2