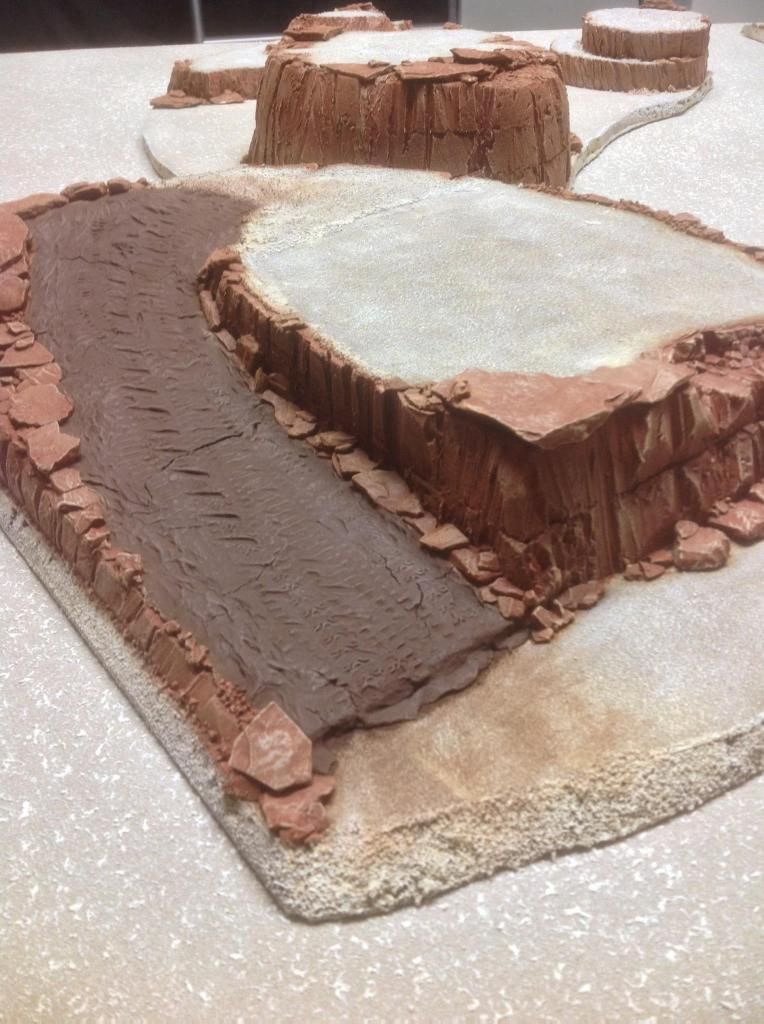
I made the big hill pretty square and flat on top in order to leave the option to put other pieces of terrain on it and create more variability between games. I debated making it a rough hill with lots of rocks and ledges or possibly gluing a building down. But I elected to keep the top open so the hill can be used in different ways and in different combinations with the other terrain.
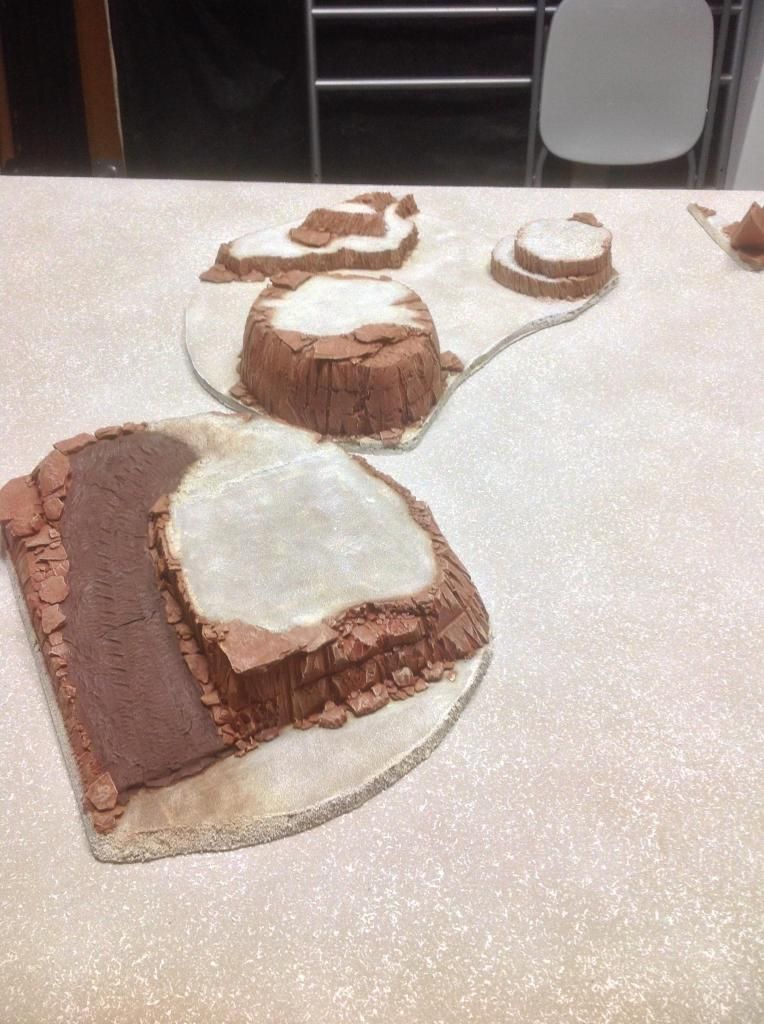
I really like having the road leading up to the top of the hill. It gives a natural, gradual access point for models or vehicles that isn't difficult or dangerous terrain, but only on one side. From the other sides, you're forced to climb up and down. It also makes it plausible to have a building on the hill. You can't very well build and occupy a building on a mesa with no road to it!
The road was supposed to look like dried mud and I think it turned out well. I left some various tire and tread tracks in the road surface and then some nice cracks formed naturally to really add to the dried mud effect! The road also gave me the idea to make a simple, movable bridge that can be used to connect hills of the same height in different combinations in different games. Could be an interesting option for later when I have more terrain finished.
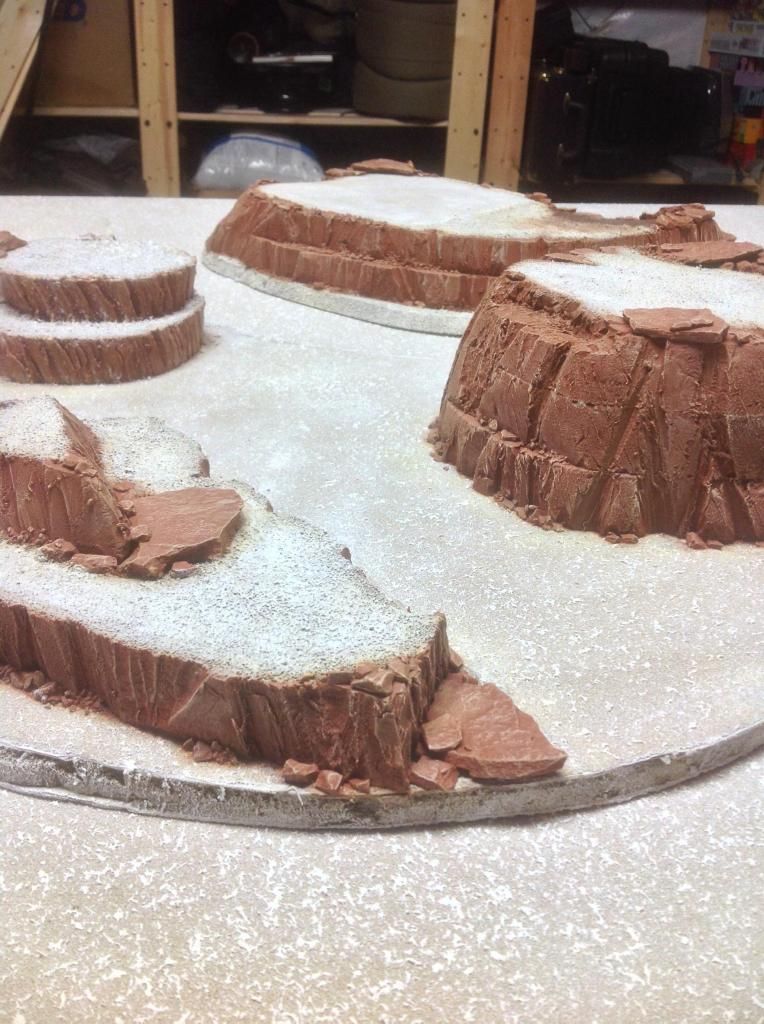
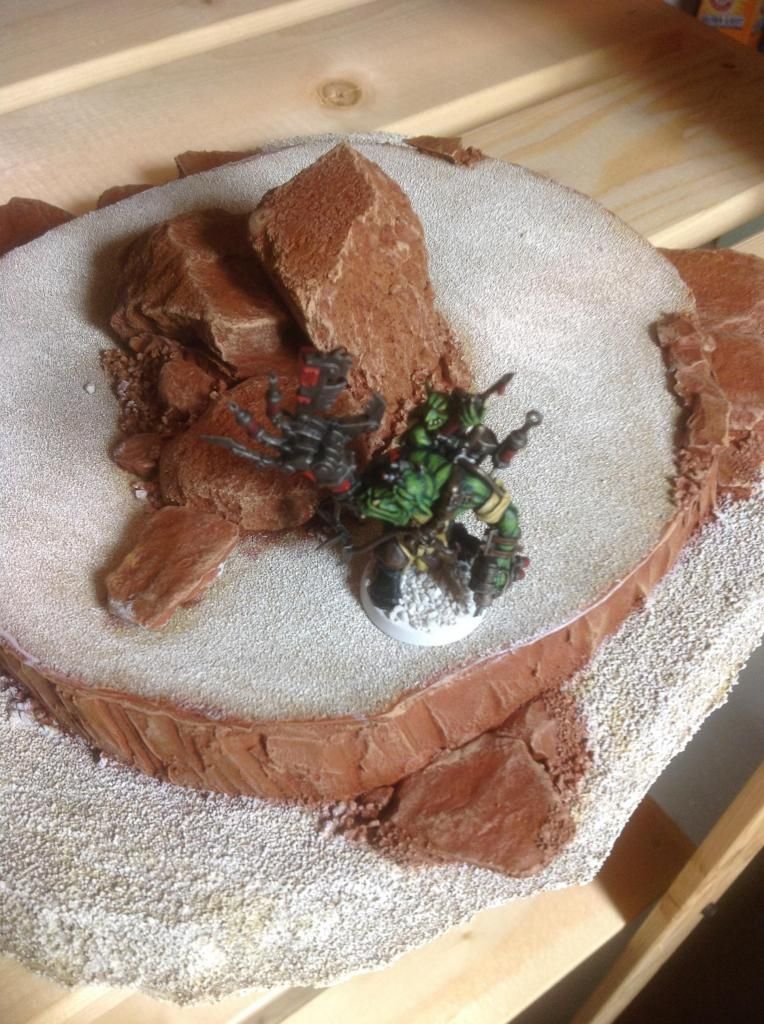
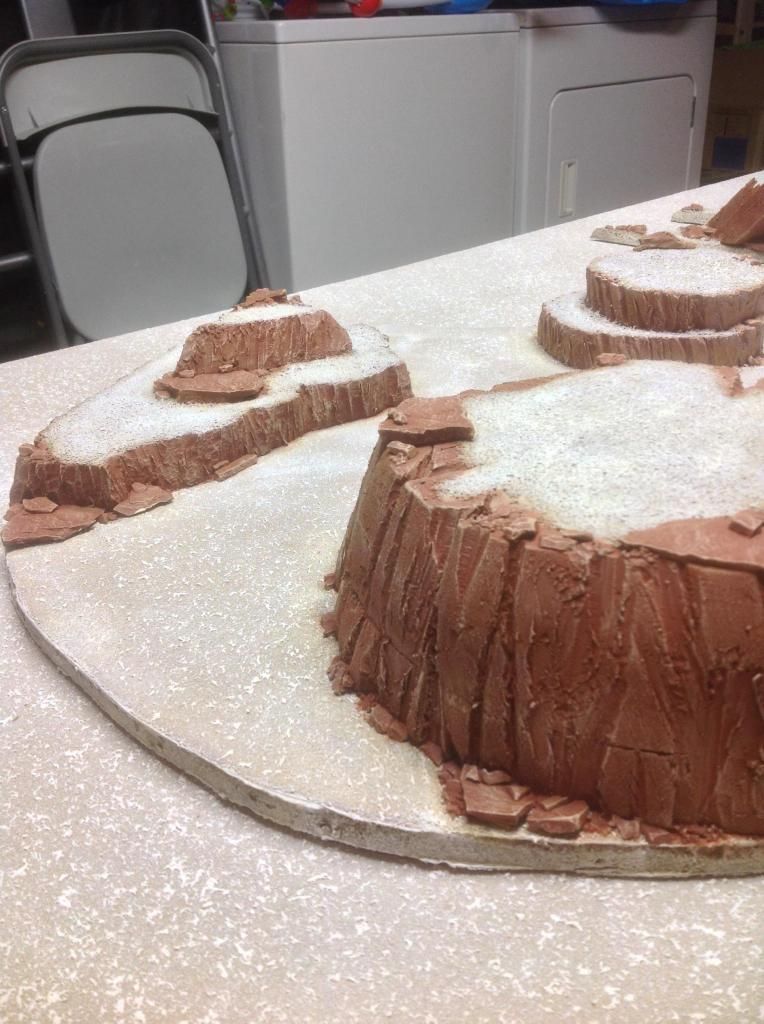
The other piece is a set of three hills. This wasn't really planned out. I initially had the large base intended for a single large hill, but that didn't work out. Then, I was just hurrying to get something ready before Pete got here last time and ended up with the little rock column in one corner leaving the main bulk of the base open and surfaced to match the table. This time around, I had a few hills partly finished and no more base material so I just put them on this piece. I might have been able to cut it into three pieces, but I already had matting glued down and didn't want to ruin it. So it is now a rocky cluster that can provide either some cover, an exposed vantage point to shoot from, or a choke point to force the enemy into the teeth of your firepower. I think it will be a fun piece to use in battles.
Lots of rough and rocky terrain. It should make for an appropriate setting for some hard-fought battles. So far, all the terrain is natural. Now we need some signs of civilization to really add another dimension to the battles and the objectives. The next things I plan to work on are buildings and maybe some sort of mines or pipelines for this barren landscape.